Bakery Style Chocolate Chip Cookies Recipe: Gooey Goodnes…
It all started one rainy afternoon when I found myself craving those glorious bakery-style chocolate chip cookies that always seem to have just the right amount of gooeyness. I remember sitting in my favorite little café, savoring each bite of their warm, fresh cookies while daydreaming about recreating that magic at home. The thought of whipping up a batch for a fraction of the price and in my own kitchen was too tempting to resist, especially since I knew I could make them even better—more chocolatey, softer, and with that perfect chewy texture.
After several weeks (and more than a few questionable cookie experiments) in my kitchen, I finally landed on the ultimate Bakery Style Chocolate Chip Cookies Recipe. I lost count after my fifth or sixth attempt—let’s just say there were some “interesting” results, including cookies so flat you’d think they were pancakes! Each time, I aimed to get that ideal balance of softness and chewiness while ensuring the chocolate chips melted perfectly into each cookie. It was a deliciously messy journey, but every failed attempt just fueled my determination to nail it.
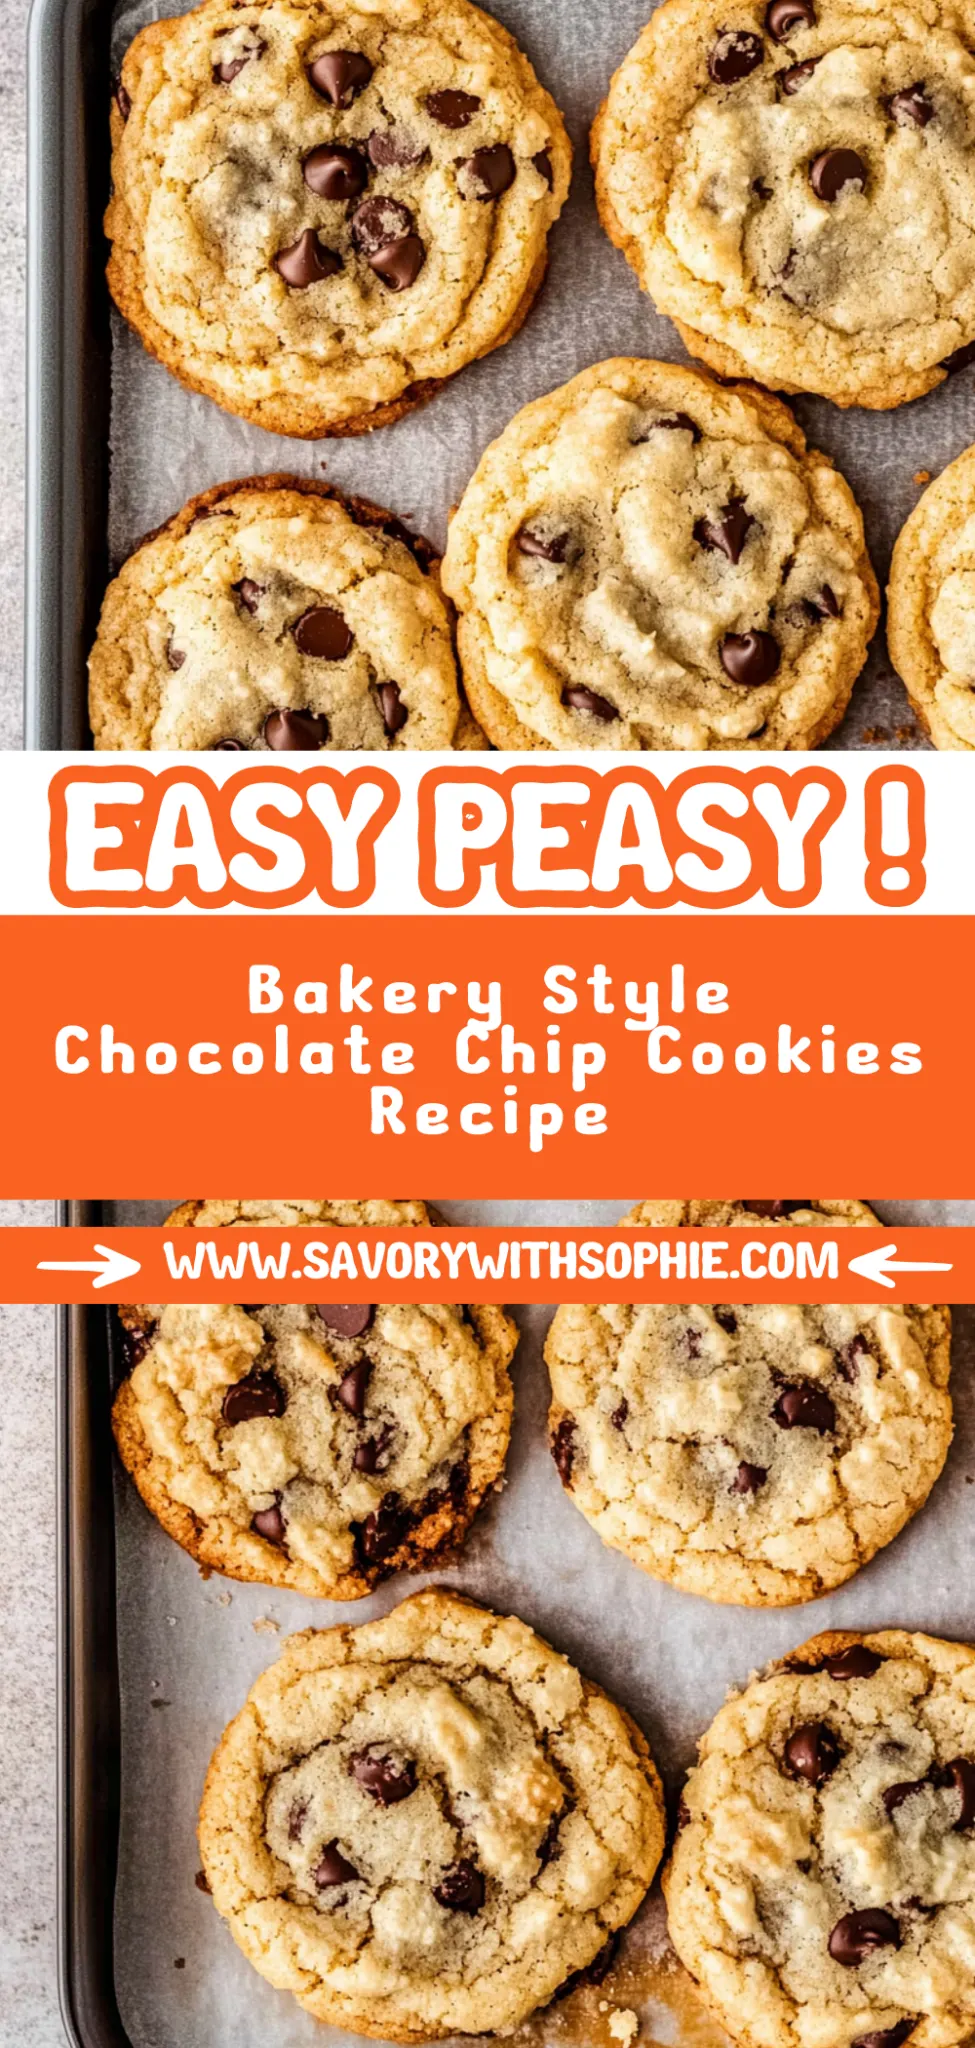
Oh boy, was it worth it! The final result is nothing short of heavenly—these cookies are irresistibly soft and chewy with pockets of melty chocolate that make every bite an indulgence. They’re perfectly golden on the edges, yet delightfully soft in the center, giving you that warm hug in cookie form. Trust me, once you try these Bakery Style Chocolate Chip Cookies, you’ll be making them for every occasion (or just because it’s Tuesday). So grab your mixing bowl and let’s get baking—you’re going to love these!
These Bakery Style Chocolate Chip Cookies are….
….the ultimate indulgence for chocolate chip cookie lovers everywhere!
1. They deliver a decadent flavor with layers of sweetness that will make your taste buds dance. The combination of both brown and granulated sugars creates a perfect balance, enhancing the rich, buttery essence that defines a truly exceptional chocolate chip cookie.
2. Expect a perfectly chewy texture that strikes the ideal balance between soft and slightly crisp edges. By using just the right amount of all-purpose flour, these cookies achieve a wonderful chewiness that keeps you reaching for more, making every bite an unforgettable experience.
3. The chilling technique I swear by is a game changer—letting the dough rest in the fridge for at least 30 minutes allows the flavors to meld and results in thicker cookies that bake beautifully. This crucial step also helps prevent spreading during baking, ensuring each cookie maintains its desirable shape.
4. A great value for your baking efforts, this recipe yields a generous batch of cookies without breaking the bank. With simple pantry staples like flour and sugar, you can whip up bakery-quality treats at home that rival those from your favorite café, all while keeping costs low.
PS These cookies yield about 24 delightful treats, perfect for sharing or enjoying throughout the week!
What You’ll Need for Bakery Style Chocolate Chip Cookies
Each ingredient in this dish plays an essential role in flavor and texture. Here’s what you’ll need:
2 cups all-purpose flour: Provides structure and a chewy texture to the cookies.
1 teaspoon baking soda: Acts as a leavening agent, helping the cookies rise perfectly.
1 teaspoon salt: Enhances the sweetness and balances flavors throughout the dough.
1 cup unsalted butter (softened): Contributes rich flavor and ensures a tender cookie.
3/4 cup brown sugar (packed): Adds moisture and a deep, caramel-like flavor.
3/4 cup granulated sugar: Sweetens the cookies while promoting a nice crisp edge.
1 tablespoon vanilla extract: Infuses warmth and depth of flavor into the cookies.
2 large eggs: Binds the ingredients together for a lovely, cohesive texture.
- 2 cups semi-sweet chocolate chips: Provides bursts of chocolatey goodness in every bite.
You Must Let the Cookie Dough Chill. No Exceptions!
I know, I know… the thought of waiting to bake your cookies can feel like torture. I’ve tried to cheat this step before, convinced that simply scooping my dough onto the tray and popping it in the oven would yield perfectly delicious cookies. Spoiler alert: I was wrong. After multiple batches and countless taste tests, I learned that chilling is a non-negotiable step if you want those bakery-style chocolate chip cookies that are soft, chewy, and have that perfect texture.
Chilling the cookie dough allows the flour to fully hydrate and gives the butter time to solidify. Think of it as letting a fine wine breathe; it needs time to develop its character! When the dough is cold, it spreads less during baking, resulting in cookies that are thicker and have a wonderfully chewy inside, while still achieving those golden-brown edges. Trust me, your taste buds will thank you for this little extra wait!
What does chilling do?
- Improved flavor — Chilling enhances the flavor as the sugars break down and meld together over time, creating a deeper sweetness you simply can’t rush.
- Better texture — The chilled dough creates cookies with a delightful contrast between crispy edges and a chewy center, thanks to the way flour absorbs moisture.
- Controlled spread — The colder butter means less spreading during baking, giving you thicker cookies that stay soft longer.
- Enhanced color — The Maillard reaction (the fancy term for browning) is more pronounced with chilled dough, leading to those beautiful golden-brown cookies we all love.
- Longer shelf life — Chilled cookie dough can be stored in the fridge or freezer for later use without compromising texture or flavor, so you can enjoy fresh cookies anytime!
Different chilling times
- 30 minutes (good) — Cookies are better than no chill but still spread more than desired and lack depth of flavor.
- 1 hour (better) — Noticeably thicker cookies with improved texture but still not quite at peak flavor development.
- ⭐️ 12 hours⭐️ — Best results! Cookies achieve optimal chewiness and flavor; this is where cookie nirvana happens!
- 24 hours (fantastic) — Even richer flavors emerge; texture remains superb—if you can resist indulging sooner!
- Beyond 48 hours — Risk of drying out begins; flavors still deepen but watch out for overly firm texture.
Don’t underestimate this crucial step! The most common mistake I see is skipping or shortening the chilling time because of impatience. Trust me—resist the urge! Your future self will be grateful when you bite into that perfectly balanced cookie you’ve worked hard to create.
How to make Bakery Style Chocolate Chip Cookies
Are you ready to see how straightforward it is to make the Bakery Style Chocolate Chip Cookies of your dreams??
1. PREPARE THE OVEN AND BAKING SHEET
Let’s get everything ready so we can dive straight into cookie-making bliss!
1. Preheat – Preheat your oven to 350°F (175°C). This temperature is perfect for achieving a beautifully baked cookie with crispy edges and a soft center.
2. Line – Line a baking sheet with parchment paper. This not only prevents sticking but also makes cleanup a breeze!
HANDY TIPS
- Using parchment paper? It’s a game-changer for even baking and easy removal of cookies!
- If your oven has hot spots, consider rotating the baking sheet halfway through baking for uniform results.
2. MIX DRY INGREDIENTS
This phase sets the foundation for your cookie dough’s texture.
1. Whisk – In a mixing bowl, whisk together the flour, baking soda, and salt until well combined. This ensures that the leavening agent is evenly distributed throughout the flour, helping your cookies rise perfectly.
HANDY TIPS
- Sifting the flour before measuring can prevent clumps and ensure accuracy in your measurements!
- Always spoon the flour into your measuring cup rather than scooping directly from the bag to avoid packing it down.
3. CREAM BUTTER AND SUGARS
Now, let’s create that dreamy base that gives these cookies their rich flavor!
1. Cream – In another bowl, cream together the softened butter, brown sugar, and granulated sugar until light and fluffy. This process incorporates air into the mixture, resulting in cookies that are tender and chewy.
HANDY TIPS
- Make sure your butter is at room temperature; it should feel soft but not melted!
- If you want an extra depth of flavor, consider using light brown sugar instead of dark.
4. ADD EGGS AND VANILLA
Time to bring richness and aroma into our mixture.
1. Beat – Beat in the eggs one at a time, ensuring each egg is fully incorporated before adding the next. This helps emulsify the batter for a smooth texture.
2. Stir – Stir in the vanilla extract for that irresistible cookie aroma that fills your kitchen!
HANDY TIPS
- Use pure vanilla extract for better flavor compared to imitation vanilla — it makes all the difference!
- For an extra kick, try adding a pinch of cinnamon or espresso powder!
5. COMBINE MIXTURES
Let’s bring everything together!
1. Gradually add – Gradually add the dry ingredients to the wet mixture while mixing on low speed (or using a spatula if you’re mixing by hand). Mix until just combined; overmixing can lead to tough cookies.
HANDY TIPS
- Don’t worry if you see some flour streaks — they will incorporate as you add chocolate chips!
- The dough should be slightly sticky but manageable; if it’s too dry, add a splash of milk.
6. FOLD IN CHOCOLATE CHIPS
This is where all that chocolaty goodness comes into play.
1. Fold – Gently fold in the semi-sweet chocolate chips until they are evenly distributed throughout the dough without overworking it.
HANDY TIPS
- Want even more chocolate? Feel free to mix in some chopped chocolate or different types of chips like dark or white chocolate!
- Chill your dough for 30 minutes before baking for thicker cookies!
7. SCOOP AND BAKE
The moment we’ve been waiting for — let’s get these cookies in the oven!
1. Drop – Using a cookie scoop or tablespoon, drop dough onto the prepared baking sheet, spacing them about 2 inches apart to allow for spreading.
2. Bake – Bake in the preheated oven for 10-12 minutes or until the edges are golden brown while keeping an eye on them so they don’t overbake.
HANDY TIPS
- For smaller cookies, use a teaspoon instead of a tablespoon — just watch them closely as they may bake quicker!
- If you like crispy edges, let them bake an extra minute or two!
8. COOL AND SERVE
Patience is key as we let these beauties cool down!
1. Cool – Allow cookies to cool on the baking sheet for about 5 minutes before transferring them to a wire rack to cool completely. This resting period allows them to set up while still warm and soft.
HANDY TIPS
- Store cooled cookies in an airtight container at room temperature — they’ll stay fresh longer this way!
- Freeze any leftover dough balls for up to three months; just bake straight from frozen when cravings hit!
Make these once, and I wager they will invade your dreams every night too! – Nagi x
FAQ – Bakery Style Chocolate Chip Cookies
How long will these cookies keep? 🍪
These Bakery Style Chocolate Chip Cookies will stay fresh at room temperature for about 3 to 5 days when stored in an airtight container. After day 3, I would say their quality decreases to around 97% as good; they might start to lose that delightful chewiness. If you want them to last longer, consider refrigerating them, which can extend their freshness to about a week. Just remember to let them come back to room temperature before enjoying for the best texture!
❄️ Do I really have to chill the dough?
No, you do not need to chill this cookie dough. I tested these cookies multiple times, and chilling didn’t make a noticeable difference in texture or flavor for this particular recipe. However, if you’re looking for a slight variation in taste and texture, chilling the dough for about 30 minutes can help enhance the flavors even further. Just be aware that it might affect how much they spread while baking.
Can I freeze these chocolate chip cookies? 🥶
Absolutely! You can freeze the cookie dough before baking or freeze the baked cookies themselves. For freezing cookie dough, scoop the unbaked dough onto a baking sheet and freeze until solid, then transfer the dough balls into a zip-top bag or airtight container. They’ll keep well for up to 3 months. When you’re ready to bake, there’s no need to thaw; just add an extra minute or two to your baking time. For baked cookies, allow them to cool completely before freezing in an airtight container; they’ll last about 2-3 months!
🌾 Can these be made gluten-free?
Yes! You can make gluten-free versions of these cookies by substituting all-purpose flour with a 1: 1 gluten-free flour blend (make sure it’s suitable for baking). I’ve tested it with brands like Bob’s Red Mill and King Arthur Flour, and both worked beautifully! Just keep in mind that some gluten-free flours can absorb more moisture, so you may need to slightly adjust the wet ingredients if your batter seems too thick.
Can I reduce the sugar or substitute with sweeteners? 🥄
No, you cannot reduce the sugar without affecting the final result — I’ve tried reducing both sugars multiple times and found that it impacts the texture and flavor significantly. The sugars are key for achieving that perfectly soft and chewy consistency we’re after. If you’re looking for a substitute, I recommend using coconut sugar instead of brown sugar; while it won’t be exactly the same, it does work well as a direct replacement!
Why do I need to cream butter and sugars together? 🧈
Creaming butter with sugars is crucial because it incorporates air into the mixture, which helps create a light and fluffy cookie texture. This process also dissolves the sugars properly so they blend into the batter more seamlessly. When done correctly, creaming should take about 2-4 minutes with an electric mixer until your mixture is pale and fluffy; don’t rush this step! Trust me—your cookies will thank you.
What can I add for variations or customizations? 🍫
The beauty of this chocolate chip cookie recipe is its versatility! Here are some fun ideas:
- Add nuts: Chopped walnuts or pecans add a delightful crunch.
- Change up chocolate: Switch semi-sweet chocolate chips for milk chocolate or dark chocolate chunks.
- Mix-ins: Consider adding ingredients like shredded coconut or dried fruit for added flavor.
Feel free to experiment — just try not to exceed 2 cups of total mix-ins so your cookies maintain their ideal structure!
Troubleshooting
I will continue to add more to this Troubleshooting section as I start seeing questions coming through from people who have made the recipe.
Troubleshooting tips
“My cookies were not as thick as yours!” 😩
- If your butter was too warm when creaming with the sugars, it can cause the dough to spread more than desired. Softened butter should be just that—soft, but still slightly cool to the touch.
- Using too much flour can also lead to flat cookies. Make sure you’re measuring accurately; spoon it into your measuring cup and level it off with a knife rather than packing it down.
- Finally, if you skipped chilling the dough before baking, that can result in thinner cookies. Chilling helps solidify the fats in the dough, resulting in thicker cookies.
I bet they were still YUM though!
“The surface of my cookies split and had massive crevices!” 😭
- This could happen if your dough was overmixed after adding the dry ingredients. Overmixing can lead to excess air being incorporated, causing the cookies to rise quickly and then split while baking.
- Additionally, if your oven temperature is too high, it can cause rapid rising and cracking on the surface. Always use an oven thermometer for accuracy—ovens can often be off by quite a bit!
I bet they were still YUM though!
“My cookies came out wonky!” 🍪
- If you didn’t scoop your cookie dough uniformly or spaced them too closely on the baking sheet, they may have merged together while baking. Aim for even scoops and leave enough space between each one.
- Another culprit could be if you didn’t allow your cookies to cool on the baking sheet long enough before transferring them. They need that time to firm up!
I bet they were still YUM though!
“My cookies were too dark on the edges!” 🔥
- Baking your cookies for too long or at too high a temperature will result in overbaking, leading to burnt edges. Stick to 10-12 minutes at 350°F (175°C) and keep an eye on them towards the end!
- If you used dark-colored baking sheets instead of light ones, this can also contribute to uneven browning since dark pans absorb more heat.
I bet they were still YUM though!