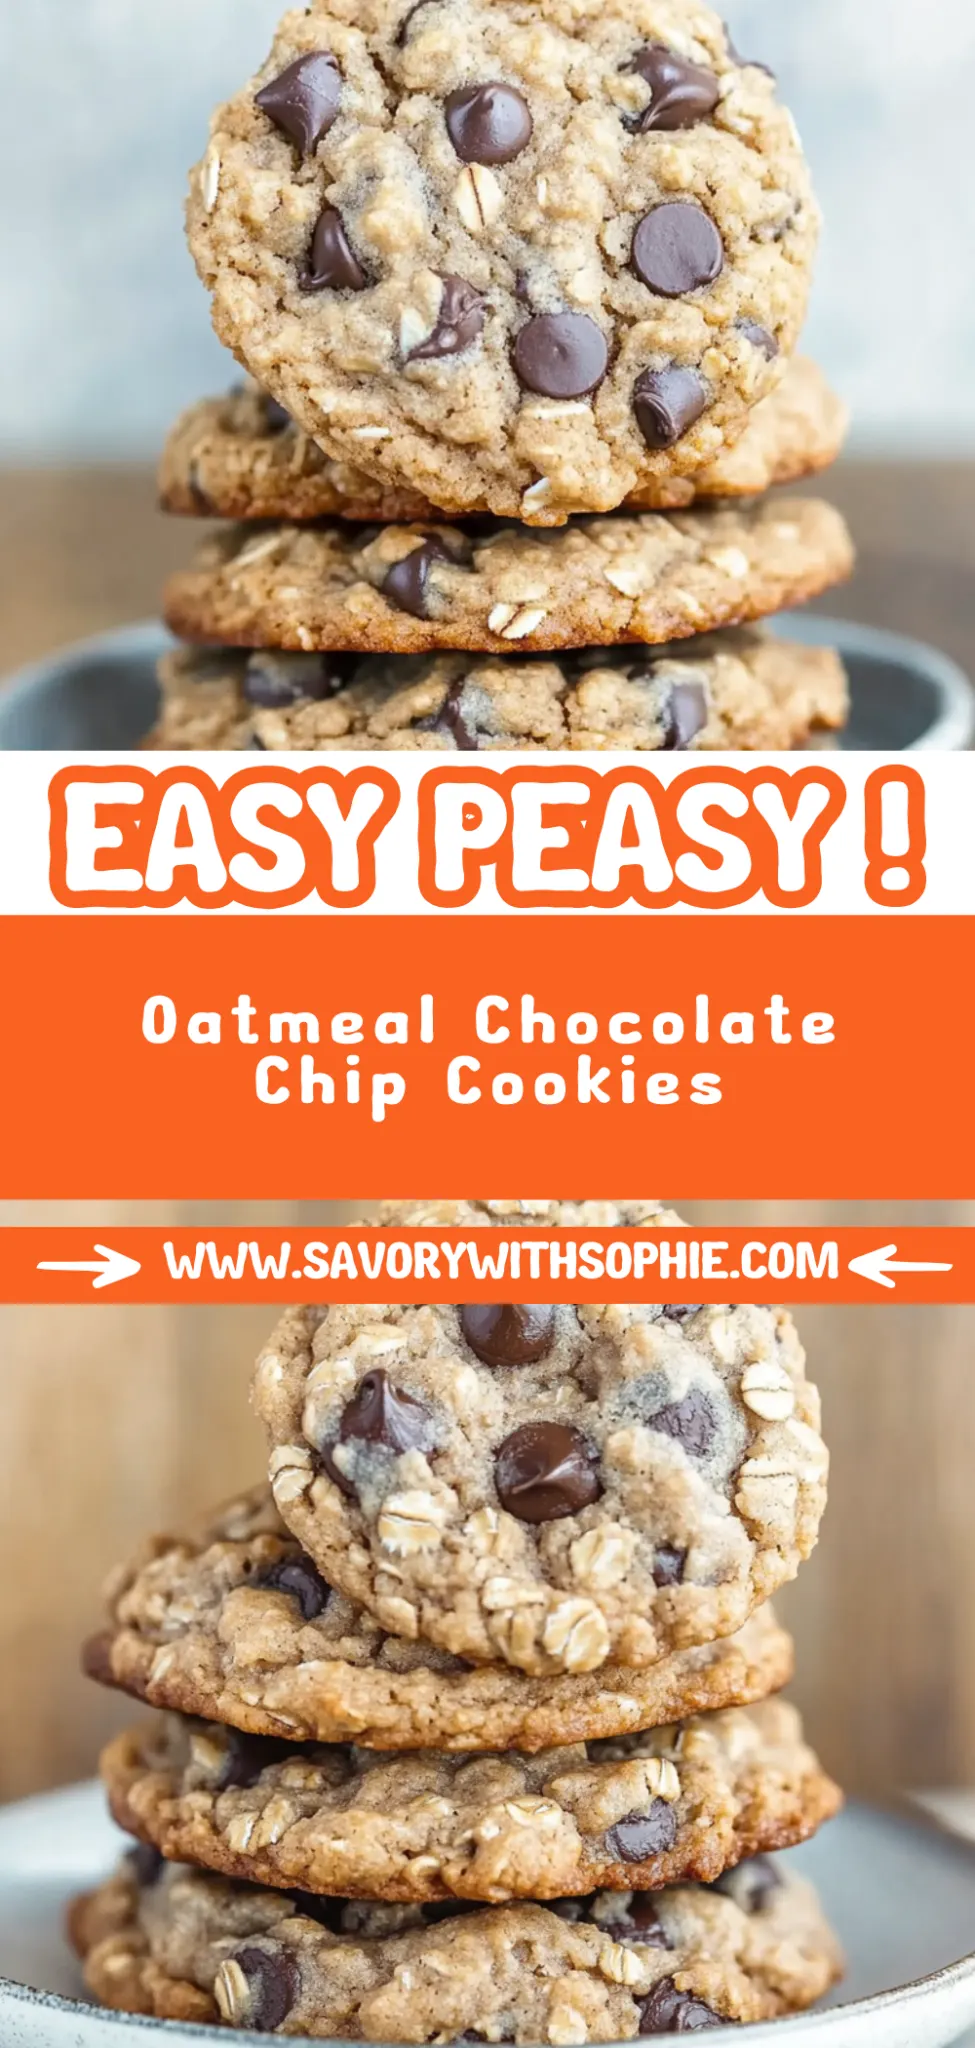
Oatmeal Chocolate Chip Cookies: Chewy and Irresistible De…
It all started with a craving for those chewy oatmeal chocolate chip cookies I used to enjoy from this little café down the street. Every time I’d sink my teeth into one, it felt like a warm hug on a cold day—comforting but slightly indulgent. But as much as I loved them, they weren’t exactly budget-friendly, and sometimes I just wanted that gooey goodness in my own kitchen without breaking the bank. So, I set out on a mission to recreate the magic at home and make it even better.
Let me tell ya, perfecting my Oatmeal Chocolate Chip Cookies was no easy feat. I must’ve whipped up at least six different batches, each one a little more questionable than the last. There were times when I forgot the baking soda and ended up with flat hockey pucks, and other times I threw in too many chocolate chips and created a melty mess that would’ve made any chocolate lover swoon—just not in cookie form! With every attempt, I aimed for that perfect balance of chewiness and rich chocolate flavor that would make my taste buds do a happy dance.
But after all that trial and error, let me just say: it was totally worth it! The final result? Deliciously chewy oatmeal cookies packed with just the right amount of chocolatey goodness. They’re soft yet substantial, with a delightful texture that’ll have you reaching for seconds (or thirds). Seriously, once you take that first bite and experience the explosion of flavors, you’ll be hooked! So grab your mixing bowl and let’s get baking—trust me, your future self will thank you!
These Oatmeal Chocolate Chip Cookies are….
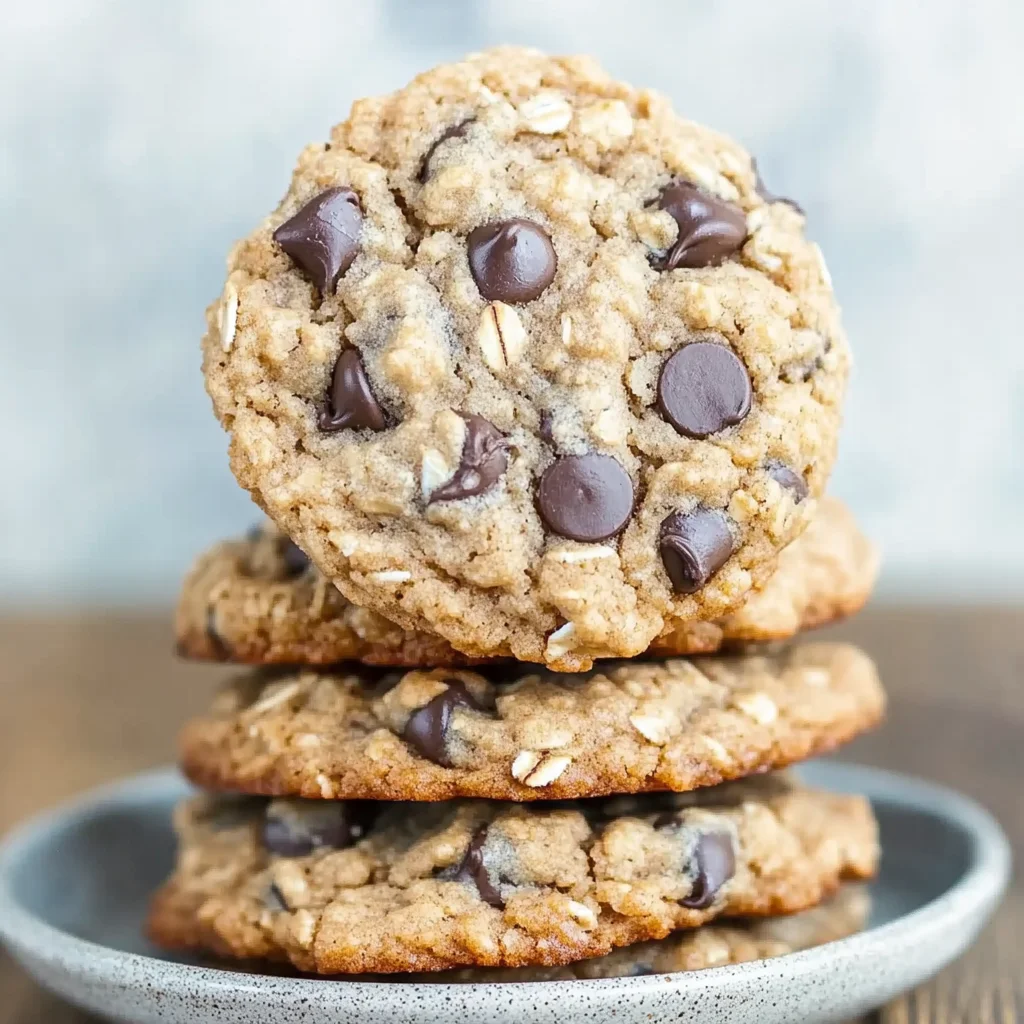
….the ultimate combination of chewy and chocolatey goodness that will leave you craving more!
1. They deliver a wonderfully balanced sweetness with layers of flavor from both brown and granulated sugars. The brown sugar adds a rich, molasses-like depth, while the granulated sugar provides that classic cookie sweetness. This blend creates a flavor profile that’s irresistible in every bite.
2. Perfectly chewy texture – these cookies feature a delightful chewiness thanks to the rolled oats, which give them substance without being overly dense. The oats not only enhance the texture but also make each cookie feel like a satisfying treat that you can really sink your teeth into.
3. Simple yet effective technique – by creaming softened unsalted butter with sugars, I achieve an airy mixture that helps the cookies rise beautifully during baking. This step is crucial for creating a lightness in texture while still maintaining that chewy center we all love.
4. Incredible value – making these cookies at home is not only easy but also budget-friendly compared to store-bought options. With just basic pantry staples like flour and oats, plus some chocolate chips, you can whip up a batch that tastes far superior to any pre-packaged cookie you’d find on the shelf.
PS These cookies yield about 24 perfect-sized treats, ideal for sharing or enjoying throughout the week!
Ingredients You’ll Need
Each ingredient in this dish plays an essential role in flavor and texture. Here’s what you’ll need:
1 cup all-purpose flour: Provides the structure for chewy cookies.
1 teaspoon baking soda: Helps the cookies rise and become fluffy.
1/2 teaspoon salt: Enhances the sweetness and balances flavors.
1 cup rolled oats: Adds heartiness and a delightful chewiness.
1/2 cup unsalted butter (softened): Contributes richness and moisture to the dough.
1/2 cup brown sugar (packed): Infuses a deep, caramel-like sweetness.
1/2 cup granulated sugar: Adds sweetness and helps with texture.
1 large egg: Acts as a binding agent for all the ingredients.
1 teaspoon vanilla extract: Imparts a warm, aromatic flavor that elevates the cookies.
1 cup chocolate chips (semi-sweet): Offers bursts of gooey chocolate goodness in every bite.
You must chill the dough. I tried to skip it. I was wrong!
I know, I know — chilling the dough sounds like an annoying extra step that prolongs your cookie-making adventure. Believe me, I tried to shortcut it and ended up with sad little blobs instead of glorious cookies. So yes, you’ll need to be patient and let the dough hang out in the fridge for at least an hour. Trust me, it’s worth it!
Chilling the dough helps solidify the fats in the butter, which means your cookies won’t spread too much during baking. Think of it like letting pizza dough rest; it allows gluten to relax, resulting in a chewier texture. In our case with these Oatmeal Chocolate Chip Cookies, chilling helps maintain that perfect chewy center while ensuring a crisp edge — a game-changer you won’t want to miss!
What does chilling the dough do?
- Improves Texture: The chilled dough retains its shape better during baking, leading to cookies with a tender, chewy inside and a slight crisp on the outside.
- Enhances Flavor: Allowing the ingredients to meld overnight develops deeper flavors that can’t be rushed; it’s like letting a stew simmer for hours versus eating it straight away.
- Promotes Even Baking: Chilled dough ensures more uniform baking as each cookie holds its form, preventing them from becoming flat pancakes.
- Prevents Excess Spread: With cold fat in the mix, your cookies will hold their shape instead of sprawling out into thin discs.
- Extends Shelf Life: Cookies made from chilled dough tend to stay fresher longer due to their denser texture.
Different chilling times
- 30 minutes (fair) — The cookies will still spread more than ideal and lack depth of flavor; they’re edible but not memorable.
- 1 hour (good) — A noticeable improvement; cookies hold their shape better and have enhanced flavor compared to no chill.
- ⭐️ 12 hours⭐️ — Best option! The ultimate cookie experience with perfect chewiness and rich flavor.
- Beyond 24 hours — Diminishing returns kick in; while still good, there’s a higher chance of drying out or altering texture if left too long.
Be cautious! The most common mistake here is rushing this step and skipping the chilling altogether. If you do, your cookies may end up flatter than expected and lack that glorious chewiness we all crave. Trust me on this one; don’t make my mistake!
How to make Oatmeal Chocolate Chip Cookies
Are you ready to see how straightforward it is to make the Oatmeal Chocolate Chip Cookies of your dreams??
1. PREHEAT THE OVEN
Let’s get that oven ready for some delicious cookies!
1. Preheat – Preheat your oven to 350°F (175°C). This temperature is perfect for achieving that golden brown edge while keeping the center chewy.
2. MIX DRY INGREDIENTS
Time to combine the dry elements for a perfect cookie base!
2. Whisk – In a mixing bowl, whisk together the flour, baking soda, salt, and rolled oats until well combined. The baking soda will help your cookies rise slightly, creating that delightful texture we love!
HANDY TIPS
- Make sure your baking soda is fresh for the best lift in your cookies!
- If you like a nuttier flavor, consider toasting the oats lightly before adding them.
3. CREAM BUTTER AND SUGARS
Let’s create that creamy mixture that makes these cookies irresistible!
3. Cream – In another bowl, cream together the softened butter, brown sugar, and granulated sugar until smooth. You want this mixture to be light and fluffy — this helps incorporate air for a chewy texture.
4. ADD EGG AND VANILLA
Bring in the wet ingredients for added moisture and flavor!
4. Beat – Beat in the egg and vanilla extract until well combined. The egg adds richness, while the vanilla enhances that sweet aroma as they bake!
HANDY TIPS
- Use room temperature butter for easier creaming — it blends smoothly with sugars!
- Don’t skip the vanilla; it adds depth to the cookie flavor!
5. COMBINE MIXTURES
Now we’re going to merge our two mixtures into one delicious dough!
5. Mix – Gradually add the dry ingredients to the wet ingredients, mixing until just combined. Be careful not to over-mix; you want to maintain a tender cookie!
6. ADD CHOCOLATE CHIPS
The best part: let’s fold in those chocolate chips!
6. Fold – Fold in the chocolate chips until evenly distributed throughout the dough. This ensures every bite is packed with gooey chocolate goodness!
HANDY TIPS
- Use semi-sweet chocolate chips for a classic cookie flavor that balances sweetness perfectly.
- If you’re feeling adventurous, try adding nuts or dried fruit for extra texture!
7. SCOOP AND BAKE
It’s almost time to indulge in these delicious cookies!
7. Scoop – Drop rounded tablespoons of dough onto a baking sheet lined with parchment paper, spacing them about 2 inches apart as they will spread while baking.
8. Bake – Bake in the preheated oven for 10-12 minutes, or until the edges are golden brown and centers look set but still soft. Keep an eye on them; ovens can vary!
8. COOL AND SERVE
Let’s finish this off with some cooling time before enjoyment!
9. Cool – Allow the cookies to cool on the baking sheet for 5 minutes before transferring them to a wire rack to cool completely. This resting time helps set their shape while keeping them soft.
Make these once, and I wager they will invade your dreams every night too! – Nagi x
FAQ – Oatmeal Chocolate Chip Cookies
🍪 How long will these cookies keep?
These oatmeal chocolate chip cookies can last up to 1 week when stored in an airtight container at room temperature. After that, their quality starts to decline: about 90% as good on day 3, 80% on day 5, and dropping to approximately 70% by day 7. To maintain their chewiness, I recommend keeping them sealed away from air and moisture. If you want to keep them longer, consider freezing!
❄️ Can I freeze the cookie dough?
Absolutely! Freezing the cookie dough is a great strategy for future cravings. Simply scoop the rounded tablespoons of dough onto a baking sheet lined with parchment paper and freeze until solid. Once frozen, transfer the dough balls into a zip-top bag or airtight container and store them in the freezer for up to 3 months. When you’re ready to bake, no need to thaw—just add an extra minute or two to your baking time.
🌾 Can these be made gluten free?
Yes, you can make gluten-free oatmeal chocolate chip cookies! Substitute 1 cup of all-purpose flour with a good-quality gluten-free flour blend that contains xanthan gum. Just be sure to check that your rolled oats are certified gluten-free, as cross-contamination can occur. I found that this swap works beautifully, giving you chewy cookies without sacrificing flavor.
🥛 What if I want to make these cookies dairy free?
To make these cookies dairy free, simply replace the 1/2 cup of unsalted butter with an equal amount of coconut oil or a dairy-free butter substitute. Both options will yield delicious results! Just remember to check the chocolate chips too; many brands offer dairy-free versions nowadays.
🥄 Can I reduce the sugar or substitute with sweeteners?
No, unfortunately, reducing the sugar isn’t an option here—I tested it extensively! Going down from 1/2 cup brown sugar and 1/2 cup granulated sugar affects the texture and chewiness crucial for these cookies. If you’re looking for alternatives, you might try using coconut sugar or monk fruit sweetener, but they may still impact the final outcome.
🔍 Why do I need to cream the butter and sugars together?
Creaming the softened butter with sugars is essential because it incorporates air into your mixture, leading to lighter and chewier cookies. This process helps create those delightful pockets of air that expand in the oven during baking, giving your cookies that perfect texture! So don’t skip it—trust me, I’ve tried!
🍫 Can I add nuts or other mix-ins?
Definitely! Feel free to customize your oatmeal chocolate chip cookies by adding up to 1 cup of mix-ins like chopped nuts (walnuts or pecans work wonderfully), dried fruits (like raisins or cranberries), or even different types of chocolate chips (dark or white). Just keep in mind that too many additions may alter the moisture balance slightly—so stick close to that one-cup guideline!
Troubleshooting
I will continue to add more to this Troubleshooting section as I start seeing questions coming through from people who have made the recipe.
Troubleshooting tips
“My cookies came out wonky!” 😭
- If your cookies spread too much, it could be that your butter was too warm when you creamed it with the sugars. Softened butter should be just pliable, not melted.
- Another reason might be that you didn’t chill the dough before baking. A quick chill in the fridge can help them hold their shape better.
I bet they were still YUM though!
“My cookies were flat and thin!” 😩
- This often happens if you didn’t measure your flour correctly, especially if it’s packed down rather than spooned into the measuring cup. Too little flour means less structure!
- Using too much sugar can also cause cookies to spread more than intended, making them flat. Stick to the specified amounts for best results!
I bet they were still YUM though!
“My cookies turned out too dry!” 😢
- Overbaking is a common culprit; if you left them in the oven even a minute too long, they can become dry. Keep an eye on them and remove them when they’re just golden at the edges.
- If you measured your oats incorrectly and added too many, that could absorb excess moisture and lead to a drier cookie.
I bet they were still YUM though!
“Why are my cookies so tough?” 😤
- If you mixed the dough too much after adding the flour, it can develop gluten and result in tough cookies. Mix until just combined for a softer texture.
- Also, using cold butter instead of softened butter can lead to tougher cookies since it doesn’t cream well with sugars.
I bet they were still YUM though!
Oatmeal Chocolate Chip Cookies
Ingredients
Method
- Preheat your oven to 350°F (175°C).
- In a mixing bowl, whisk together the flour, baking soda, salt, and rolled oats.
- In another bowl, cream together the softened butter, brown sugar, and granulated sugar until smooth.
- Beat in the egg and vanilla extract until well combined.
- Gradually add the dry ingredients to the wet ingredients, mixing until just combined.
- Fold in the chocolate chips until evenly distributed.
- Drop rounded tablespoons of dough onto a baking sheet lined with parchment paper.
- Bake in the preheated oven for 10-12 minutes, or until the edges are golden brown.
- Allow the cookies to cool on the baking sheet for 5 minutes before transferring to a wire rack to cool completely.