Limeade Recipe
There’s something undeniably magical about the first sip of a perfectly chilled limeade on a warm day. It’s not just a drink; it’s an experience that dances on your taste buds, filling your senses with the bright, zesty notes of fresh limes and the comforting sweetness of sugar. You know, every time I make my Limeade Recipe, it transports me to my childhood—those lazy summer afternoons spent outdoors, laughter echoing, and the sun kissing our skin. The tantalizing aroma of citrus wafts through the air, mingling with the gentle breeze, creating a moment that feels almost sacred. This recipe is a bridge between nostalgia and innovation—a simple concoction that brings people together, refreshes the spirit, and creates memories to cherish.
What makes limeade such a beloved drink? Well, it’s the perfect balance of sweet and tart—a symphony of flavors that quenches your thirst while leaving you craving more. Picture yourself serving this refreshing beverage at a picnic or family gathering; it’s not just a drink; it’s an invitation to pause and savor life’s simple pleasures. And trust me when I say this Limeade Recipe is incredibly easy to whip up! With just a few basic ingredients, you’ll be able to create something truly extraordinary that will leave everyone reaching for seconds. So let’s dive into this delightful adventure together!
Limeade Recipe: A Refreshing Summer Essential
Welcome to the world of homemade limeade! This vibrant beverage is more than just a recipe; it’s an embodiment of joy and refreshment. With each glass filled with this zesty elixir, you’re not just quenching your thirst—you’re celebrating life in its simplest form. Let’s embark on this culinary journey together!
Ingredients:
As we gather our ingredients for this Limeade Recipe, think of each component as part of a beautiful orchestra working in harmony to create something truly refreshing.
- 1 cup Sugar: Sugar is the heart of our limeade—it transforms sourness into sweetness and balances the tartness of fresh limes. When choosing sugar for this recipe, opt for granulated white sugar as it dissolves easily in water and gives that classic sweetness we all love. If you’re looking for alternatives, feel free to experiment with agave syrup or honey, but remember they might alter the flavor profile slightly! The key here is ensuring that you dissolve it completely in water so it integrates seamlessly into your limeade.
- 1 cup Lime juice (freshly squeezed): Freshly squeezed lime juice is non-negotiable in this recipe! The bright acidity cuts through any heaviness and invigorates your palate with every sip. When selecting limes at the store, look for ones that are firm yet slightly yielding—this indicates juiciness. Avoid those with blemishes or overly hard skins as they can be less flavorful. Trust me on this: once you experience the vibrant zing of fresh lime juice compared to bottled versions, you’ll never go back!
- 5 cups Water: Water serves as our base—it harmonizes all flavors while diluting them to achieve that ideal drinkability we crave on hot days. Using filtered water is always best because it ensures purity and enhances flavor without any unwanted aftertaste from tap water. You’ll notice how essential good-quality water is when you take your first sip; it should feel like liquid gold!
- Lime slices for garnish: These aren’t merely decorative; they add an extra burst of lime aroma right before sipping! Not only do they elevate visual appeal, but they also provide guests with an opportunity to squeeze more juice if they desire—a little customization that makes everyone feel special.
Equipment You’ll Need:
Before diving headfirst into creating our Limeade Recipe, let’s ensure we have all necessary tools at hand! Having the right equipment can make your cooking experience smoother and even more enjoyable.
- A medium saucepan: This will be your trusty companion for making simple syrup—the foundation of our limeade’s sweetness. A medium saucepan allows enough space to combine sugar and water without worrying about spills or overflows as you heat it over high heat.
- A whisk or wooden spoon: You’ll need one of these handy tools for stirring and ensuring that sugar fully dissolves into the water during syrup preparation. A whisk works wonders if you’re aiming for efficiency; however, a sturdy wooden spoon adds charm and personality while stirring away.
- A pitcher: A lovely pitcher is crucial for mixing everything together beautifully! Choose one that suits your style—glass or plastic—and has enough capacity (at least 64 ounces) to hold all your delicious limeade without spilling over when you add ice later.
- Measuring cups: Precision matters in cooking! Measuring cups will ensure you get just the right amounts of sugar and water necessary for achieving perfect balance in flavor.
Preparing the Limeade Recipe
Step 1: Crafting Your Simple Syrup
Let’s start by making our simple syrup—the sweet nectar that binds everything together in this Limeade Recipe! In a medium saucepan over high heat, combine 1 cup of sugar with 1 cup of water. As you stir continuously (and I mean continuously!), watch closely as the mixture heats up; soon enough, you’ll see bubbles forming as it begins to boil. This process is crucial because once boiling occurs, it signals that your sugar has fully dissolved into the water—creating an enticing syrup that’s vital for balancing out our tart limes later on.
Once you’ve reached boiling point and confirmed that no grains remain at the bottom (you want smooth textures here), remove your saucepan from heat. Ohh—take a moment to appreciate how delightful this syrup smells already! Allow it to cool for about 30 minutes because pouring hot syrup directly into cold ingredients could alter their temperatures unfavorably—a step worth taking!
Step 2: Mixing It All Together
Now comes one of my favorite parts—combining everything into one harmonious mixture! Grab your pitcher (the one we chose earlier) and pour in that cooled simple syrup along with 1 cup of freshly squeezed lime juice (that liquid sunshine!). Next, add 4 cups of chilled water directly into the mix—this dilution step helps tone down both flavors while maintaining brightness throughout every sip.
Stir gently but thoroughly using either a whisk or wooden spoon until everything blends beautifully—trust me when I say there’s something profoundly satisfying about watching those vibrant colors swirl together! Once mixed well enough so no separation occurs between layers remains visible at first glance—we’re ready for chilling time!
Step 3: Time to Chill
Why chill? The magic really happens during chilling because allowing flavors time to meld creates deeper complexity within each glass served later on! It also helps ensure every sip feels refreshingly cold against warmer days outside—so pop your pitcher into refrigerator space where it’ll stay until you’re ready to serve!
Allow at least two hours here if possible; though I understand waiting can be challenging when anticipation builds—it’ll be worth every second once served over ice!
Step 4: Serve Over Ice
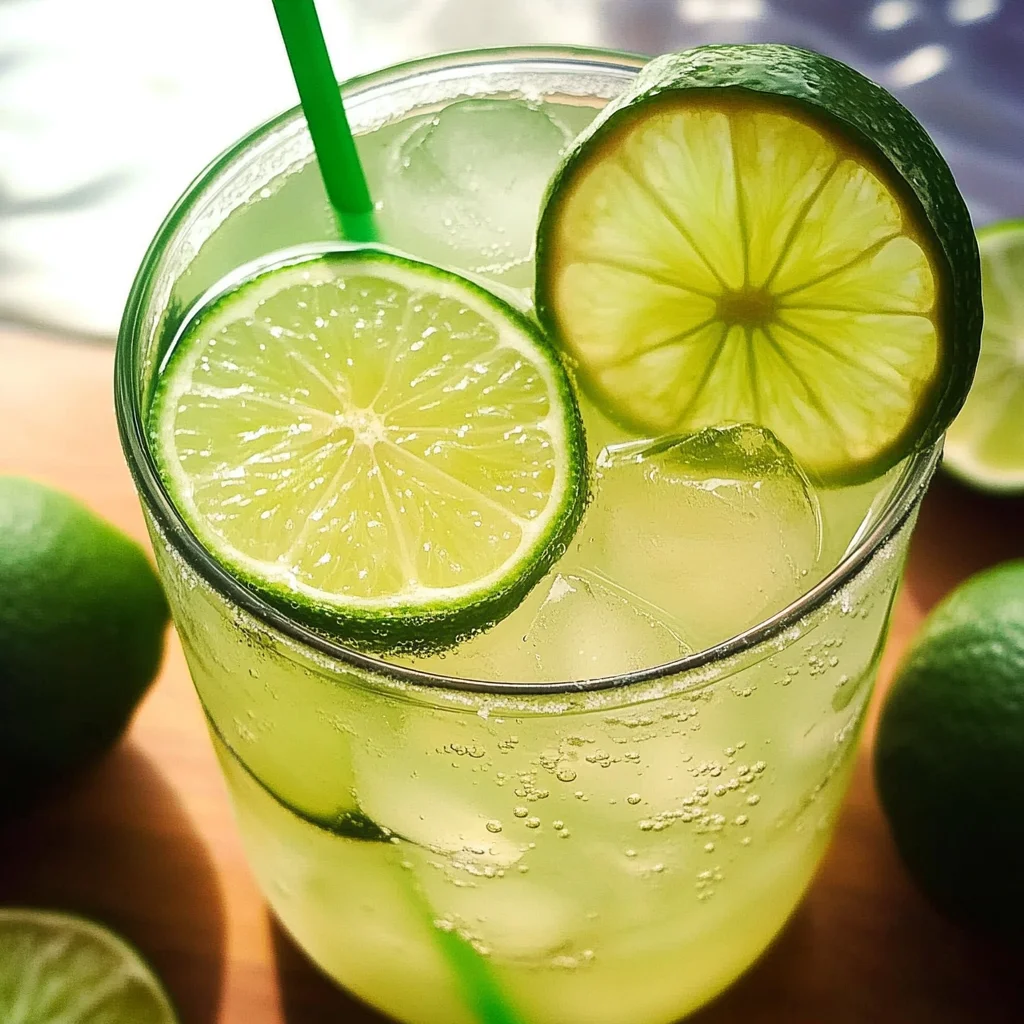
Finally—the moment we’ve all been waiting for has arrived! Fill some glasses generously with ice cubes before pouring in that gorgeous green-hued limeade mixture from your pitcher—all those bright flavors are now fully united! To take things up another notch aesthetically (and flavor-wise), garnish each glass with delightful slices from freshly cut limes—their zestiness will beckon friends closer like sirens calling sailors ashore!
Take pride in presenting this labor-of-love creation—you’ve crafted something truly extraordinary today! Now enjoy those refreshing sips surrounded by laughter shared amongst loved ones—each taste encapsulating warmth found within friendship’s embrace!
With every ounce poured out onto eager taste buds lies proof how simple ingredients can create remarkable experiences—something heartfelt that’ll linger long after last drops disappear…
Crafting Your Refreshing Limeade Recipe
Ah, the sweet anticipation as you prepare to indulge in a glass of homemade limeade! It’s a vibrant, revitalizing drink that dances on your taste buds and transports you to sunny days, even if the clouds are looming outside. Now that we’ve made our simple syrup and combined it with freshly squeezed lime juice and water, we’re almost there! Let’s dive into the final steps of this delightful process that will elevate your Limeade Recipe from simple refreshment to a masterpiece that will impress everyone at your next gathering.
Step 5: Chill Out – The Essential Cooling Process
Once you’ve mixed your lime juice, sugar syrup, and water into a lovely pitcher, it’s time for one of the most crucial steps: chilling. I can’t stress enough how important this is! By refrigerating your limeade for at least an hour – though two or three hours would be even better – you allow all those bright flavors to meld together beautifully. Think of it as letting the ingredients have a little party before they meet your eager taste buds. As they chill, the sugars dissolve further, enhancing the sweetness while softening the tartness of the lime.
When you finally pour yourself a glass, you’ll find that it isn’t just cold; it has transformed into something utterly intoxicating—a perfect balance between sweet and sour that sings summer in every sip. To check if it’s ready, give it a gentle stir before serving; if it feels refreshingly cool to the touch and has a harmonious blend of flavors when tasted, you’re golden! Remember—don’t rush this step! Trust me on this; giving your limeade time to chill will enhance its flavor profile dramatically.
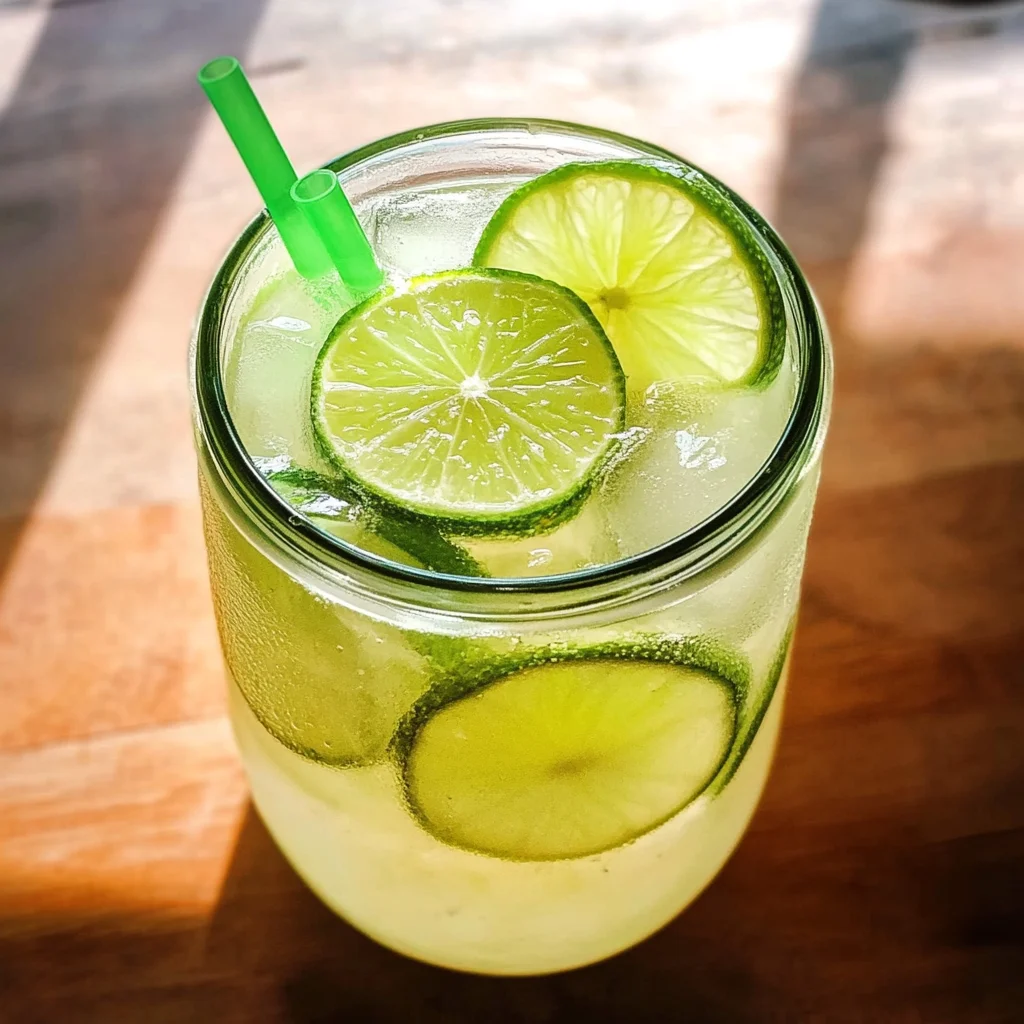
Step 6: Serve Over Ice – Making Each Sip Perfect
Now comes one of my favorite parts—serving! Grab some tall glasses and fill them generously with ice cubes. You want your first sip to be an explosion of cold refreshment, right? As you scoop in those ice cubes, take a moment to appreciate how they glisten like tiny jewels. They’re not just for show; they also work their magic by keeping your limeade chilled longer and diluting it slightly over time without making it watery.
Once you’ve got your glasses ready, carefully pour in the chilled limeade. Watch as it cascades over the ice like liquid gold, creating an enticing swirl of color. This is not merely about quenching thirst; it’s about creating an experience! For an extra flourish—because why not?—add a slice of fresh lime on the rim of each glass. It not only looks stunning but also gives your guests an inviting aroma as they lean in for that first sip.
Step 7: Garnish with Love – Adding That Personal Touch
Let’s not overlook garnishing because presentation is key when serving drinks! The garnish doesn’t just add visual appeal; it also enhances flavor and aroma as guests lift their glasses for a sip. A simple slice of lime placed artfully on the edge or floating atop the drink adds that elegant touch that says you care about every detail. This small act can elevate your Limeade Recipe from homemade refreshment to something worthy of any picnic or garden party.
Don’t hesitate to get creative here! If you’re feeling adventurous (and why shouldn’t you?), consider throwing in some mint leaves for an added layer of freshness or even berries for a pop of color and flavor complexity. The goal is to make each glass look so inviting that your friends will practically leap out of their seats just to take a sip!
Step 8: Taste Test – The Moment We’ve All Been Waiting For
And now—the moment we’ve been waiting for! It’s time to taste this refreshing concoction you’ve lovingly crafted. Grab a straw or simply sip straight from the glass (no judgment here!) and let that vibrant mixture wash over your palate. Pay attention to how each component plays its role: the sweetness from the syrup complements the tangy zing from fresh limes perfectly while leaving behind that lingering sensation of pure joy.
As you savor each sip, take note if anything feels off—maybe it’s slightly too tart or sweet for your liking? This is where you can adjust things according to personal preference before serving others; perhaps adding just a splash more sugar syrup or another squeeze of lime will do the trick. Remember—this Limeade Recipe is yours! Make it truly special by customizing it until it’s just right for you.
Final Touches – Bringing Everything Together
As we reach the culmination of our Limeade Recipe adventure, take pride in what you’ve created! You’ve harnessed fresh ingredients, patience, and love into this refreshing drink that’s bound to become a favorite among friends and family alike. Whether enjoyed during lazy afternoons by yourself or shared at lively gatherings filled with laughter and stories, there’s something profoundly satisfying about sipping on something handmade.
Step 9: Enjoy Every Drop – Savoring Your Creation
Finally, sit back and enjoy every last drop of this invigorating beverage you’ve prepared with such care! Don’t forget—this recipe is versatile enough for experimentation; think about adding other fruits like strawberries or mangoes next time for an entirely new twist on flavors! As you raise your glass in celebration of summer (or whatever season you’re in), remember that every sip encapsulates not just refreshing zest but also cherished moments spent with loved ones.
So go ahead—make this Limeade Recipe yours today! I promise you won’t regret embarking on this delicious journey filled with zesty goodness and heartfelt connections. Cheers to refreshing moments ahead!
Storage and Enjoyment Tips for Your Limeade Recipe
Now that your Limeade Recipe is ready to enjoy, it’s time to dive into the refreshing bliss of this citrusy delight! But wait—before you guzzle down that pitcher in one go (trust me, I’ve been there!), let’s talk about how to store any leftovers properly. After all, we want every sip to be as delightful as the first, and a little foresight goes a long way in preserving that heavenly flavor!
Storing Leftover Limeade Recipe
To keep your limeade tasting fresh and vibrant, pour any leftover goodness into an airtight container. Glass pitchers or jars work beautifully, allowing you to see that gorgeous green hue while also keeping it sealed from any unwanted odors in the fridge. If properly stored, your limeade will maintain its deliciousness for about 3 to 4 days. Now, I have a little tip for you: if you find yourself with some leftover limeade after a party (lucky you!), consider placing a slice of bread inside the container. This may sound strange, but it helps absorb any excess moisture and keeps your drink from becoming watery. The taste after storage remains bright and invigorating; however, I do recommend giving it a gentle stir before serving again—just to rediscover those flavors swirling together! When you’re ready to serve it up again, pour it over ice for that ultimate refreshment.
Freezing Limeade for Later
If you’re like me and love having a stash of homemade treats on hand, freezing your limeade is an excellent option! To freeze it properly, simply pour the limeade into ice cube trays or freezer-safe containers. This method not only makes portioning out easy but also allows you to enjoy a refreshing splash of flavor whenever the mood strikes. When frozen correctly, your limeade can last up to 2 months—just think about how convenient that is on those hot summer days! To use from frozen, pop a few cubes into your glass of water or soda for an instant flavor boost; they’ll melt away and infuse your drink with that zesty goodness in no time. Trust me when I say that having frozen limeade at the ready is like having liquid sunshine waiting just for you!
Limeade Recipe

Refresh yourself with this delightful Limeade Recipe that captures the essence of summer in every sip. This vibrant beverage combines freshly squeezed lime juice, sugar, and water to create a perfect balance of sweet and tart flavors. Whether you’re hosting a picnic, enjoying a lazy afternoon on the porch, or celebrating with friends, this refreshing drink is sure to become a favorite. With its simple ingredients and easy preparation, you’ll find yourself reaching for this homemade limeade time and again. The zesty aroma of fresh limes combined with the coolness of ice will transport you to sunny days filled with laughter and joy. Get ready to quench your thirst with this easy-to-make limeade that’s perfect for any occasion!
- Prep Time: 10 minutes
- Cook Time: 5 minutes
- Total Time: 15 minutes
- Yield: 8 servings 1x
- Category: Beverage
- Method: Mixing
- Cuisine: American
Ingredients
- 1 cup granulated sugar
- 1 cup freshly squeezed lime juice
- 5 cups filtered water
- Lime slices for garnish
Instructions
- In a medium saucepan over high heat, combine sugar and 1 cup of water. Stir continuously until boiling and the sugar dissolves completely to create simple syrup. Remove from heat and let cool for 30 minutes.
- In a pitcher, mix the cooled syrup with 1 cup of lime juice and add 4 cups of chilled water. Stir gently until well blended.
- Refrigerate for at least 2 hours to allow flavors to meld.
- Serve over ice and garnish with lime slices.
Nutrition
- Serving Size: 1 cup (240 ml)
- Calories: 100
- Sugar: 24g
- Sodium: 0mg
- Fat: 0g
- Saturated Fat: 0g
- Unsaturated Fat: 0g
- Trans Fat: 0g
- Carbohydrates: 25g
- Fiber: 0g
- Protein: 0g
- Cholesterol: 0mg