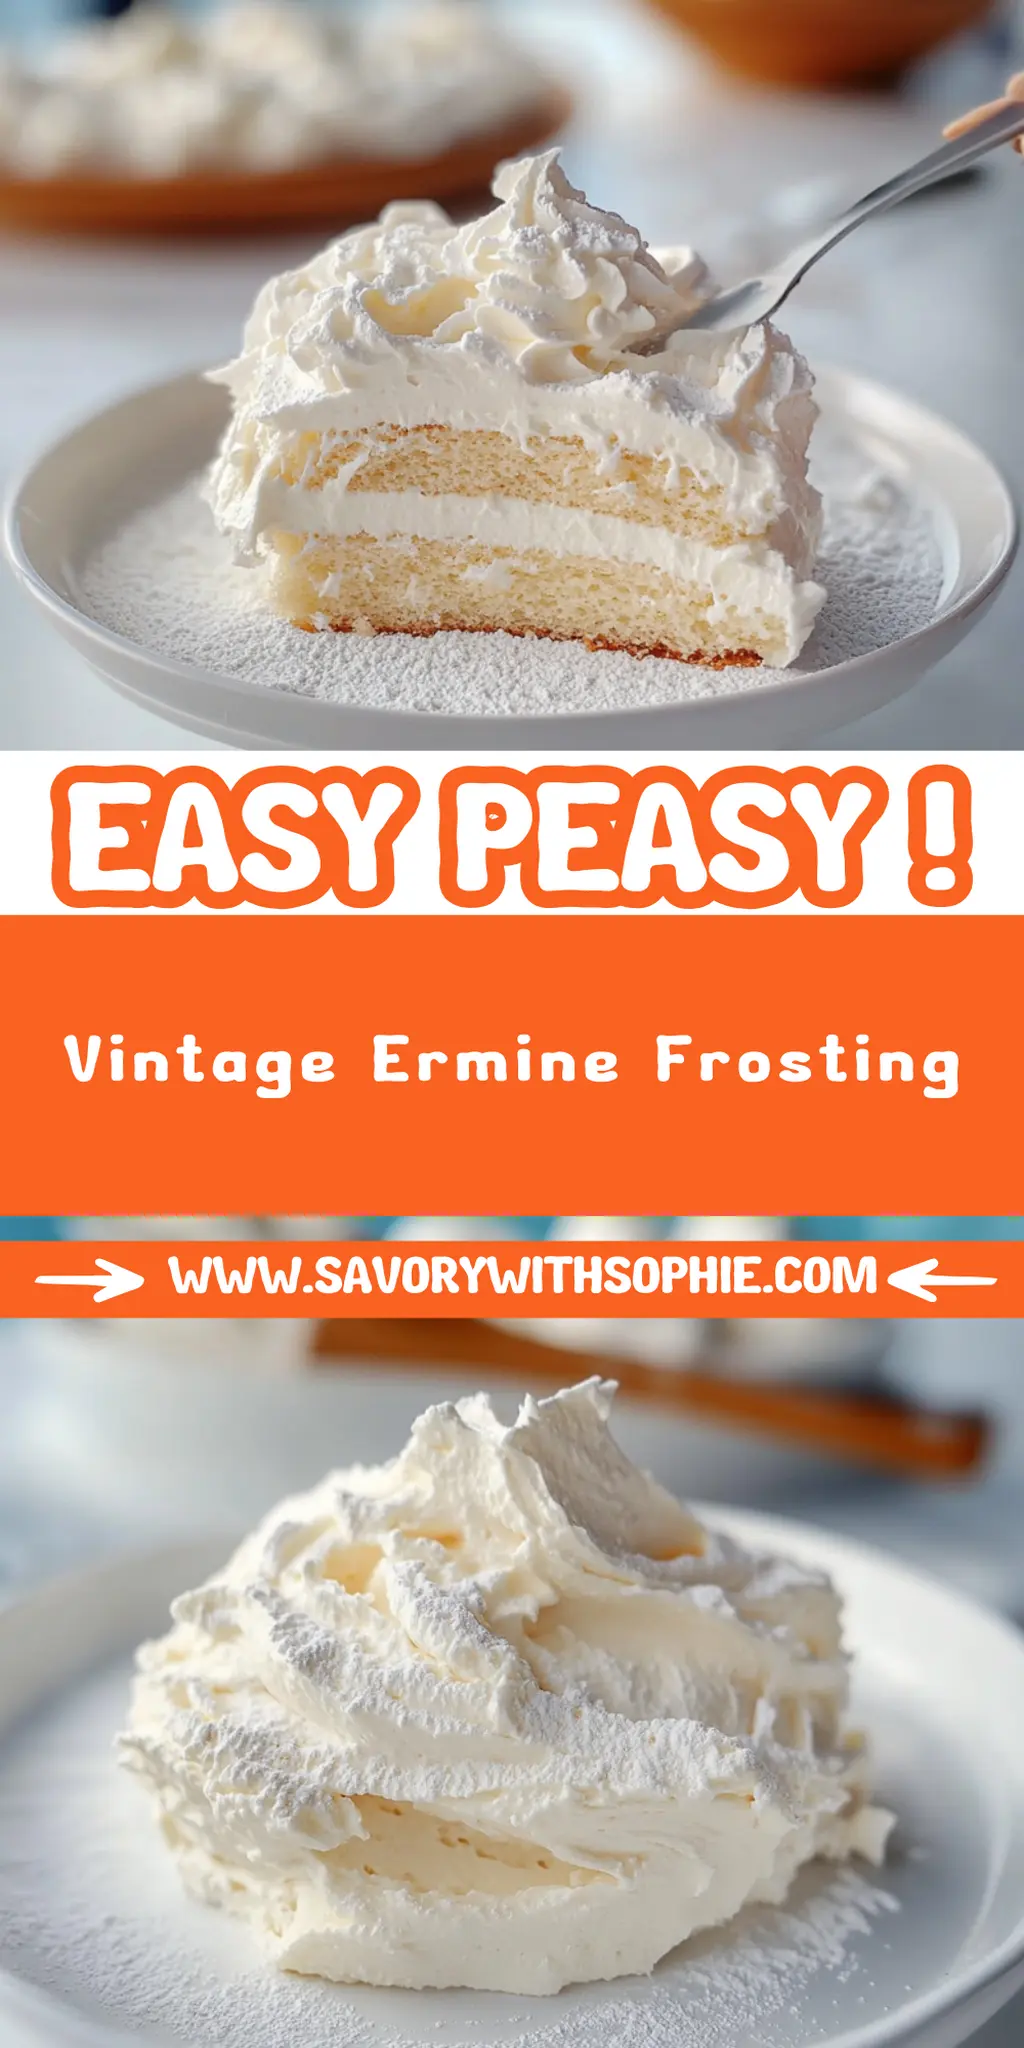
Delicious Vintage Ermine Frosting Recipe for Perfect Cakes
In the sweet world of baking, sometimes you stumble upon a gem that transports you straight back to your grandmother’s cozy kitchen. Vintage Ermine Frosting is one of those delightful creations, with its cloud-like texture and buttery sweetness that brings an irresistible charm to any dessert. Imagine a frosting so light, you might think it’s just whipped air, but each bite bursts with creamy flavor—it’s a true stand-out for your cakes and cupcakes.
This frosting doesn’t just have a royal air; it has a story steeped in tradition and nostalgia. Picture yourself at a family gathering, as laughter fills the room and the smell of freshly baked cakes wafts through the air. Everyone’s eyes widen at the sight of a colorful cake slathered in Vintage Ermine Frosting, gleaming like a crown jewel. Whether you’re celebrating a birthday or just indulging your sweet tooth after a long day, this frosting makes every occasion feel special.
Why You'll Love This Vintage Ermine Frosting
- This incredible Vintage Ermine Frosting transforms simple everyday ingredients into restaurant-quality flavors that will blow your mind completely.
- Foolproof recipe techniques guarantee perfect results every single time, making even novice cooks feel like professional chefs instantly.
- Stunning visual appeal with gorgeous colors and mouthwatering aromas creates the ultimate Instagram-worthy dish for any special occasion.
- Endlessly adaptable for different dietary needs while working beautifully for meal prep, date nights, or entertaining large groups effortlessly.
Ingredients for Vintage Ermine Frosting
Here’s what you’ll need to make this delicious Vintage Ermine Frosting:
5 tablespoons all-purpose flour – This is the backbone of your frosting, giving it structure while keeping it light and fluffy.
1 cup whole milk – The creaminess of whole milk enhances the overall texture, ensuring a rich and smooth frosting.
1 cup granulated sugar – Sweetness is key, and granulated sugar dissolves easily to help create that feathery texture.
1 cup unsalted butter (room temperature) – Using unsalted butter allows you to control the saltiness, while making sure your frosting is as creamy as possible.
1 teaspoon vanilla extract – This fragrant addition brings warmth and depth of flavor that will make your frosting truly memorable.
1 pinch salt – Just a touch of salt balances the sweetness and enhances all the flavors in your frosting.
How to Make Vintage Ermine Frosting
Follow these simple steps to prepare this delicious Vintage Ermine Frosting:
Step 1: Cook the Flour and Milk
In a saucepan over medium heat, whisk together the flour and milk until smooth and lump-free. Keep stirring constantly to avoid any clumps, as we want a silky base for our frosting. Continue cooking until the mixture thickens into a pudding-like consistency, approximately 5–7 minutes. Once it’s ready, remove it from the heat and set it aside to cool completely.
Step 2: Beat the Butter and Sugar
In a stand mixer, add the room-temperature butter and granulated sugar. Beat these glorious ingredients together for about five minutes. You’re looking for that light and fluffy texture—like a cloud, but with a kick of sweetness.
Step 3: Incorporate the Cool Mixture
Once your flour-milk mixture is completely cool, it’s time to add it into the butter-sugar bliss. Add it one spoonful at a time, mixing well after each addition. This gradual incorporation helps achieve the perfect texture without any lumps sneaking in.
Step 4: Add Vanilla and Salt
Time to amp up the flavor! Add in the vanilla extract and that pinch of salt you set aside. Beat the mixture for another 5–7 minutes until it becomes extremely light and whipped. You want it to be airy enough that it practically floats off the spatula.
Step 5: Use or Store Your Frosting
You can use your Vintage Ermine Frosting immediately, or if you want to make it ahead of time, spoon it into an airtight container and refrigerate. If you do refrigerate, just remember to bring it back to room temperature before you whip it again for that dreamy, fluffy texture.
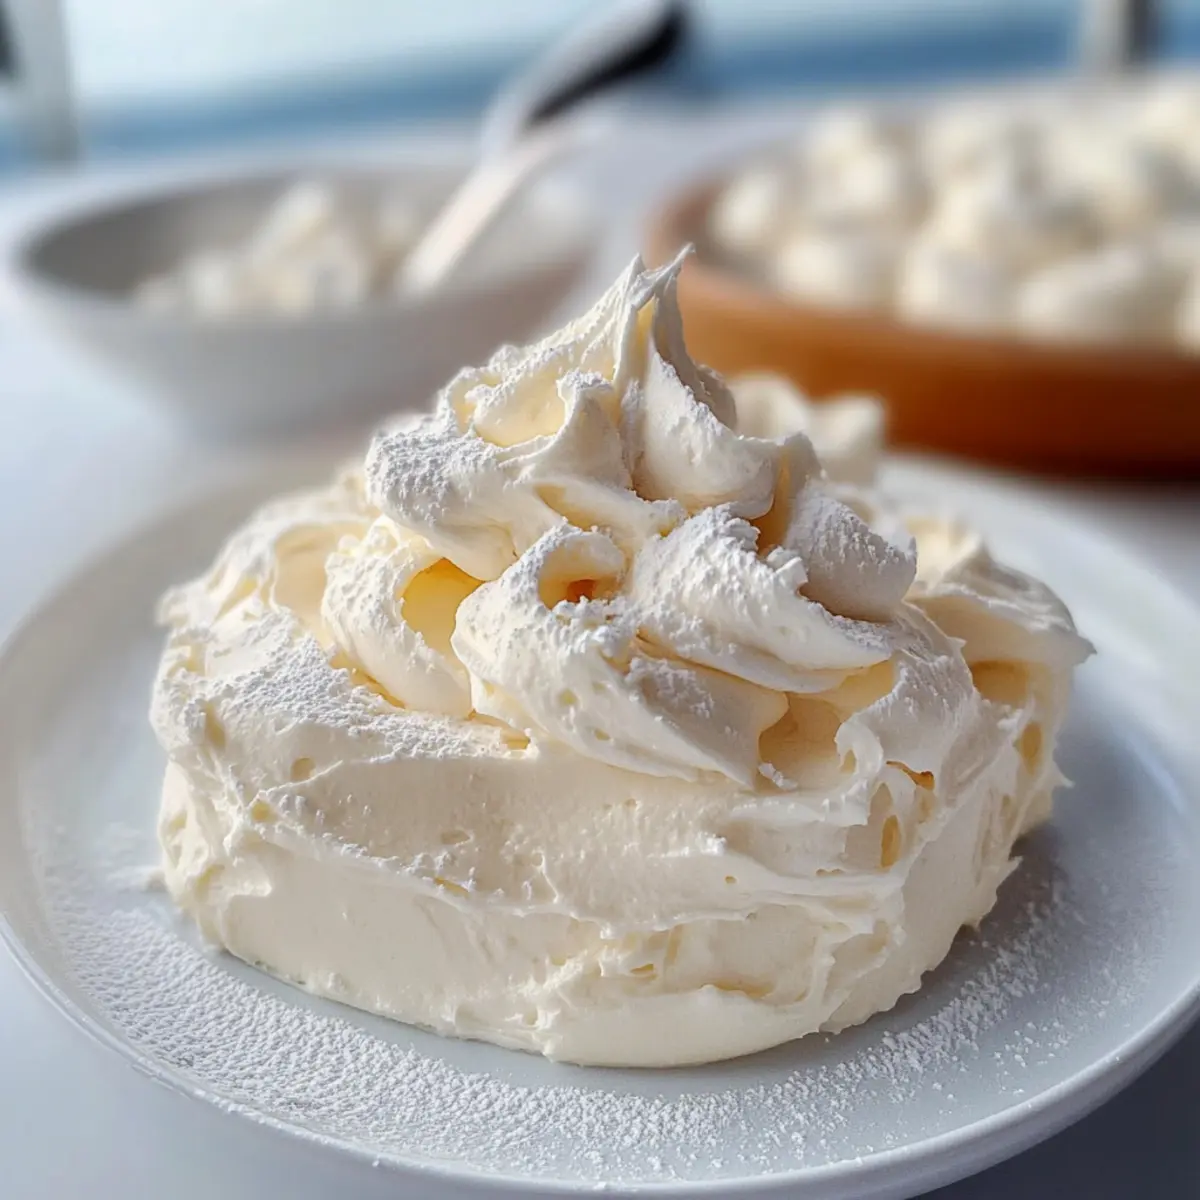
Serve your Vintage Ermine Frosting atop a rich chocolate cake, fluffy vanilla cupcakes, or even just with a spoon for a mid-afternoon treat. The luxurious creaminess pairs delightful flavors and festive colors, making it the perfect topping for all occasions. Enjoy making this timeless frosting, and happy baking!
You Must Know About Vintage Ermine Frosting
- This showstopping Vintage Ermine Frosting delivers restaurant-quality results using simple ingredients you probably already have at home.
- The perfect balance of textures and flavors creates an unforgettable dining experience that will have everyone asking for seconds.
- Picture-perfect presentation with vibrant colors makes this dish absolutely Instagram-worthy and guaranteed to impress any dinner guest.
- Incredibly versatile recipe that works beautifully for weeknight dinners, meal prep, special occasions, or even outdoor entertaining sessions.
Perfecting Vintage Ermine Frosting Cooking Process
Start by whisking flour and milk together in a saucepan over medium heat; this ensures a smooth base. Once thickened, let it cool completely. While cooling, beat sugar and butter until light and fluffy, then gradually add the cooled mixture for the creamiest frosting you’ll love.
Add Your Touch to Vintage Ermine Frosting
Get creative! Consider adding cocoa powder for a chocolate twist or a splash of almond extract for a sophisticated flair. You can also mix in finely chopped nuts or colorful sprinkles to make your frosting truly your own.
Storing & Reheating Vintage Ermine Frosting
Store your Vintage Ermine Frosting in an airtight container in the refrigerator to keep it fresh. When you’re ready to use it again, let it come to room temperature and give it a quick rewhip for the best texture.
Chef's Helpful Tips for Vintage Ermine Frosting
- This professional-quality Vintage Ermine Frosting relies on precise timing and temperature control to achieve restaurant-standard results consistently.
- Master the art of mise en place by prepping all ingredients beforehand, ensuring smooth execution and preventing any last-minute cooking disasters.
- The secret lies in layering flavors throughout the cooking process rather than seasoning only at the end for maximum depth.
- Pro tip: let the finished dish rest for optimal texture and flavor development before serving to hungry guests waiting eagerly.
My grandma always made Vintage Ermine Frosting for birthdays, and it became our family’s secret weapon for cake decorating. It never failed to make everyone smile and ask for seconds!
FAQs About Vintage Ermine Frosting
What is Vintage Ermine Frosting?
Vintage Ermine Frosting is an old-fashioned buttercream that has roots in classic dessert-making. Made with simple ingredients like flour, milk, butter, and sugar, it creates a luxurious, creamy texture that melts in your mouth. Unlike traditional frostings, this unique recipe involves cooking the flour and milk together, then incorporating this mixture into whipped butter and sugar. The result? An incredibly smooth frosting that’s fluffy and perfect for adding a sophisticated touch to cakes and cupcakes.
How do I store Vintage Ermine Frosting?
To store Vintage Ermine Frosting, place it in an airtight container and keep it in the refrigerator. It can last for up to a week, allowing you to prepare it ahead of time for your baking needs. When you’re ready to use it, simply take it out and let it come to room temperature. A quick rewhip will restore its wonderfully fluffy texture, making it just as delightful as when you first made it.
Can I flavor Vintage Ermine Frosting?
Absolutely! One of the best aspects of Vintage Ermine Frosting is its versatility. You can easily infuse it with a variety of flavors to match your cakes or personal preferences. For a chocolate version, simply add cocoa powder during the mixing process. Other delicious options include vanilla, almond extract, or even a hint of citrus zest. Get creative and customize this frosting to suit your taste buds!
Why is my Vintage Ermine Frosting gritty?
If your Vintage Ermine Frosting turns out gritty, it likely stems from not properly cooling the flour-milk mixture before combining it with the butter and sugar. Ensuring this mixture is completely cool is crucial for achieving that silky-smooth texture characteristic of this frosting. Always combine ingredients at room temperature and whip thoroughly to eliminate any lumps or graininess for the best results.
Conclusion for Vintage Ermine Frosting
In summary, Vintage Ermine Frosting is an exceptional choice for anyone looking to elevate their cake decorating skills. By using simple ingredients and a straightforward cooking method, you can create a deliciously smooth frosting that adds elegance to any dessert. Whether you’re flavoring it with chocolate, vanilla, or something unique, this frosting is sure to impress. Embrace the nostalgia and make Vintage Ermine Frosting your new go-to for all your baking needs!
Vintage Ermine Frosting
Ingredients
Equipment
Method
- In a saucepan over medium heat, whisk together flour and milk until smooth and lump-free.
- Continue cooking, stirring constantly, until the mixture thickens into a pudding-like consistency (about 5–7 minutes). Remove from heat and cool completely.
- In a stand mixer, beat butter and sugar together for 5 minutes until light and fluffy.
- Add the cooled flour-milk mixture one spoonful at a time, beating well after each addition.
- Add vanilla extract and a pinch of salt, then beat the mixture for another 5–7 minutes until very light and whipped.
- Use immediately or refrigerate in an airtight container. Bring to room temperature and rewhip before using again.