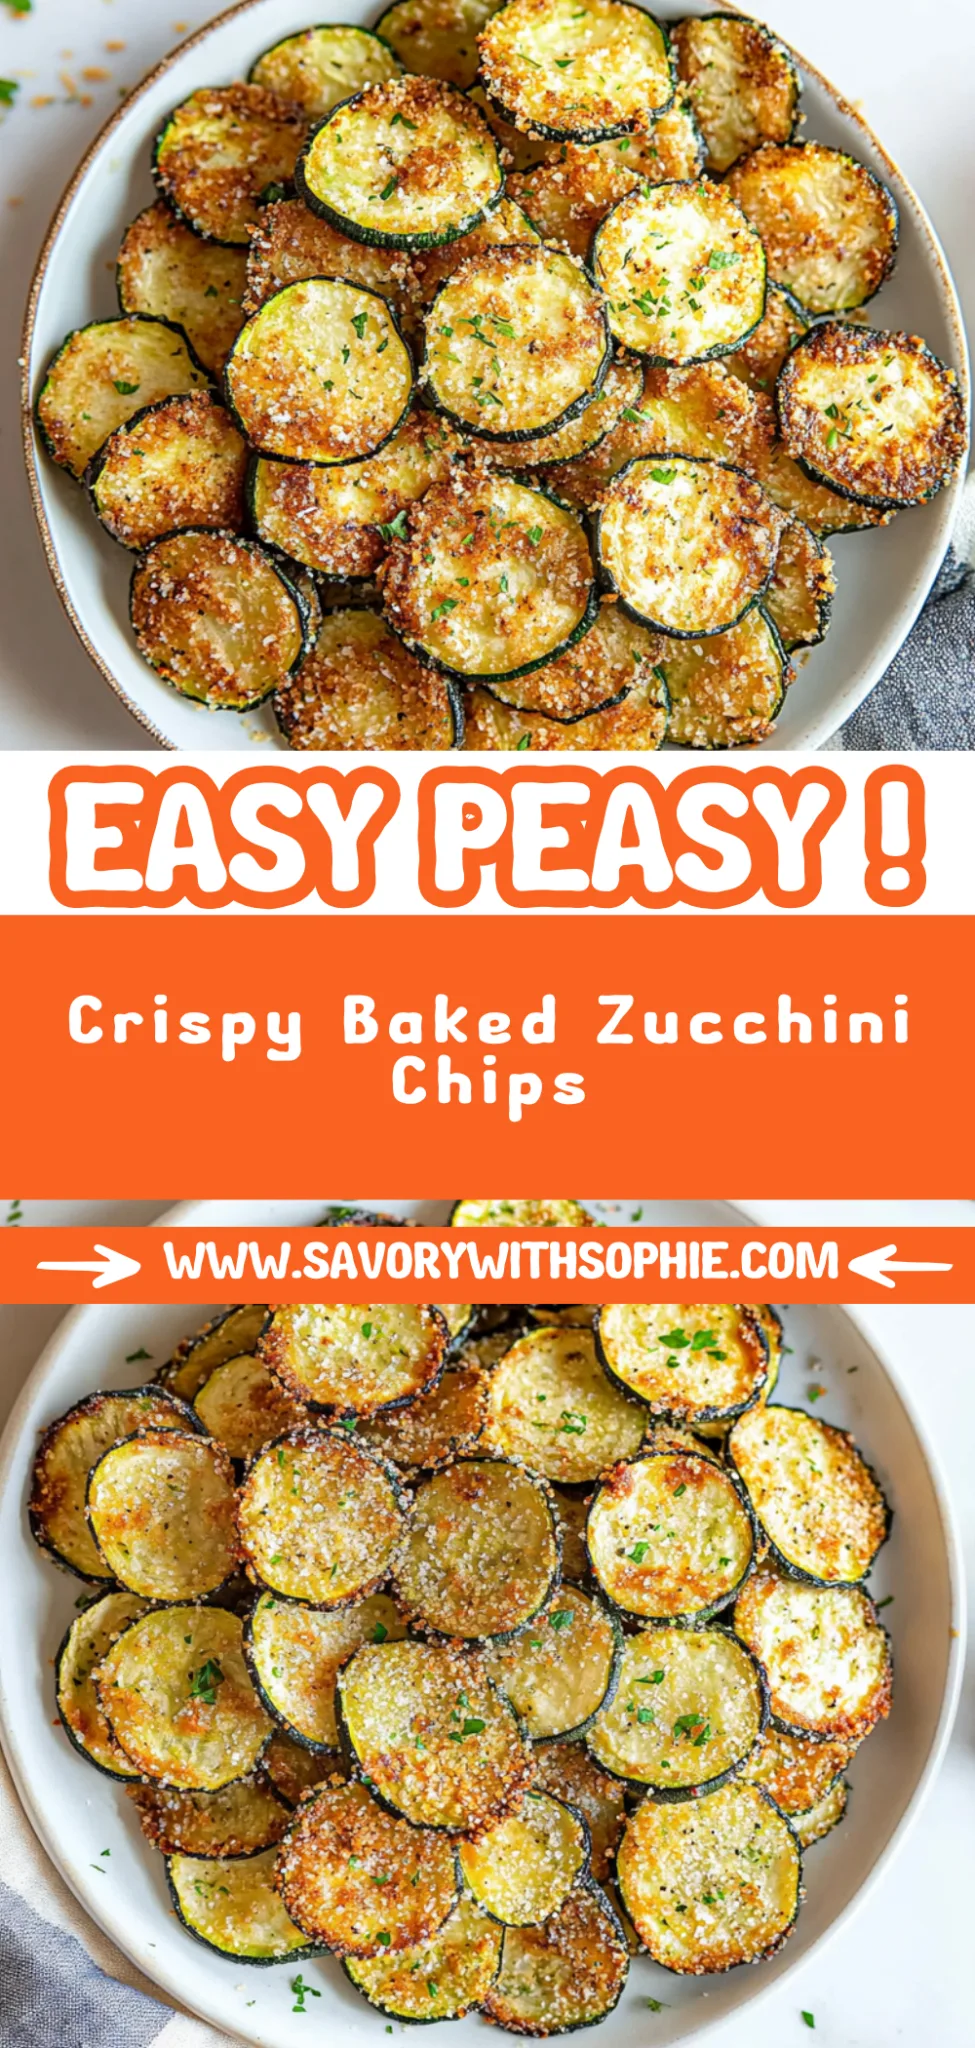
Crispy Baked Zucchini Chips: Addictive and Healthy Snack
I’ll never forget the first time I tasted crispy baked zucchini chips at a little café in my neighborhood. It was a sunny afternoon, and I was looking for something light yet satisfying to pair with my coffee. As soon as I took that first bite, I was hooked—the perfect crunch, a sprinkle of seasoning, and the way they seemed to melt in your mouth while still being wholesome. I couldn’t shake the craving for those delightful chips after that day, so I decided to recreate them at home. Not only was it more cost-effective, but I also wanted to make them even better—crispier and packed with flavor.
Little did I know, perfecting my version of crispy baked zucchini chips would turn into quite the adventure! After three (okay, maybe four) rounds of trial and error—some batches were so soggy they could’ve been mistaken for mini zucchinis doing the backstroke—I finally cracked the code. Each attempt had me adjusting the slicing technique and experimenting with seasonings until I could achieve that ideal balance of crunch without resorting to frying. Honestly, there were times when my kitchen looked like a vegetable war zone!
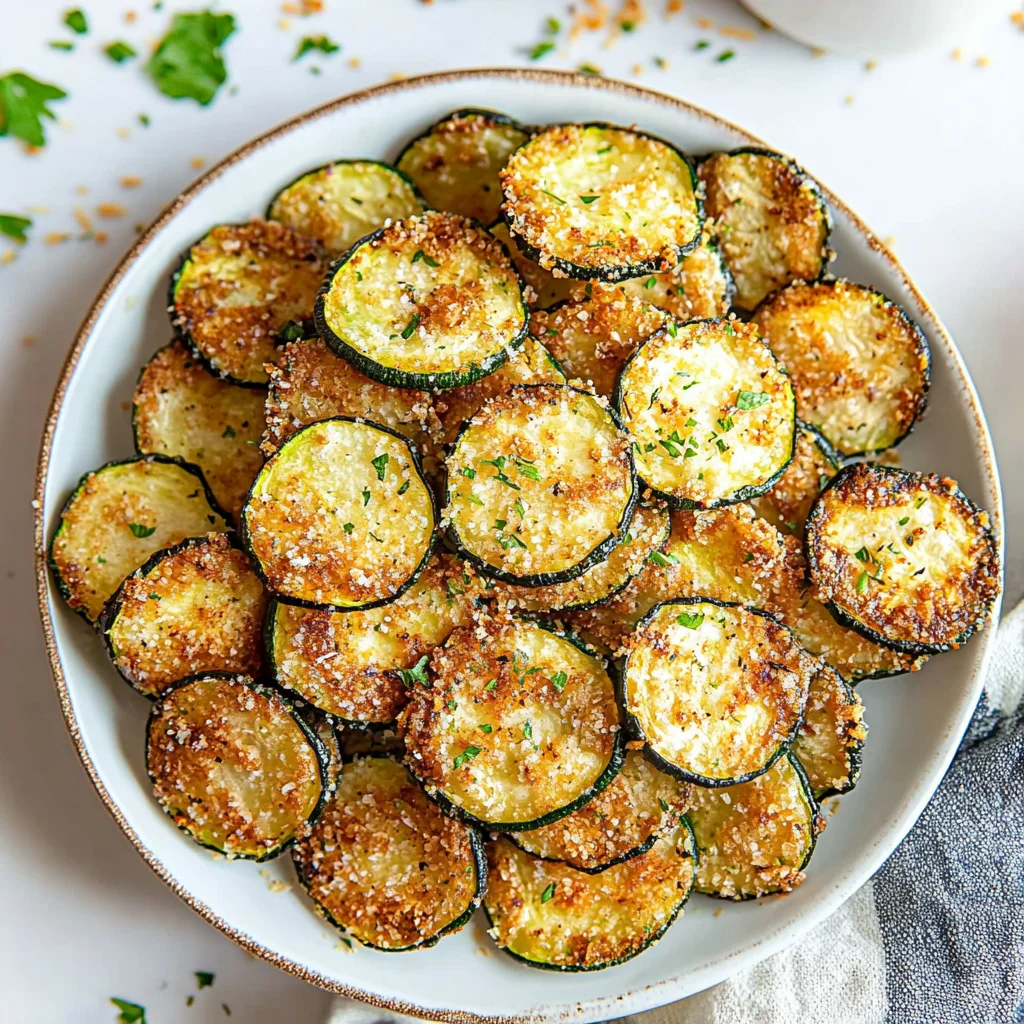
But boy, let me tell you, it was all worth it! The final result is nothing short of a game changer: light, airy chips that boast an irresistible golden-brown color and a flavor that’s surprisingly addictive. These crispy baked zucchini chips are not just healthy; they’re a guilt-free snack that you’ll want to keep on hand at all times. So grab your zucchini and let’s dive into this delicious recipe together—I promise you won’t be disappointed!
These Crispy Baked Zucchini Chips are….
….the ultimate guilt-free snack that will leave you coming back for more!
1. They deliver an incredible flavor with a hint of garlic and paprika. The optional spices elevate the natural sweetness of the zucchini, creating a savory bite that’s utterly addictive. I love how each chip bursts with flavor, making every crunch a delightful experience.
2. Irresistible crunch – thinly sliced zucchini transforms into perfectly crispy chips that shatter with every bite. Achieving this texture is all about slicing the zucchini evenly and baking them until they’re golden brown, ensuring that they are not only crispy on the outside but still full of flavor.
3. A key baking technique – using just the right amount of olive oil to coat the zucchini slices ensures even crisping throughout. This method eliminates sogginess and maximizes flavor, allowing you to enjoy each chip without any greasy residue that often accompanies deep-fried snacks.
4. Budget-friendly – these crispy baked zucchini chips are easy on your wallet and can be made at home in just a few simple steps. Using two medium zucchinis, you’ll have a healthy snack ready in no time, making it a perfect alternative to pricier store-bought options.
PS These chips are super thin and delicate, so handle them gently when transferring from the baking sheet!
Ingredients for the Crispy Baked Zucchini Chips
Each ingredient in this dish plays an essential role in flavor and texture. Here’s what you’ll need:
2 medium zucchini (sliced thinly): Provides a fresh base with a satisfying crunch.
1 tablespoon olive oil (for coating): Helps achieve that perfect golden crispiness.
1 teaspoon salt (to taste): Enhances the natural flavors of the zucchini.
1 teaspoon garlic powder (optional): Adds a savory depth to elevate each bite.
- 1 teaspoon paprika (optional): Imparts a subtle smokiness for extra flavor.
You Must Slice Them Thin! No Compromise!
I’ll be honest — I tried to skip this step and just slice the zucchini a little thicker because, who has the time? But after a few attempts, I learned the hard way that if you don’t slice them thin enough, you end up with soggy chips instead of the crispy goodness we’re aiming for. So, take my advice and embrace that mandoline slicer or knife!
Slicing the zucchini thinly is crucial for achieving that perfect crunch. Think of it like making potato chips; if they’re too thick, they won’t crisp up, and you’ll be left with floppy rounds instead of satisfying chips. By keeping those slices paper-thin, you ensure that every piece bakes evenly, allowing moisture to escape and transforming into a delightful crunch.
What does slicing thin do?
- Crispiness — Thin slices lose moisture more effectively during baking, resulting in a crispier texture that rivals your favorite store-bought chips.
- Even Cooking — Slices of uniform thickness cook at the same rate, preventing some from burning while others remain chewy.
- Flavor Absorption — Thinner slices allow for better penetration of seasonings and oil, enhancing each chip’s flavor profile.
- Visual Appeal — Aesthetically pleasing thin chips tend to have a more uniform golden-brown color when baked.
- Snackability — They are lighter and easier to munch on without feeling guilty about indulging in a crunchy treat.
Different slicing thicknesses
- 1/4 inch (good) — Acceptably crispy but still has a bit of chew. Some may find them not crunchy enough.
- 1/8 inch (better) — Just right! This thickness provides a great balance between crunch and structural integrity.
- Paper-thin (best) — Perfectly crispy chips that shatter delightfully in your mouth. This is where true chip nirvana lies!
- Thicker than 1/4 inch (poor) — You might as well be roasting zucchini rounds; expect soft chips more suitable for toppings than snacking.
Don’t underestimate the importance of slicing your zucchini properly! The most common mistake I see is people trying to cut corners by using thick slices, thinking they’ll get away with it. Trust me, it’s not worth it; you’ll end up disappointed with chips that don’t deliver on the crunch factor we all crave.
How to make Crispy Baked Zucchini Chips
Are you ready to see how straightforward it is to make the Crispy Baked Zucchini Chips of your dreams??
1. PREPARATION
Let’s kick things off by getting everything prepped and ready for action!
1. Preheat – Preheat your oven to 225°F (110°C). This low temperature is key to achieving that perfect crispiness without burning the zucchini.
2. Line – Line a baking sheet with parchment paper. This prevents the zucchini chips from sticking and makes for easy cleanup later (because we all love an easy cleanup, right?).
3. Slice – Slice the zucchini into thin rounds using a mandoline slicer or a knife. Aim for about 1/8 inch thick—this ensures they cook evenly and get nice and crispy.
HANDY TIPS
- Using a mandoline slicer will give you perfectly uniform slices, which means even cooking.
- If you have larger zucchinis, consider using only the smaller ends for better chip results!
2. COATING
Now it’s time to add some flavor and prepare those slices for baking!
4. Toss – In a large bowl, toss the zucchini slices with olive oil, salt, garlic powder, and paprika until evenly coated. The olive oil helps them crisp up beautifully while the seasonings add delicious flavor. Make sure every slice gets some love!
HANDY TIPS
- Adjust the salt according to your taste preference; if you’re watching your sodium intake, feel free to reduce it!
- The garlic powder and paprika are optional but highly recommended for that extra kick!
3. BAKING
This is where the magic happens as we turn those seasoned slices into crispy chips!
5. Arrange – Arrange the zucchini slices in a single layer on the prepared baking sheet. Avoid overlapping them; this allows hot air to circulate around each slice, ensuring maximum crispiness.
6. Bake – Bake in the preheated oven for 25-30 minutes, flipping halfway through. Keep an eye on them as they bake! You want them golden brown and crispy but not burnt—trust me, they’ll be irresistible when done right.
HANDY TIPS
- Flip them gently halfway through to ensure even browning without breaking them.
- If you prefer even thinner chips, reduce baking time slightly as they may crisp up faster!
4. COOLING
The final step before enjoying your homemade snack!
7. Cool – Remove from the oven and let the chips cool on the baking sheet for a few minutes before serving. This cooling time allows them to firm up even more—trust me; don’t rush this part!
HANDY TIPS
- If you like extra crunchiness, leave them in the oven with the door slightly ajar for an additional five minutes after baking.
Make these once, and I wager they will invade your dreams every night too! – Nagi x
FAQ – Crispy Baked Zucchini Chips
🥒 How long will these zucchini chips keep?
These crispy baked zucchini chips are best enjoyed fresh, but they can be stored for a few days. I’ve found that they maintain about 90% of their crispiness on day 1, around 70% on day 2, and drop to 50% by day 3. To store, place them in an airtight container at room temperature. Avoid refrigerating them, as this introduces moisture that will make them soggy! If you want to keep them longer, consider making a larger batch and freezing.
⏲️ Do I need to rest the zucchini slices before baking?
No, you don’t need to rest the zucchini slices before baking. In fact, it’s best to bake them immediately after tossing with olive oil and seasonings. The longer they sit, the more moisture they release, which can impact their crispiness during baking. I’ve tested this multiple times and found that immediate baking yields the crispiest results!
❄️ Can I freeze leftover zucchini chips?
Yes, you can freeze leftover zucchini chips, but I recommend doing so only if they’re fully cooled and crispy. To freeze, lay them flat in a single layer on a baking sheet and freeze until solid. Then transfer them to a freezer-safe bag or container. When you’re ready to enjoy them, simply reheat in the oven at 225°F (110°C) for about 5-10 minutes to restore their crunchiness. Just keep in mind that while they’ll taste great, the texture might not be quite as perfect as when freshly made.
🌱 Are these baked zucchini chips gluten-free or vegan?
Absolutely! These crispy baked zucchini chips are naturally gluten-free and vegan as long as you stick with the basic ingredients: zucchini, olive oil, salt, garlic powder, and paprika. If you’re looking for variations or add-ins, feel free to experiment with different seasonings or even sprinkle some nutritional yeast for a cheesy flavor without dairy!
🔄 Can I substitute olive oil with another oil?
Yes! While I prefer olive oil for its flavor and health benefits, you can substitute it with other oils such as avocado oil or canola oil if that’s what you have on hand. Just note that different oils may impart slightly different flavors—avocado oil has a mild taste that works well too!
🤔 Why do I need to slice the zucchini thinly?
Slicing the zucchini thinly is crucial for achieving that perfect crunch! Thicker slices tend to retain more moisture during baking, making it difficult for them to crisp up effectively. Aim for slices that are about 1/8 inch thick; using a mandoline slicer can help achieve uniformity in thickness. Trust me—I experimented with various thicknesses because who doesn’t love crunchy snacks?
🌶️ Can I add other seasonings or flavors?
Definitely! Feel free to customize your zucchini chips by adding your favorite spices or herbs. Some popular options include Parmesan cheese (if not vegan), chili powder for heat, or even Italian seasoning for an herby twist. Just remember to adjust the salt accordingly if you’re adding salty ingredients like cheese! Experimenting is half the fun—go wild!
Troubleshooting
I will continue to add more to this Troubleshooting section as I start seeing questions coming through from people who have made the recipe.
Troubleshooting tips
“My zucchini chips are too soggy! 😩”
- You may not have sliced your zucchini thin enough. For the crispiest chips, aim for slices that are about 1/8 inch (3mm) thick. Thicker slices retain more moisture and won’t crisp up well.
- If you skipped salting the zucchini before baking, excess moisture could be the culprit. Salting helps draw out water, so don’t skip this step!
I bet they were still YUM though!
“My chips are burnt on the edges but soft in the middle! 🔥”
- Your oven temperature might be too high. Baking at 225°F (110°C) is crucial for even cooking; if it’s hotter, the edges cook faster than the center.
- Ensure you’re arranging your zucchini in a single layer on the baking sheet. Overlapping slices can trap steam, making them soggy while some parts burn.
I bet they were still YUM though!
“My chips turned out pale and not crispy! 😕”
- If you didn’t bake them long enough, they won’t develop that lovely golden color and crispy texture. Make sure to bake for 25-30 minutes and flip halfway through for even browning.
- Using too much olive oil can also lead to sogginess instead of crispiness. Stick to 1 tablespoon for 2 medium zucchinis; it’s just enough to coat without drowning!
I bet they were still YUM though!
“Some of my chips look misshapen and uneven! 🤷♀️”
- If you didn’t use a mandoline slicer or a steady hand when slicing, your zucchini pieces might vary in thickness. Try to keep them uniform, around 1/8 inch (3mm), for consistent cooking results.
- Also, make sure to lay them out flat on the baking sheet without overlapping; this helps each chip get its due attention from the heat!
I bet they were still YUM though!
Crispy Baked Zucchini Chips
Ingredients
Method
- Preheat the oven to 225°F (110°C).
- Line a baking sheet with parchment paper.
- Slice the zucchini into thin rounds using a mandoline slicer or a knife.
- In a large bowl, toss the zucchini slices with olive oil, salt, garlic powder, and paprika until evenly coated.
- Arrange the zucchini slices in a single layer on the prepared baking sheet.
- Bake in the preheated oven for 25-30 minutes, flipping halfway through, until they are golden brown and crispy.
- Remove from the oven and let the chips cool on the baking sheet for a few minutes before serving.