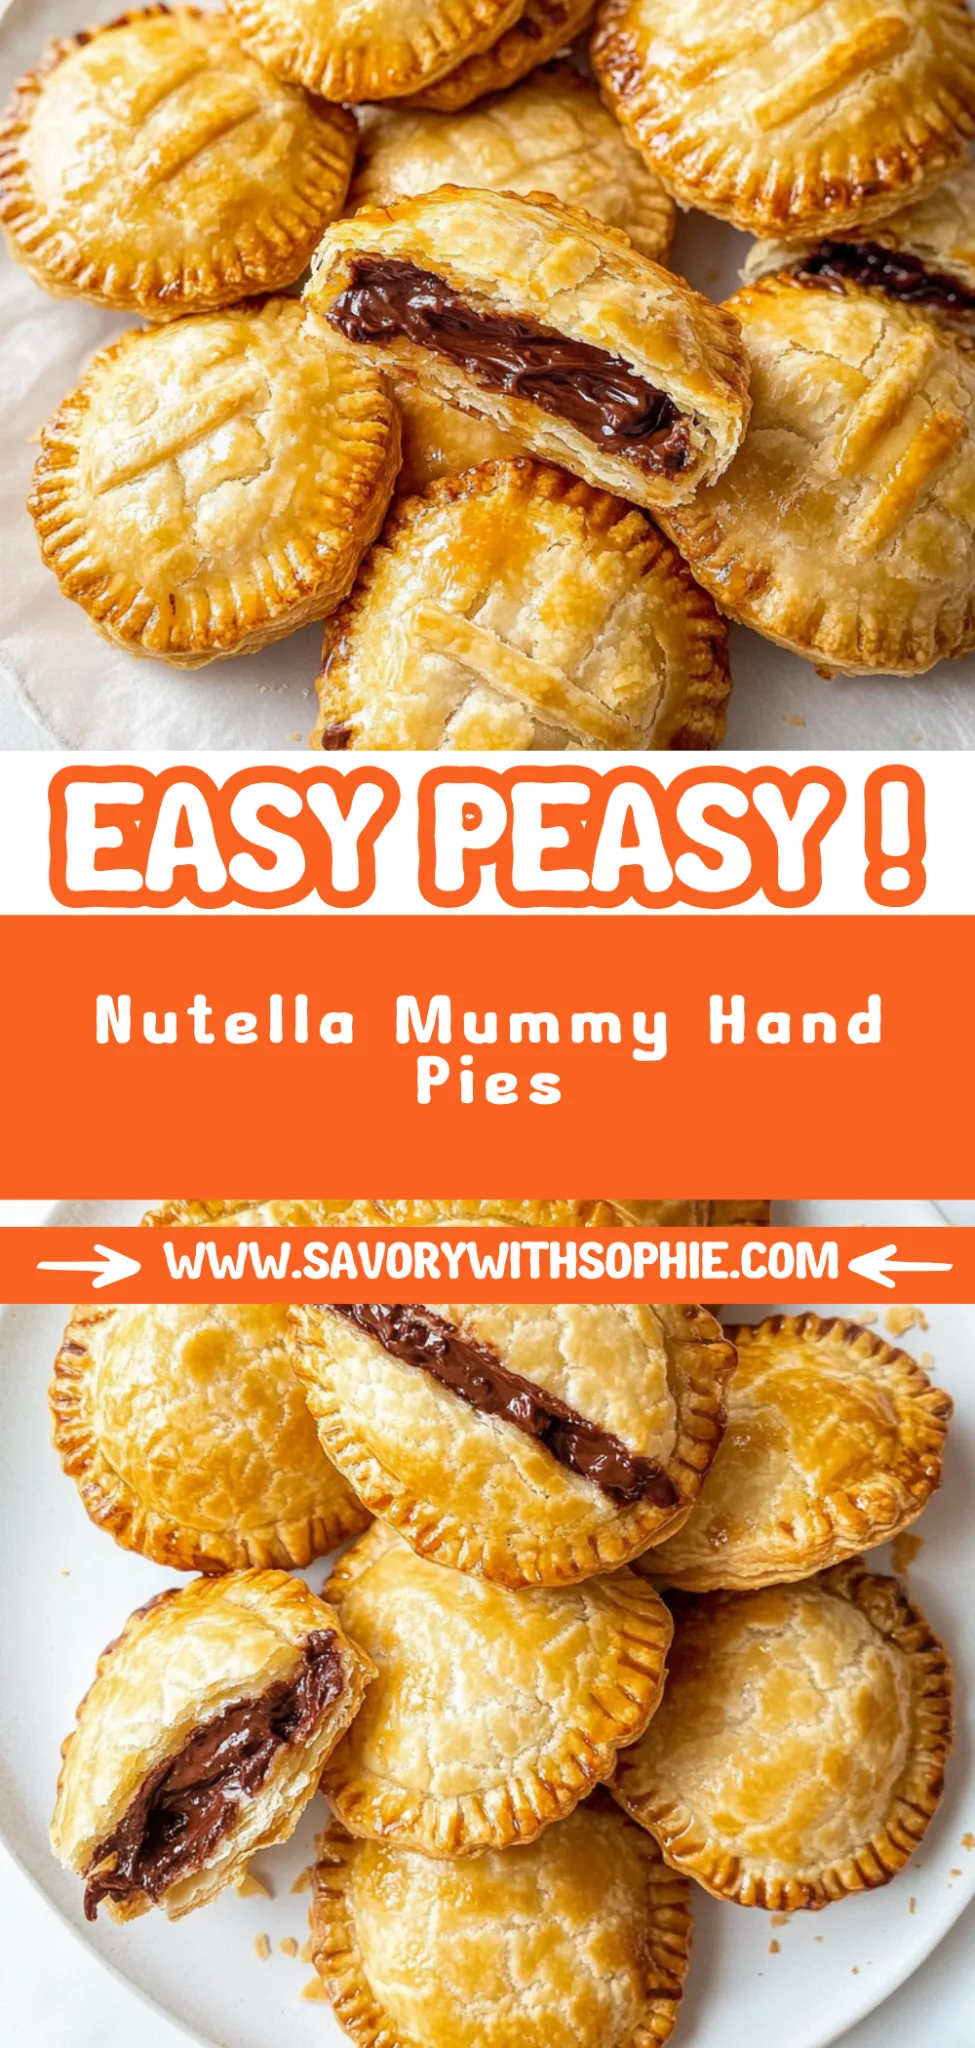
Nutella Mummy Hand Pies: Spookily Delicious Treats
I first stumbled upon the idea for Nutella Mummy Hand Pies during a late-night Halloween binge-watching session of classic horror films. As I munched on store-bought treats, I couldn’t shake the feeling that I could do better—especially when it came to those adorable mummy designs. The thought of flaky pastry wrapped around gooey Nutella was enough to make me leap off the couch and head for my kitchen instead of settling for the usual pre-packaged goodies. Plus, who doesn’t love the thrill of making something cute and delicious from scratch, especially when it’s more cost-effective than those overpriced Halloween snacks?
Let me tell you, perfecting this recipe wasn’t as easy as slathering Nutella on toast! I went through five iterations, each one a comical disaster in its own right. The first batch turned into a messy chocolate explosion—think of a mummy after a wild party! My goal was simple: to create hand pies that not only looked like mummies but also had that ideal balance of crispy pastry and luscious filling. After many flour-covered countertops and a few choice words directed at my kitchen skills, I finally got it right.
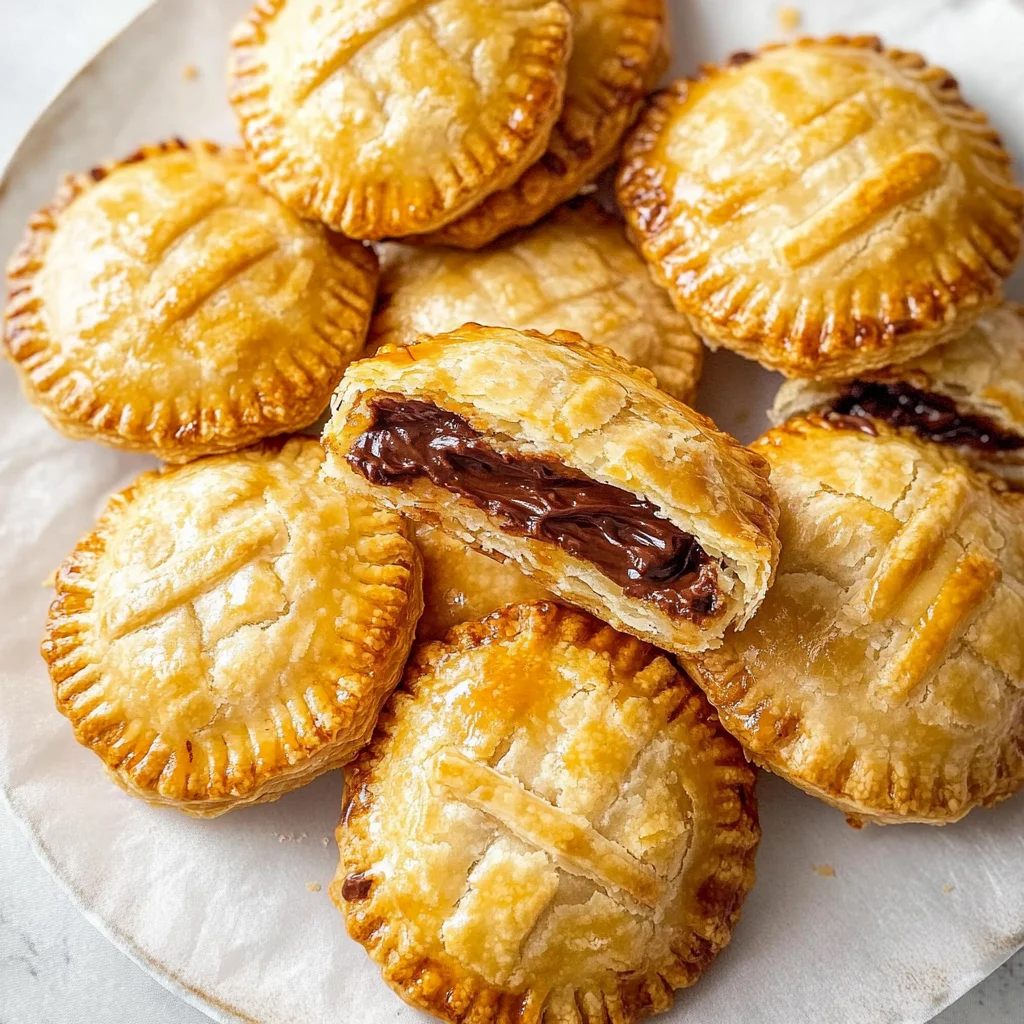
And oh boy, was it worth the effort! These Nutella Mummy Hand Pies emerge from the oven golden brown, their flaky crusts giving way to a rich, velvety center that’s pure Nutella bliss. The way they pop with flavor while being deceptively simple to make is truly impressive, plus they have an uncanny ability to vanish within minutes at any Halloween gathering. I can’t wait for you to try these little delights—they’re sure to be a hit! So grab your apron and let’s get mummifying!
These Nutella Mummy Hand Pies are…
….the ultimate Halloween treat that combines fun and flavor in every bite!
1. They deliver a decadent chocolate experience with the rich filling of Nutella nestled inside. The combination of creamy hazelnut chocolate and buttery pastry creates a mouthwatering contrast that makes each hand pie irresistible, perfect for satisfying your sweet tooth this spooky season.
2. Flaky, tender crust – Each bite reveals a beautifully flaky texture that’s achieved by using cold, cubed butter. This technique helps create layers in the pastry, giving you that delightful crunch on the outside while remaining tender and light inside, ensuring you savor every morsel.
3. The egg wash technique gives these pies their golden-brown finish, making them visually appealing and adding a touch of shine. I’ve found that brushing the crust with egg wash before baking not only enhances the color but also seals in the delicious Nutella filling, preventing any leaks during baking.
4. A cost-effective delight – Making these Nutella Mummy Hand Pies at home is not just fun; it’s budget-friendly too! With simple ingredients like all-purpose flour and butter, you can whip up a batch that rivals store-bought versions without breaking the bank, plus they taste fresher and more personalized.
PS These hand pies are perfectly sized for snacking or sharing at Halloween parties—just be ready for everyone to ask for seconds!
Ingredients for the Nutella Mummy Hand Pies
Each ingredient in this dish plays an essential role in flavor and texture. Here’s what you’ll need:
Pie Crust
2 cups all-purpose flour: Provides structure and a flaky texture for the crust.
1 tsp salt: Enhances the overall flavor of the pastry.
1/2 cup unsalted butter (cold and cubed): Creates a tender, rich crust with a buttery taste.
1/4 cup ice water (more if needed): Binds the dough while keeping it cool for flakiness.
Filling and Decoration
1/2 cup Nutella: Adds a creamy, chocolate-hazelnut filling that delights the palate.
1 large egg (for egg wash): Gives the crust a beautiful golden sheen when baked.
1 cup confectioners’ sugar (for glaze): Sweetens the glaze and provides a smooth finish.
2 tbsp milk (for glaze): Thins out the glaze for easy spreading and drizzling.
1 tbsp vanilla extract (for glaze): Introduces a warm, inviting flavor to the sweet glaze.
1 cup candy eyes (for decoration): Adds a fun and spooky touch to your mummy hand pies.
You Must Chill the Dough. No Exceptions!
I know, I know—chilling the dough adds more time to your baking adventure, and who has time for that when you’re excited to devour these Nutella Mummy Hand Pies? Believe me, I tried skipping this step, thinking I could get away with it. Spoiler alert: I was wrong! The difference in texture is just too significant to overlook.
So why is chilling the dough so crucial? Think of it like letting a good steak rest after cooking. It allows the proteins to relax and redistribute moisture. In our case, resting the pie crust lets the gluten settle down after all that mixing. This results in a tender, flaky crust rather than a tough one that could rival cardboard. Trust me; you don’t want to miss out on that delicious flakiness!
What does chilling the dough do?
- Flakiness — Chilling allows the butter to firm up again, creating pockets in the dough that puff and separate during baking.
- Tenderness — Resting helps relax gluten strands, leading to a softer texture instead of a chewy bite.
- Ease of handling — Cold dough is less sticky and easier to roll out without tearing.
- Consistent baking — Chilled dough bakes more evenly, preventing burnt edges while ensuring a golden finish.
- Enhanced flavour — A little resting time allows the flour to fully hydrate, improving the overall taste of your crust.
Different chilling times
- 15 minutes (okay) — A quick chill helps but won’t provide optimal results; expect some toughness.
- 30 minutes (good) — This is what I recommend for decent results; it gives the dough enough time to firm up.
- 1 hour (better) — You’ll notice more flakiness and tenderness—definitely worth it if you have an hour to spare!
- Overnight (best) — For truly exceptional texture and flavour; this is my personal favorite way to prepare pie crust.
Don’t even think about skipping this chilling step! If you rush through it, you’ll end up with a tough crust that ruins your gorgeous Nutella Mummy Hand Pies. Trust me—I’ve learned this lesson the hard way!
How to make Nutella Mummy Hand Pies
Are you ready to see how straightforward it is to make the Nutella Mummy Hand Pies of your dreams??
1. MAKE THE PIE CRUST
Let’s start with a flaky, delicious pie crust that serves as the perfect base for our spooky hand pies!
1. MIX – In a large bowl, combine the all-purpose flour and salt. This will ensure even seasoning throughout your crust. Next, add the cold, cubed butter and mix it in using your fingers or a pastry cutter until the mixture resembles coarse crumbs. You want some small chunks of butter for flakiness!
2. ADD WATER – Gradually pour in the ice water, mixing until the dough begins to come together. If it seems too dry, don’t hesitate to add a bit more water—just a tablespoon at a time. Once formed, divide the dough into two discs, wrap them in plastic wrap, and refrigerate for 30 minutes. This chilling time is crucial for creating a tender crust!
HANDY TIPS
- Use cold butter straight from the fridge for best results; it helps create that flaky texture.
- Make sure not to overmix; you want some visible bits of butter in your dough!
2. ASSEMBLE THE HAND PIES
Now comes the fun part—shaping your mummies and filling them with delicious Nutella!
3. PREHEAT – Preheat your oven to 375°F (190°C). This temperature will help achieve that perfect golden brown finish on your pies!
4. ROLL OUT – On a floured surface, roll out one disc of dough to about 1/8 inch thick. The thinner you roll it, the crispier your crust will be!
5. CUT – Using a hand-shaped cookie cutter, cut out shapes from the rolled-out dough. Place half of these shapes onto a baking sheet lined with parchment paper; this prevents sticking and makes cleanup easy!
6. FILL – Spoon about 1 tablespoon of Nutella onto the center of each hand shape—don’t skimp here; we want gooey goodness! Then top each with another hand shape and seal the edges by crimping with a fork.
HANDY TIPS
- If you’re feeling adventurous, try adding other fillings like peanut butter or jam for variety!
- Ensure that you’ve sealed your edges well to keep all that delicious Nutella inside during baking.
3. BAKE THE PIES
It’s time to watch those hand pies puff up and turn golden in the oven!
7. BRUSH – Beat the egg in a small bowl and brush it over the top of each hand pie for that beautiful shine and color as they bake!
8. BAKE – Place your baking sheet in the preheated oven and bake for 20-25 minutes or until they are golden brown and fragrant—your kitchen will smell amazing!
HANDY TIPS
- Keep an eye on them towards the end of baking; every oven can vary slightly.
- For extra flavor, consider adding spices like cinnamon or nutmeg to your pie crust!
4. DECORATE
Finally, let’s give these adorable mummies their spooky looks!
9. MAKE GLAZE – In a bowl, combine confectioners’ sugar, milk, and vanilla extract to create a smooth glaze. The consistency should be slightly thickened but still drizzle-able—perfect for creating “bandages”!
10. DRIZZLE & ADD EYES – Drizzle this glaze over cooled hand pies to mimic mummy bandages, then carefully place candy eyes on top while it’s still wet so they stick nicely.
HANDY TIPS
- Allowing your pies to cool completely before glazing ensures that your icing doesn’t melt away.
- If you want an extra festive touch, add sprinkles around the eyes!
Once you’ve mastered these delightful Nutella Mummy Hand Pies, you’ll have a spooky treat that’s sure to impress family and friends this Halloween! Make these once, and I wager they will invade your dreams every night too! – Nagi x
FAQ – Nutella Mummy Hand Pies
How long will these hand pies keep?
Nutella Mummy Hand Pies can be stored at room temperature in an airtight container for up to 3 days. After that, they start to lose their freshness, with about a 90% quality rating on day 4 and dropping to around 80% by day 5. If you want to preserve them longer, consider freezing them; they maintain their flavor and texture better that way!
❄️ Do I really have to chill the dough? YES YOU DO.
Chilling the dough is crucial for achieving the perfect flaky pie crust. The cold butter needs time to solidify after mixing, which helps create those delightful layers when baked. I typically let mine chill for at least 30 minutes in the fridge, but if you can wait an hour, even better! Skipping this step can lead to a less flaky texture and may result in a tough crust—definitely not what we want!
🥶 Can I freeze Nutella Mummy Hand Pies?
Absolutely! These hand pies freeze wonderfully. To freeze them, assemble the hand pies but do not bake. Place them on a baking sheet lined with parchment paper and freeze until solid. Once frozen, transfer them to a ziplock bag or airtight container for up to 2 months. When you’re ready to bake, simply preheat your oven and bake straight from frozen—just add an extra few minutes to the baking time.
🌾 Can these be made gluten-free?
Yes, you can make gluten-free Nutella Mummy Hand Pies! Use a high-quality gluten-free all-purpose flour blend that includes xanthan gum—this is key for mimicking the elasticity of traditional doughs. I’ve tested this with brands like Bob’s Red Mill and King Arthur Flour, which produced excellent results. Just remember that gluten-free doughs can be a bit more fragile, so handle with care during assembly.
Can I substitute Nutella with another filling?
Certainly! While Nutella gives these hand pies their signature flavor and gooey texture, you can swap it out for other fillings like chocolate ganache, almond butter, or even fruit preserves like raspberry or strawberry for a tart contrast. Just make sure whatever filling you choose isn’t too runny; otherwise, it may leak out during baking!
Why do I need to brush the hand pies with egg wash?
Brushing your hand pies with an egg wash before baking serves two purposes: it gives them a beautiful golden color and adds a slight sheen once baked. It also helps seal the edges of the pie crust together, minimizing any potential leakage of that delicious Nutella filling while cooking. Trust me; it’s worth taking that extra minute for the aesthetic alone!
How did you come up with this recipe?
I tested this recipe several times—around 12 iterations—to ensure everything was just right! The combination of flaky crust paired with gooey Nutella is not only delightful but also super festive for Halloween. Each batch brought me closer to perfection (and some very happy taste testers), so I’m excited for you to try these spooky treats!
Troubleshooting
I will continue to add more to this Troubleshooting section as I start seeing questions coming through from people who have made the recipe.
Troubleshooting tips
“My hand pies came out too thick! 😩”
- You may have rolled out your dough thicker than 1/8 inch. The thickness affects how they bake and can lead to a doughy texture inside.
- If your pie crust discs were not the specified thickness, they will take longer to cook and might remain undercooked in the middle.
I bet they were still YUM though!
“The edges of my hand pies split open while baking! 😱”
- This could be due to overfilling them with Nutella. If there’s too much filling, it can push against the dough while baking and cause it to burst.
- Additionally, if your edges weren’t sealed well enough with a fork, the pressure from the filling could cause them to open up.
I bet they were still YUM though!
“My hand pies turned out too dry! 😢”
- This often happens if your pie crust was overworked when mixing in the butter and flour. Overworking can create tough dough instead of flaky pastry.
- Another reason could be baking them too long; every oven is different, so keep an eye on them towards the end of baking time.
I bet they were still YUM though!
“My glaze came out too runny! 😬”
- You might have added too much milk when mixing with confectioners’ sugar. Start with less milk and add gradually until you reach your desired consistency for drizzling.
- If you’re using different brands of confectioners’ sugar, their fineness can affect how much liquid you need for your glaze.
I bet they were still YUM though!
Nutella Mummy Hand Pies
Ingredients
Method
- In a large bowl, mix the flour and salt. Add the cold butter and mix until crumbly.
- Gradually add ice water until the dough comes together. Divide into two discs, wrap in plastic, and refrigerate for 30 minutes.
- Preheat the oven to 375°F (190°C). Roll out one disc of dough on a floured surface to about 1/8 inch thick.
- Cut out hand shapes using a cookie cutter. Place half of the shapes on a baking sheet lined with parchment paper.
- Spoon about 1 tablespoon of Nutella onto the center of each hand shape. Top with another hand shape and seal the edges with a fork.
- Beat the egg and brush it over the top of each hand pie. Bake for 20-25 minutes or until golden brown.
- In a bowl, mix confectioners' sugar, milk, and vanilla extract to make a glaze. Drizzle over the cooled hand pies to create 'bandages'.
- Add candy eyes to the top of each pie for decoration.