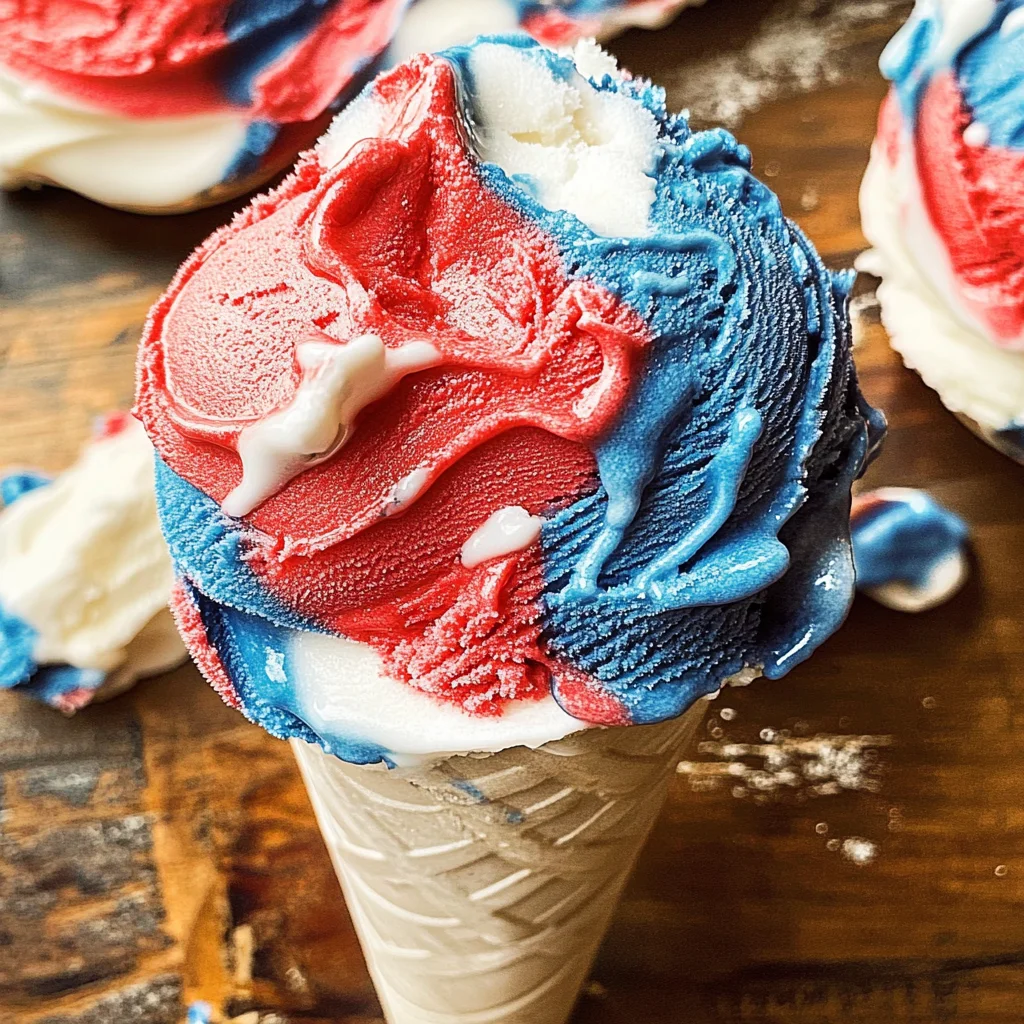
Red White and Blue Ice Cream
There’s something undeniably magical about ice cream, isn’t there? It’s more than just a delightful treat; it’s a vessel for summer memories, lazy afternoons, and the laughter of friends gathered together. When I think about creating my own Red White and Blue Ice Cream, I feel a rush of nostalgia—of childhood summers spent at backyard barbecues and Fourth of July picnics, where the sun shines bright and everything feels possible. This recipe is not just about combining flavors; it’s about crafting an experience that speaks to the heart of summer. With every creamy bite, this no-churn vanilla ice cream transforms into a vibrant celebration of colors that elevate any occasion. I promise you; it’s utterly intoxicating as it melts in your mouth, leaving behind a lingering sweetness that dances on your taste buds.
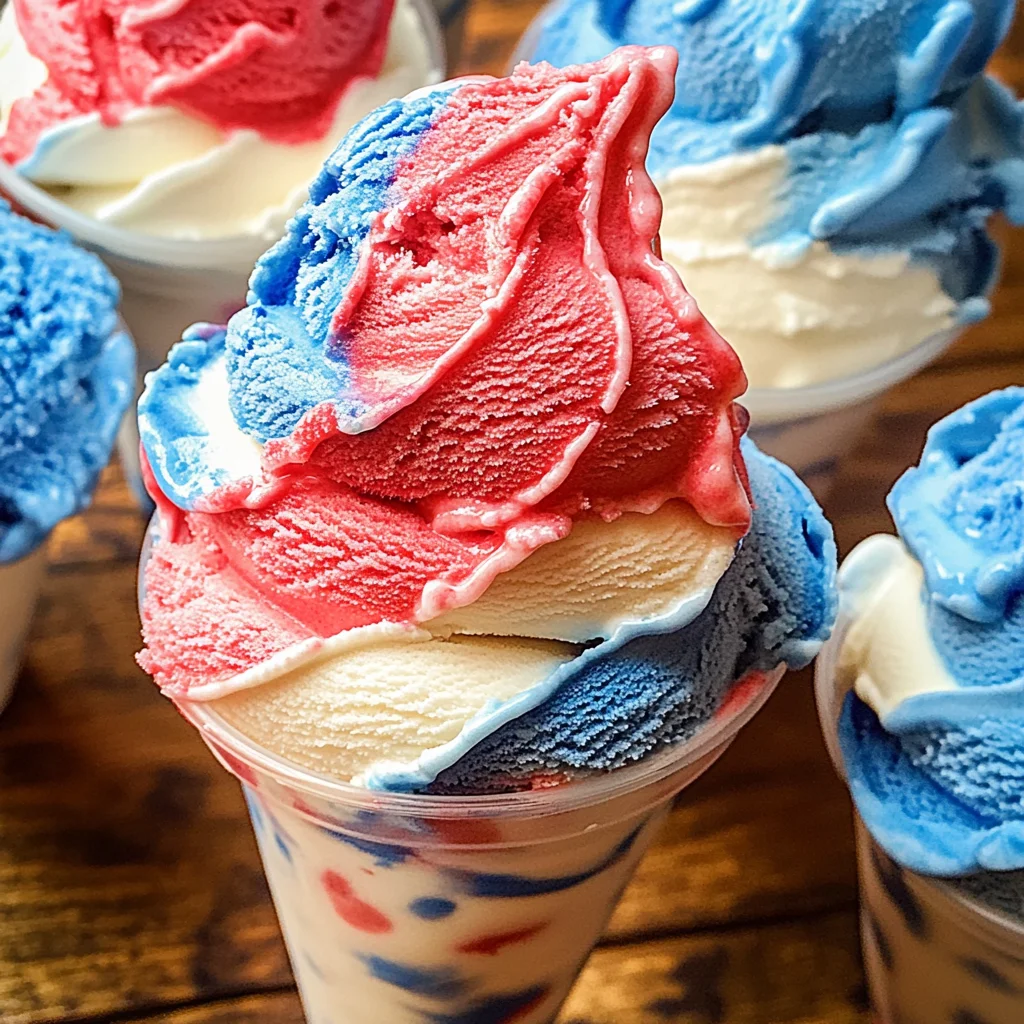
As we embark on this culinary journey together, let’s take a moment to appreciate what makes this Red White and Blue Ice Cream truly special. It’s a simple yet profound dessert that brings joy to gatherings and sparks conversations around the table. The layering of red, white, and blue isn’t just for show; it symbolizes unity and celebration, reminding us of the warmth of community. Whether you’re serving this at a holiday barbecue or simply indulging on a warm summer evening, it becomes more than just food—it turns into a heartfelt connection among friends and family. So grab your mixing bowls and let’s create some delicious memories!
Red White and Blue Ice Cream: A Celebration in Every Scoop
This Red White and Blue Ice Cream is perfect for warm summer days when you want to cool down with something sweet and refreshing. The beauty of this recipe lies in its simplicity—it requires no churning! Just imagine whipping up this delightful dessert with minimal fuss while still delivering an impressive presentation that will leave everyone smiling. Let’s dive into the ingredients that make this dreamy creation possible!
Ingredients:
Before we start mixing things up, let’s gather our star players for this delightful ice cream. Each ingredient brings its unique charm to the bowl, working together in perfect harmony.
- 2 cups very cold heavy whipping cream: The foundation of our ice cream is this luscious heavy whipping cream. Using very cold cream is absolutely paramount because it whips up to create those beautiful stiff peaks we’re looking for—this is where the magic happens! When properly whipped, it adds that airy lightness which gives our ice cream its dreamy texture. Look for cream with at least 36% fat content; anything lower won’t give you that rich mouthfeel we all crave in ice cream.
- 1 can (14 oz sweetened condensed milk): This creamy goodness acts as both sweetener and stabilizer in our concoction. Sweetened condensed milk is liquid gold; its concentrated sweetness balances beautifully against the rich whipping cream while also lending a smooth texture that’s simply irresistible. I recommend using brand-name versions for consistent quality since they tend to have fewer additives compared to generic brands.
- 2 teaspoons pure vanilla extract: Ah, vanilla—a flavor so beloved yet often taken for granted! This pure vanilla extract infuses our ice cream with warmth and depth, elevating it beyond mere sweetness. As you select your vanilla extract, opt for pure over imitation whenever possible; trust me on this one! The real stuff has complex flavor notes that will make all the difference in your final product.
- Food coloring – Red (White and Blue): While optional, food coloring adds an eye-catching element to our dessert that perfectly embodies its patriotic spirit! Be sure to choose high-quality gel-based food coloring rather than liquid ones because they provide more vibrant hues without altering the consistency of your mixture.
Equipment You’ll Need:
Now that we have our ingredients lined up like eager participants ready for their moment in the spotlight, let’s talk equipment! Having the right tools makes all the difference in ensuring our ice cream turns out perfectly creamy every time.
- Loaf pan or container: This will serve as the mold for your ice cream as it freezes into shape. A loaf pan works wonderfully because its dimensions help with even freezing while also making scooping easier once set. If you don’t have one on hand, any medium-sized freezer-safe container will do just fine—just make sure it’s deep enough to hold all those glorious layers!
- Mixing bowls: You’ll need at least two good-sized mixing bowls—one for whipping cream and another for combining condensed milk with vanilla extract. Glass or stainless steel bowls are ideal as they chill quickly when placed in the freezer beforehand which keeps everything extra cold during mixing.
- Electric mixer or whisk: Whipping this heavy cream until stiff peaks form is crucial—and having an electric mixer makes quick work of this task! If you’re feeling adventurous (and have some extra arm strength), you can opt for a manual whisk too! Just know that you’ll be giving your upper body quite the workout if you go that route!
- Spatula: A flexible spatula is essential for gently folding the mixtures together without deflating all that lovely air we’ve whipped into our heavy cream. Choose one with silicone edges so you can scrape every last bit from your bowls—nothing should go wasted!
Preparing the Red White and Blue Ice Cream
Step 1: Chill Your Tools
Before we even think about mixing ingredients together, let’s set ourselves up for success by chilling our tools! Start by placing your loaf pan or chosen container into the freezer for at least 30 minutes—this small step helps maintain that icy temperature when we’re layering in our delicious ice cream mixture later on. Similarly, pop your mixing bowl and whisk into the freezer too; keeping everything cold ensures better results when whipping cream since warmer temperatures can cause problems with achieving those coveted stiff peaks.
Step 2: Whip That Cream!
Once you’ve given everything some time to chill out (pun intended!), it’s time to bring out that heavy whipping cream from the fridge—make sure it’s very cold! Pour it into your chilled mixing bowl before grabbing your electric mixer (or whisk). Begin beating on medium speed until soft peaks form; then crank it up to high speed until stiff peaks appear—this could take anywhere from 3-5 minutes depending on how powerful your mixer is! Trust me on this step—the transformation from liquid gold into fluffy clouds is utterly mesmerizing to watch! You’ll know you’re ready when lifting out your beaters or whisk leaves firm peaks standing tall without collapsing back down.
Step 3: Create Your Sweet Base
Now onto creating that dreamy base by combining sweetened condensed milk with pure vanilla extract in another medium-sized bowl! Using a spatula or whisk again (no need to dirty another tool here), mix these two elements together until smooth—it should take less than a minute! This combination brings forth an enchanting aroma that fills your kitchen—it’s like capturing sunshine in a bowl! The sweetened condensed milk lends its creamy richness while allowing us control over sweetness levels since we’re adding no additional sugar here.
Step 4: Fold It All Together
With both components prepared—the whipped cream waiting enthusiastically beside its new friend—we’re ready to gently fold them together! Start by taking about one-third of your condensed milk mixture and adding it into the whipped cream bowl; using your spatula or wooden spoon carefully fold through without stirring vigorously—you want those air bubbles intact for lightness! Continue adding gradually until everything’s combined beautifully; aim for uniformity without losing volume—that’s key here!
As we proceed through these steps together towards creating this stunning Red White and Blue Ice Cream masterpiece, remember each moment counts toward building anticipation for what awaits ahead—a frozen treat bursting forth with flavor ready just waiting to delight everyone around you!
Stay tuned as we layer colors next…
Step 5: The Whip It Good Moment – Creating Stiff Peaks
Now, let’s get to the heart of our Red White and Blue Ice Cream – the whipped cream. This step is where the magic begins, transforming our simple ingredients into a light, fluffy cloud of deliciousness. Start by taking your very cold heavy whipping cream and pouring it into a large mixing bowl. Remember, the colder the cream, the better – this is crucial for achieving those dreamy stiff peaks! I always pop my bowl and whisk into the freezer along with the cream at least 30 minutes before starting; trust me on this! You want everything to be chilled because it helps incorporate air faster, giving your ice cream that airy texture we all crave.
Using an electric mixer (or a good old-fashioned whisk if you’re feeling ambitious), beat the cream on medium speed until you notice it beginning to thicken. Keep an eye out for soft peaks first – this means that when you lift your whisk out of the mixture, it will form gentle peaks that bend over. You’re looking for stiff peaks, though, which means when you lift the whisk again, these peaks should stand tall without folding over. This takes about 3-5 minutes using a mixer but can take longer if you’re whisking by hand. Be careful not to over-whip; once you see that transformation happening, stop right there! Over-whipping can lead to butter forming instead of that luscious whipped cream we want.
Step 6: Blending for Harmony – Combining Flavors
In a separate medium bowl, take your sweetened condensed milk and add in those two teaspoons of pure vanilla extract. This mixture is where sweetness meets flavor; it’s almost like creating a symphony of flavors that will dance through your ice cream later on! Stir gently until smooth and well combined – you want to make sure there are no lumps because we’re aiming for a silky-smooth base here.
Now comes the moment of truth: gradually fold this luscious milk mixture into your beautifully whipped cream. Folding is an important technique; it’s all about being gentle yet thorough. You don’t want to deflate all that wonderful air we just whipped into the cream! Start by adding just a scoop of that milk mixture into your whipped cream to lighten it up first—this makes incorporating the rest much easier. Then, add in the remaining milk mixture in two or three additions, using a spatula to gently fold until fully combined. You’ll know you’ve done it right when everything melds together seamlessly into one creamy masterpiece! Don’t rush this step; patience here means creamy perfection!
Step 7: Dividing and Conquering – Colorful Layers Await
Once your mixtures are perfectly blended, it’s time for some fun! Divide this delightful creamy concoction into three separate bowls evenly—aiming for about two cups each will ensure uniform colors throughout your Red White and Blue Ice Cream. This division is not just practical; it allows us to create beautiful layers of color that will captivate anyone lucky enough to enjoy a scoop.
Now comes the exciting part—adding color! For each bowl, gently fold in your chosen food coloring: red in one bowl, blue in another, and keep one bowl white (the glorious vanilla base). When adding color, start with just a drop or two; then fold carefully until you achieve that vibrant hue you’re aiming for. Trust me on this—it’s essential not just for aesthetics but also for ensuring even distribution throughout each scoop later on. As you mix in these colors, embrace the joy of watching them swirl together; this moment transforms our ice cream from simple ingredients into something truly spectacular!
Step 8: Layering – Building Your Ice Cream Masterpiece
With your colorful mixtures ready to go, it’s time to assemble our patriotic creation! Retrieve that loaf pan or container from the freezer—it should be nice and chilled by now—and prepare for some layering action! I like to use an ice cream scoop or spoons here because it gives you control over how much of each color goes in at once.
Begin by dropping spoonfuls of one color at a time into your container. Start with red—add spoonfuls spaced apart so they don’t blend too much yet still touch slightly at their edges. Then follow with white and finally blue—repeat until all mixtures are used up! This method allows for distinct layers but also some marbling as they intermingle slightly while freezing—what could be more beautiful? And don’t worry about making it perfect; part of the charm lies in its homemade nature! Once you’ve filled your container with all those vibrant colors layered together like an artistic masterpiece, take a moment to admire what you’ve created—it’s utterly intoxicating!
Final Touches – Freezing Time!
Step 9: The Waiting Game – Final Freeze
Now comes perhaps the hardest part—waiting overnight for our Red White and Blue Ice Cream to freeze perfectly. I know it’s tough; I promise I’ve been there too! But patience is key here because allowing those colorful layers to solidify properly ensures every bite will be rich and creamy without turning icy or grainy.
Seal your container tightly with plastic wrap or a lid before placing it in the freezer at least six hours—but trust me when I say overnight is ideal! This resting period allows all those flavors to mingle beautifully while firming up that enticing texture we love so much about ice creams. When you’re ready to indulge (and believe me—you will be ready!), simply scoop out generous servings and watch as everyone’s faces light up with joy upon seeing those vibrant layers transform into their bowls!
And there you have it – a wonderfully festive Red White and Blue Ice Cream that’s not only visually stunning but also deeply satisfying with every creamy bite! Go ahead and serve this beauty at barbecues or family gatherings; it’s bound to steal the show while bringing smiles all around. Enjoy every moment of creating and sharing this delightful treat—you deserve it!
Storage and Enjoyment Tips for Your Red White and Blue Ice Cream
Now that you’ve created this utterly captivating Red White and Blue Ice Cream, it’s time to dig in! But before you scoop yourself a generous serving, let’s talk about how to savor this delightful treat over the coming days. The beauty of making ice cream at home is not just in the joy of crafting it but also in knowing how to preserve that wonderful flavor and texture. I promise you; your hard work deserves to be enjoyed at its best!
Storing Leftover Red White and Blue Ice Cream
When it comes to storing your luscious Red White and Blue Ice Cream, choosing the right container is absolutely paramount. Opt for an airtight, freezer-safe container; this will help lock in that delightful freshness while preventing any pesky ice crystals from forming. If you have a glass container with a tight-fitting lid, that’s even better, as glass can keep the flavors intact without any transfer from plastic. This ice cream will keep beautifully for up to two weeks in the freezer—though let’s be honest, it probably won’t last that long! To maintain its creamy texture, consider placing a piece of parchment paper directly on the surface of the ice cream before sealing the lid. This little trick creates a barrier against air and helps keep your creation as silky smooth as when you first made it. When you’re ready to enjoy it again, simply scoop out what you desire; trust me, each spoonful will still taste as vibrant as day one!
Freezing Components for Later
If you’re looking to get ahead of the game or simply wish to enjoy this fabulous dessert on a whim, freezing components is a fantastic option! Each layer of your beautiful ice cream can be frozen separately if you’d like to make things easier for yourself later on. Just prepare each colored mixture according to the original recipe, then pour them into individual containers or freezer bags (be sure to label them!). They’ll hold their quality for about two months in the freezer—perfect for those hot summer days when all you want is something refreshing! When you’re ready to whip up a quick batch, just pull out your desired colors from the freezer and allow them to soften slightly before gently folding them together again with some freshly whipped cream. This flexibility not only saves time but also adds an element of surprise to each serving!
Red White and Blue Ice Cream

Celebrate summer with our homemade Red White and Blue Ice Cream that’s easy to make and bursting with flavor—perfect for any occasion!
- Prep Time: 15 minutes
- Cook Time: None
- Total Time: 0 hours
- Yield: Approximately 8 servings 1x
- Category: Dessert
- Method: No Churn
- Cuisine: American
Ingredients
- 2 cups very cold heavy whipping cream
- 1 can (14 oz) sweetened condensed milk
- 2 teaspoons pure vanilla extract
- Red and blue food coloring (optional)
Instructions
- Chill your loaf pan or container in the freezer for at least 30 minutes.
- In a chilled bowl, whip the heavy cream until stiff peaks form (3-5 minutes).
- In another bowl, mix sweetened condensed milk with vanilla extract until smooth.
- Gently fold the condensed milk mixture into the whipped cream until combined.
- Divide the mixture into three bowls; color one red, one blue, and leave one white.
- Layer spoonfuls of each colored mixture in the chilled container, alternating colors.
- Freeze for at least 6 hours or overnight to firm up.
Nutrition
- Serving Size: 1/2 cup (125g)
- Calories: 380
- Sugar: 30g
- Sodium: 75mg
- Fat: 29g
- Saturated Fat: 17g
- Unsaturated Fat: 10g
- Trans Fat: 0g
- Carbohydrates: 32g
- Fiber: 0g
- Protein: 4g
- Cholesterol: 95mg