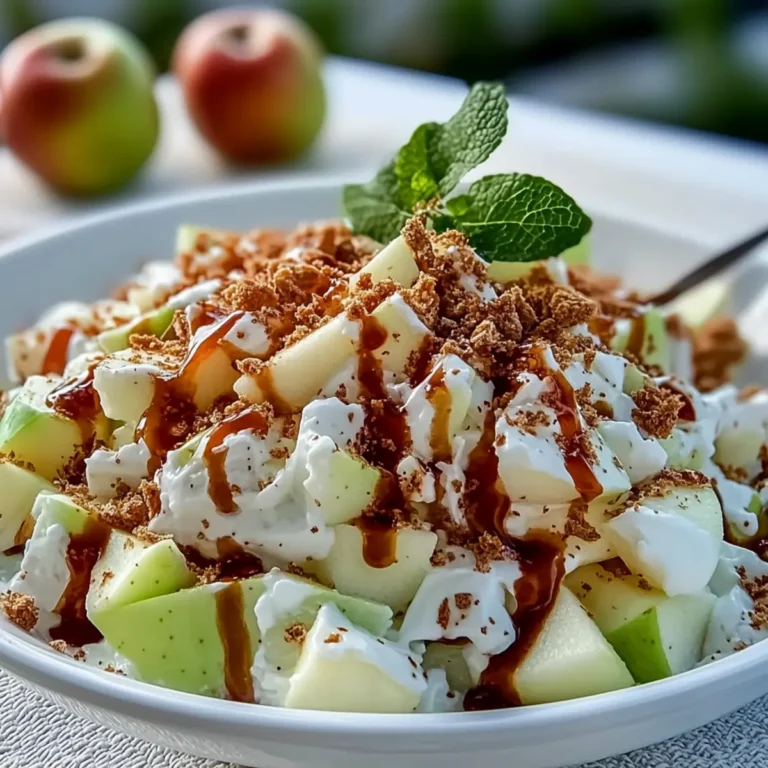
Strawberry Rice Krispie Treats
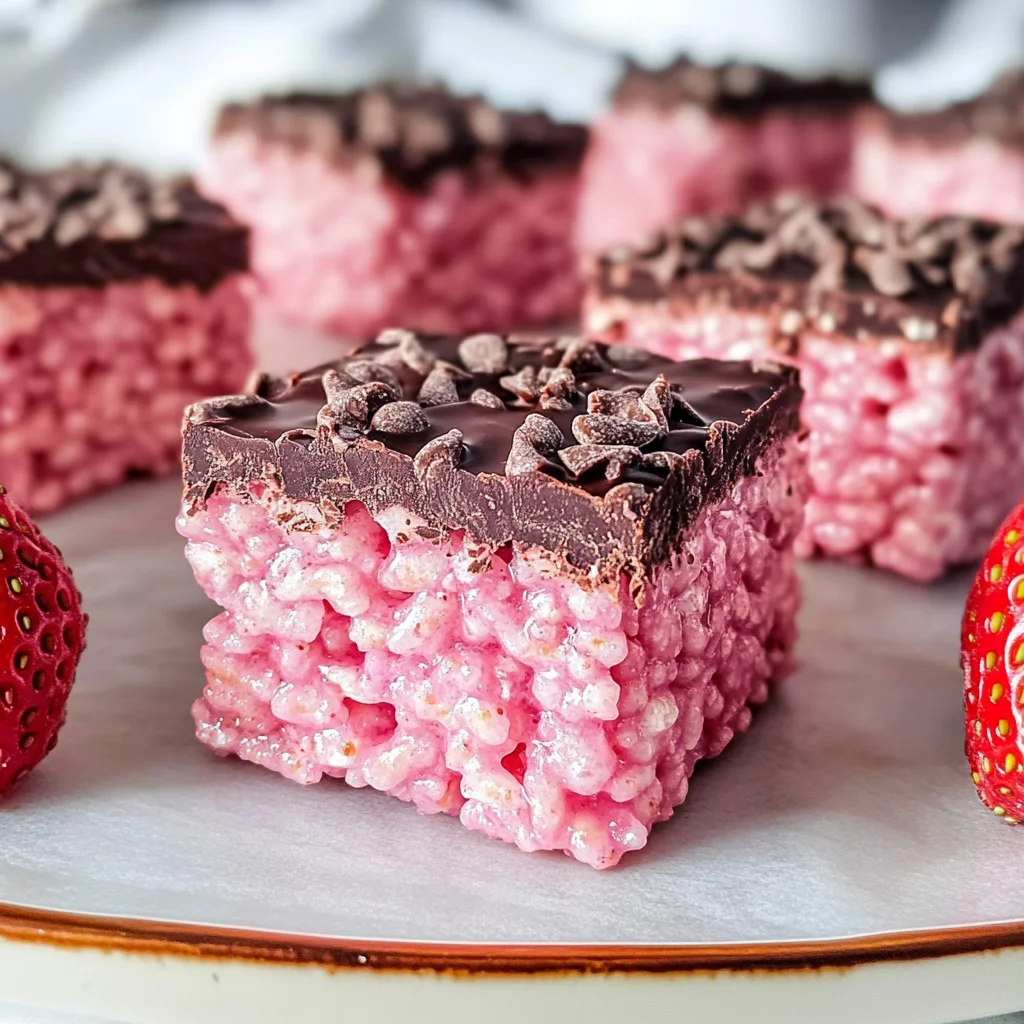
There’s something undeniably magical about creating a dish that not only tantalizes the taste buds but also envelops you in nostalgia. When I think of Strawberry Rice Krispie Treats, I’m transported back to sun-drenched afternoons spent in my grandmother’s kitchen, where laughter was as sweet as the treats we made together. These delightful confections are more than just a dessert; they are a celebration of love, friendship, and those precious moments we share with our loved ones. Imagine a treat that is both gooey and crunchy, bursting with the vibrant essence of strawberries — it’s a sensory delight that promises joy with every bite. The beautiful pink hue calls to mind sunny days and heartwarming occasions, making these Strawberry Rice Krispie Treats perfect for Valentine’s Day, bridal showers, or any birthday bash.
As you embark on this culinary journey with me, prepare to get your hands a little sticky and your heart a lot full. This recipe is an invitation to explore flavors and textures that come together in harmony, creating something truly extraordinary. Trust me when I say that once you’ve tasted these treats, you’ll find yourself dreaming up reasons to make them again and again. So let’s dive into the vibrant world of Strawberry Rice Krispie Treats — your taste buds are in for an adventure!
Ingredients:
Gathering the right ingredients is like assembling a symphony; each one plays its own unique role in bringing this delicious creation to life. Let’s take a closer look at what we need to create these delightful strawberry-infused treats.
- 1.5 ounces freeze dried strawberries (43 grams) (feel free to use up to 2 ounces for a stronger flavor). Freeze-dried strawberries are little powerhouses of flavor! They capture the essence of fresh strawberries but without the moisture, which means they pack an intense punch in terms of taste. Plus, they provide that gorgeous pink color we’re after without adding any liquid — crucial for achieving the right texture in our treats. When buying freeze-dried strawberries, look for ones without added sugars or preservatives so you get pure berry goodness. If you desire an even bolder strawberry flavor, feel free to bump it up to 2 ounces!
- 1/3 cup unsalted butter (75 grams) (salted works too). Butter is one of those non-negotiable ingredients in baking that lends richness and depth to our treats. Unsalted butter gives us control over the salt content and allows those sweet strawberry flavors to shine through beautifully. Melt it slowly over low heat so it becomes liquid gold; this ensures it combines smoothly with our marshmallows later on. If you’re in a pinch, salted butter works fine too! Just keep an eye on how much extra salt you might be adding.
- 12 ounce bag mini vegan marshmallows (340 grams) (see Recipe Notes for alternatives). Marshmallows are the heart of any Rice Krispie treat! These mini vegan marshmallows melt down beautifully and create that gooey texture we crave. They act as the glue binding all our ingredients together while delivering pure sweetness with each bite. If you can’t find vegan options or want something different for dietary preferences, regular marshmallows will work just as well—just check those labels carefully!
- 5-6 cups crispy rice cereal. The crispy rice cereal is critical because it provides that signature crunch against the gooey marshmallow mixture — it’s what makes these treats so fun! You can adjust the amount based on how chewy or crunchy you prefer your bars; less cereal means softer treats while more cereal gives them extra structure. This ingredient is widely available and versatile; just make sure you’re getting the plain variety without added flavors or sugar.
- 10 ounces dark chocolate (284 grams) (or milk, semi-sweet or white chocolate). Chocolate adds a decadent touch that elevates our Strawberry Rice Krispie Treats from delightful snacks to something truly special! Dark chocolate provides rich notes that contrast beautifully with the sweetness of strawberries and marshmallows — it’s like indulging in a comforting hug from within! Feel free to choose your favorite type of chocolate here; semi-sweet or even white chocolate can lend their own unique flair if that’s more your style.
Equipment You’ll Need:
Having the right tools at your disposal makes all the difference when crafting something amazing in the kitchen! While they may not be ingredients themselves, these pieces of equipment are essential partners in creating your Strawberry Rice Krispie Treats.
- Large saucepan: A sturdy large saucepan is vital for melting your butter and marshmallows evenly without burning them. Look for one with a heavy base; this helps distribute heat evenly and prevents hot spots which could lead to scorched marshmallows—definitely not what we want!
- Food processor or high-powered blender: To transform those freeze-dried strawberries into fine crumbs, you’ll need either a food processor or blender. This step ensures those concentrated bursts of strawberry flavor are evenly distributed throughout our treat mix.
- Rubber spatula: A rubber spatula is perfect for stirring melted marshmallows and folding in cereal—its flexibility makes scraping down sides easy! Plus, it helps ensure everything gets combined thoroughly without leaving any sticky bits behind.
- 9×13 inch pan (or 9×9 inch pan): Depending on how thick you want your treats to be, having either size pan ready will help shape them perfectly! A larger pan will yield thinner bars while using a smaller one allows for thicker bites—totally customizable based on personal preference!
- Heatproof bowl: For melting chocolate smoothly without seizing up, you’ll need a heatproof bowl that can withstand microwave warming sessions without cracking. Glass bowls work wonderfully here since they allow you to monitor melting progress easily.
With every tool ready at hand and ingredients lined up like loyal friends waiting patiently in line for their moment under the spotlight, we’re now prepared to bring our beautiful Strawberry Rice Krispie Treats to life!
Step 1: Preparing Your Pan
The first step might seem simple but trust me; it sets the foundation for everything else you’ll do! Lightly greasing your chosen pan — whether it’s 9×13 inches for classic bars or 9×9 inches if you’re feeling adventurous — ensures easy removal once set. Use cooking spray or butter so nothing sticks during those crucial moments when you’re ready to cut into squares later on! Remember: Even non-stick pans can benefit from this little precaution—it’s absolutely paramount if you want clean edges when slicing.
Step 2: Transforming Your Strawberries
Now comes one of my favorite parts! Grab those freeze-dried strawberries and pop them into your food processor or high-powered blender—let’s turn them into fine crumbs that’ll add flavor magic throughout our treats! Pulse until you’ve got powdery perfection; this process not only intensifies their sweetness but also allows them to seamlessly blend into melted marshmallow goodness later on! Don’t skip this step; chunky pieces won’t dissolve properly when mixed in later!
Step 3: Melting Butter & Marshmallow Bliss
In a large saucepan over low heat (this part requires patience!), add your unsalted butter first—slowly melting it creates liquid gold that’s going to bring everything together beautifully! Once melted completely—keep an eye out so nothing burns—add those mini vegan marshmallows next! Stir gently with your rubber spatula as they begin transforming into creamy bliss before your eyes—it’s mesmerizing watching them melt down like soft clouds embracing each other under warmth! We want this mixture smooth yet still fluffy enough—not overly runny—to hold onto all that crispy goodness coming next!
Step 4: Infusing Flavor
As soon as most marshmallows have melted away into sugary sweetness—and yes there might still be some tiny bits hanging out—that’s okay—we’ll add our pulsed freeze-dried strawberry crumbs at this point! Gently fold them through while stirring until fully incorporated—the color will deepen into warm shades reminiscent of sunset skies dancing across horizons… Oh boy—it smells divine too!! Trust me here—the infusion happens quickly so don’t rush this part; savor every moment knowing you’re building flavors destined for greatness!
Stay tuned as we continue through this delicious process together…
Crafting Your Strawberry Rice Krispie Treats: The Heart of the Recipe
Step 5: Melting Bliss – Bringing It All Together
Now comes the truly magical moment when we blend our ingredients into a luscious, gooey mixture that will form the base of our Strawberry Rice Krispie Treats. Once your vegan marshmallows are almost fully melted—meaning you can still see some small pieces but they’re beginning to lose their structure—this is the perfect time to introduce your finely pulsed freeze-dried strawberries. The heat from the melted marshmallows will help rehydrate these delightful berry bits, infusing them into the mix and transforming your treat into a vibrant pink masterpiece. I promise you, the aroma wafting through your kitchen at this stage is nothing short of intoxicating!
As you gently stir with your rubber spatula, you’ll notice that the marshmallow mixture begins to take on a beautiful blush; this is not just for aesthetics but also vital for flavor. Why? Because the strawberries contain natural sugars that will caramelize slightly as they meld with the marshmallow, creating an utterly extraordinary depth of flavor. You want everything smoothly combined yet still slightly sticky—that texture is crucial as it will ensure every bite is packed with strawberry goodness. Trust me on this; don’t rush! Take your time and savor this step because it sets the stage for what’s to come.
Step 6: The Crunch Factor – Adding Crispy Rice Cereal
Once you achieve that delightful fusion of melting marshmallow and strawberry, it’s time to introduce our star ingredient: crispy rice cereal! Gently fold in one cup at a time, ensuring each addition becomes thoroughly coated with that sweet, sticky mixture before adding another cup. This method is essential because it helps maintain an even distribution of marshmallow throughout each bite. If you dump all the cereal in at once, you might end up with unevenly coated pieces, which can lead to some bites being overly dry while others are overwhelmingly gooey.
As you stir, be mindful of how the texture changes; it should start feeling heavier and more cohesive as you incorporate more cereal. You’ll know you’ve reached perfection when every single piece of rice cereal is enveloped in that luscious strawberry-marshmallow concoction, like each grain is cloaked in liquid gold! Remember to use gentle movements; if you mix too vigorously, you’ll risk breaking those delicate crispy puffs. Aim for a beautiful balance between sticky and crunchy—this harmony creates that profound satisfaction we all crave in a classic Rice Krispie treat.
Step 7: Pressing Perfection – Shaping Your Treats
Now comes one of my favorite parts—the moment where we transform our sticky mixture into a cohesive slab of deliciousness! Grab your greased pan and carefully spoon or pour all that glorious mixture into it. Here’s where patience truly pays off: lightly grease your hands before pressing down on your treats so they stick less to your skin. As you pack them down, think about how much joy these little squares will bring when shared among friends or family; it’s genuinely an act of love!
The tighter you press down, the firmer and more structured your bars will be after they set—this step is absolutely paramount! If they’re left loose and airy, they may crumble apart when cut later on. Aim for an even surface by using either your palms or a spatula to smooth out those edges—just don’t forget to breathe through it all and enjoy this simple yet rewarding process! Also, if you’re using a larger pan (like the 9×13 inch), don’t be alarmed if they seem thicker; that’s perfectly fine—it just means an extra chewy treat awaits!
Step 8: Chocoholic’s Dream – Preparing the Chocolate Topping
Ahh, now we enter the final phase—a chocolate lover’s paradise! Chop your chosen chocolate into very fine pieces and place them in a heatproof bowl; this ensures even melting without burning any bits—nobody likes burnt chocolate! The gentle heating process requires patience as well; microwave it on medium power at 45-second intervals instead of blasting it on high power (which often leads to disastrous results). Stirring between each interval allows for even heat distribution and helps prevent any rogue lumps from forming.
When you’re stirring away those chocolate pieces, watch for signs indicating it’s ready. You want it silky smooth without any visible chunks left behind—almost like liquid satin! Once melted to perfection, pour that rich chocolate over your pressed treats and spread it out evenly using an offset spatula or back of a spoon. This step isn’t just about aesthetics; it’s about locking in moisture while adding another layer of flavor that contrasts beautifully with the sweetness below. And trust me here—resist tossing these babies directly into the fridge! Allowing them to set at room temperature ensures that gorgeous sheen remains intact while preventing them from becoming overly hard.
Final Touches – The Grand Reveal
Step 9: Slicing Into Sweetness
As the chocolate cools and hardens—a process that should take about 30 minutes but could stretch longer depending on room temperature—you’ll find yourself dreaming about how these Strawberry Rice Krispie Treats will taste once you finally slice into them. After giving them adequate time to rest (patience rewarded!), grab a thin, sharp knife for cutting—the kind that glides effortlessly through both chocolate and treats alike.
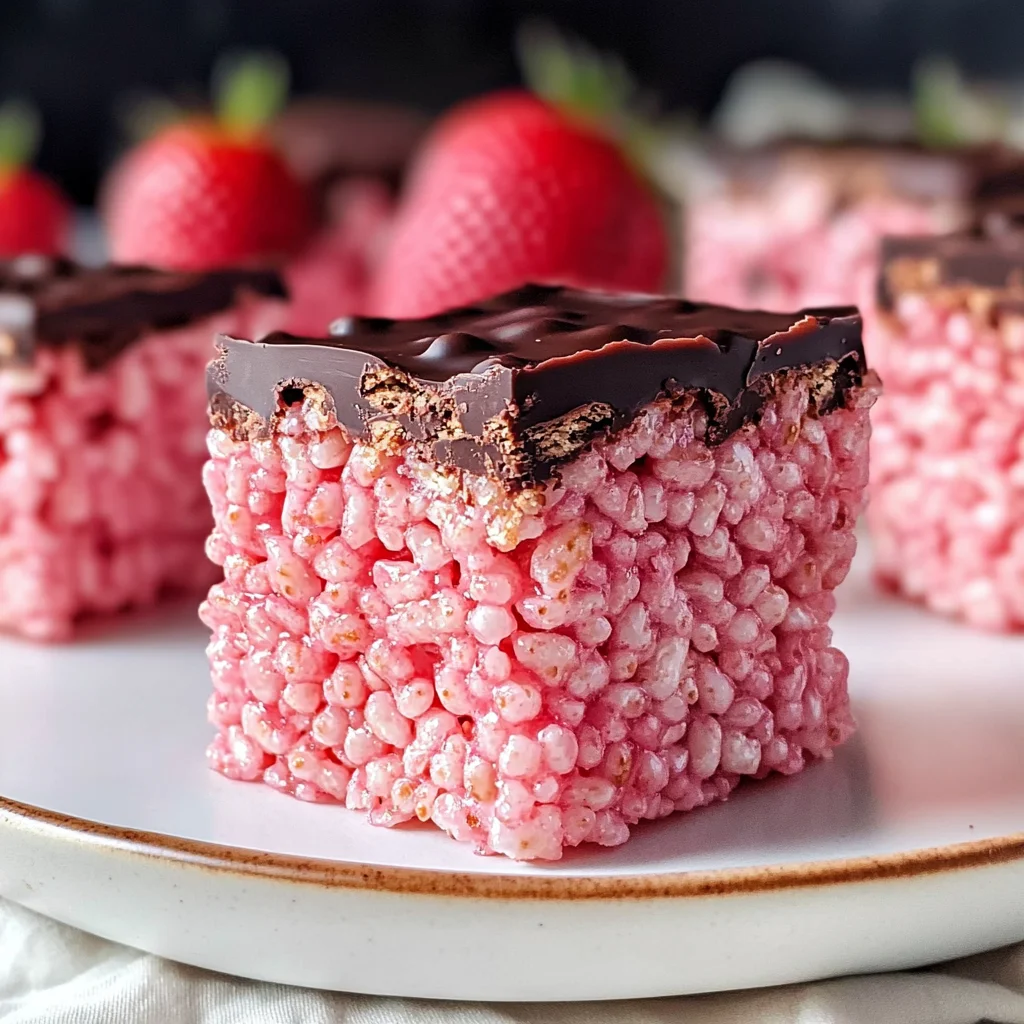
With each slice revealing layers upon layers of strawberry-infused delight surrounded by smooth chocolate, I guarantee you’ll feel utterly accomplished and proud at what you’ve created. The first bite should evoke pure bliss; you’ll experience that captivating crunch from crispy rice paired with sweet marshmallow richness followed by decadent chocolate in every mouthful. These treats are not just desserts—they’re memories waiting to happen; perfect for sharing during celebrations like Valentine’s Day or simply enjoyed during cozy movie nights at home.
So there you have it—your very own batch of Strawberry Rice Krispie Treats ready for devouring or gifting (if you can bear to part with them!). Each square encapsulates joy and warmth—a true testament to why cooking can be such a deeply personal experience filled with love. Enjoy every moment of this culinary adventure—I promise it’s worth every minute spent in the kitchen!
Storage and Enjoyment Tips for Your Strawberry Rice Krispie Treats
Now that you’ve crafted these delightful Strawberry Rice Krispie Treats, it’s time to bask in the joy of your creation! Trust me, the vibrant pink hue and intoxicating aroma of strawberries wafting through your kitchen will have everyone clamoring for a taste. But what happens when you inevitably have leftovers? Fear not, my friend! These treats are as easy to store as they are to make, ensuring you can enjoy their gooey goodness for days to come.
Storing Leftover Strawberry Rice Krispie Treats
To keep your delectable Strawberry Rice Krispie Treats fresh and irresistibly chewy, I recommend storing them in an airtight container at room temperature. This way, they’ll maintain their soft texture and wonderful flavor. Ideally, they’ll last up to a week—though I promise you, they likely won’t stick around that long! If you want to take extra measures to preserve that perfect chewiness, consider placing a slice of bread in the container. It sounds quirky, but the moisture from the bread will help keep those treats delectably soft. After a few days, you may notice they start to firm up slightly; this is normal! Simply pop one in the microwave for about 10 seconds if you want to revive that gooeyness before indulging again.
Freezing Strawberry Rice Krispie Treats for Later
If you’re anything like me and love to plan ahead (or simply find yourself with an abundance of treats), freezing is an excellent option! To freeze your Strawberry Rice Krispie Treats properly, cut them into squares or rectangles and layer them with parchment paper in a freezer-safe container or bag. This layering ensures they don’t stick together—a non-negotiable step if you want easy access later! They can be stored frozen for up to three months without losing their charm. When you’re ready to enjoy them again, simply let them thaw at room temperature or warm them up in the microwave for a few seconds. The convenience factor is incredible; imagine having these delightful treats ready at a moment’s notice for surprise guests or a sweet afternoon craving!
Strawberry Rice Krispie Treats
Indulge in the sweetness of Strawberry Rice Krispie Treats, a delightful no-bake dessert that brings together the nostalgic flavors of childhood with the vibrant essence of strawberries. These treats are not only gooey and crunchy but also encapsulate all the joy of making memories in the kitchen. Perfect for any occasion, from birthday parties to casual get-togethers, they are sure to evoke smiles with every bite. With their beautiful pink hue and irresistible flavor, these Strawberry Rice Krispie Treats will take your dessert game to the next level. Whether enjoyed solo or shared with loved ones, they promise to be a hit!
- Prep Time: 20 minutes
- Cook Time: 10 minutes
- Total Time: 30 minutes
- Yield: 12 servings 1x
- Category: Dessert
- Method: No-bake
- Cuisine: American
Ingredients
- 1.5 ounces freeze-dried strawberries
- 1/3 cup unsalted butter
- 12 ounces mini vegan marshmallows
- 5–6 cups crispy rice cereal
- 10 ounces dark chocolate
Instructions
- Prepare your pan by lightly greasing a 9×13 inch or 9×9 inch pan.
- Pulse freeze-dried strawberries in a food processor until fine crumbs form.
- In a large saucepan over low heat, melt the butter and then add vegan marshmallows, stirring until smooth.
- Fold in the strawberry crumbs until well combined.
- Gradually mix in crispy rice cereal until evenly coated.
- Transfer mixture to the greased pan and press down firmly for an even layer.
- Melt chocolate in a heatproof bowl and pour over the pressed treats; spread evenly.
- Allow to set at room temperature for about 30 minutes before slicing into squares.
Nutrition
- Serving Size: 1 square (approx. 50g)
- Calories: 180
- Sugar: 15g
- Sodium: 60mg
- Fat: 7g
- Saturated Fat: 4g
- Unsaturated Fat: 2g
- Trans Fat: 0g
- Carbohydrates: 30g
- Fiber: 1g
- Protein: 2g
- Cholesterol: 15mg