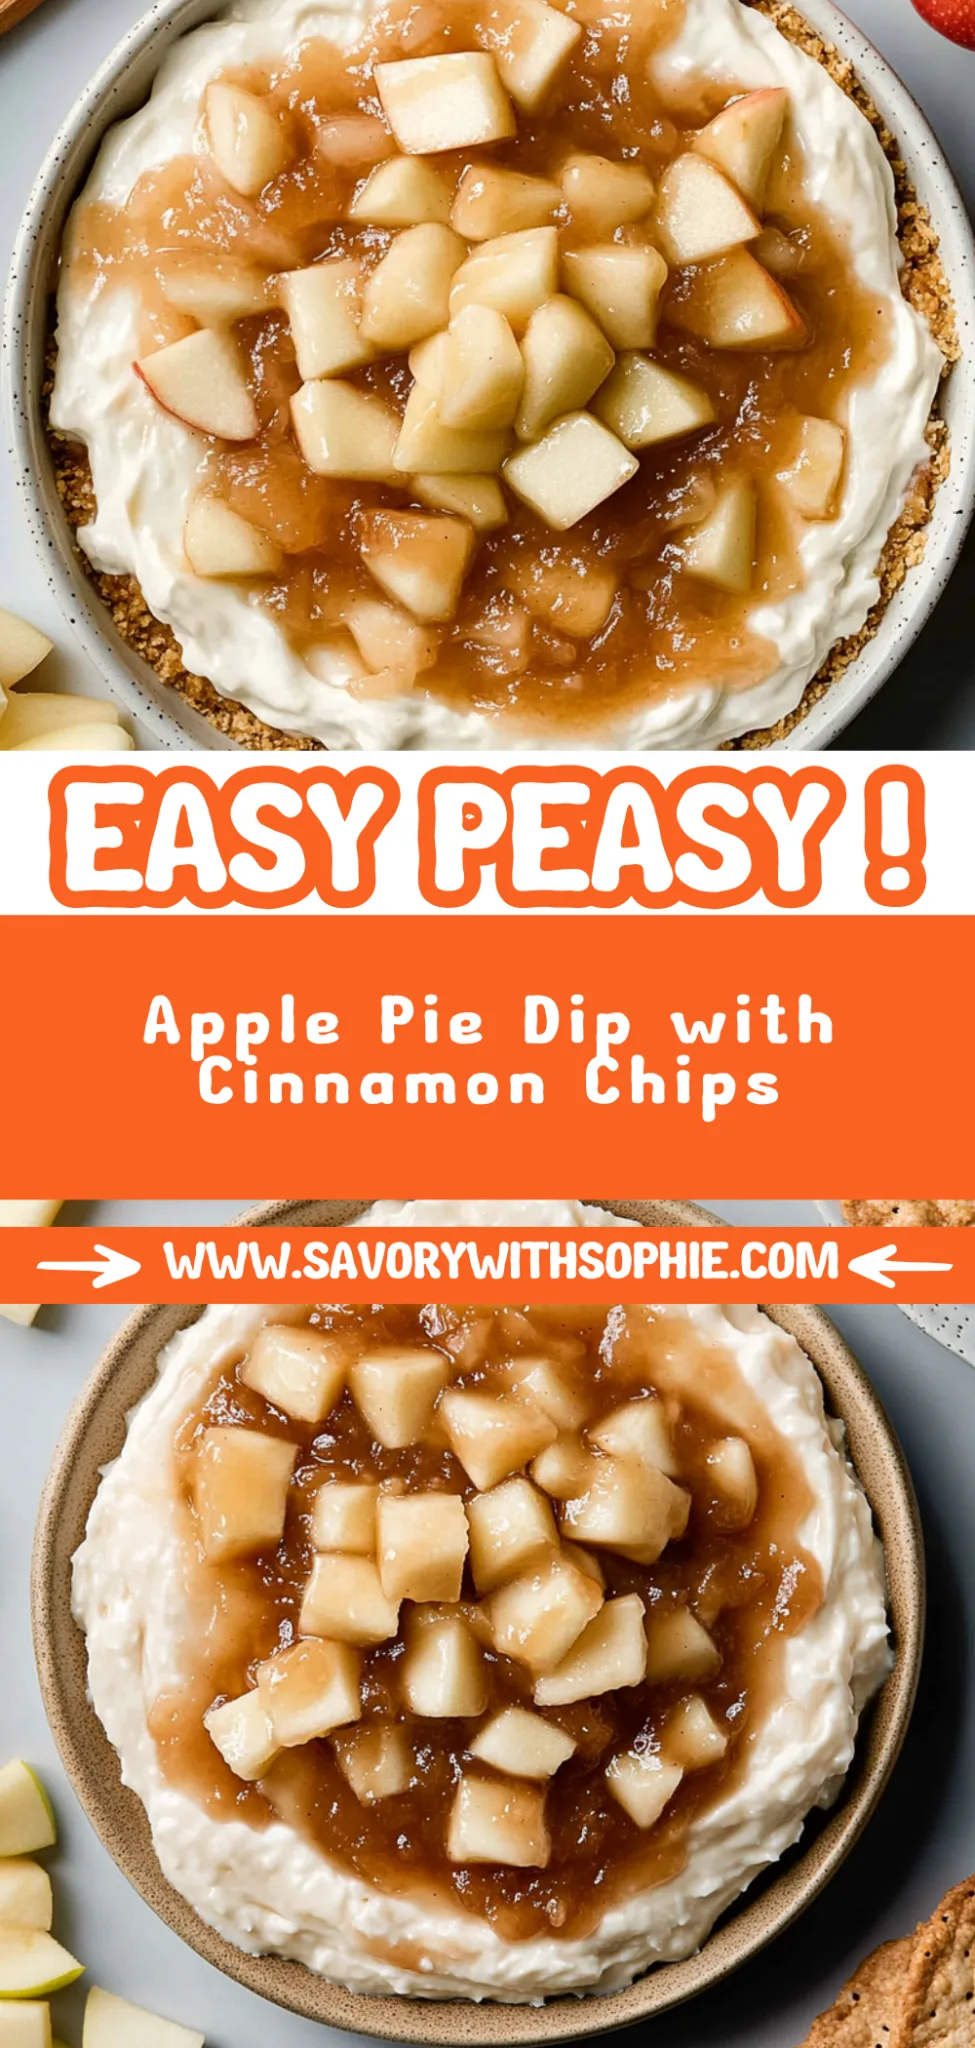
Apple Pie Dip: Cozy Comfort in Every Bite
I first stumbled upon the idea of Apple Pie Dip during a late-night snack craving, scrolling through Instagram when I saw a photo that looked like pure comfort on a plate. It reminded me of those cozy evenings spent at my favorite café, devouring warm apple pie with a scoop of vanilla ice cream. The original version was delightful, but it always felt like a bit of a splurge — not exactly budget-friendly for my regular cravings! So, I set myself the challenge to recreate that deliciousness at home, with all the flavors of classic apple pie but in a fun and easy dip form.
After several rounds of trial and error (okay, maybe more than several — let’s just say my kitchen resembled an apple orchard by the end!), I finally honed in on the perfect blend of spices and textures. Each attempt had me tweaking something: too sweet, too runny, or not enough cinnamon goodness. I even tried different types of apples to find that ideal balance between tart and sweet. Trust me when I say I’ve learned more about apples than I ever thought necessary!
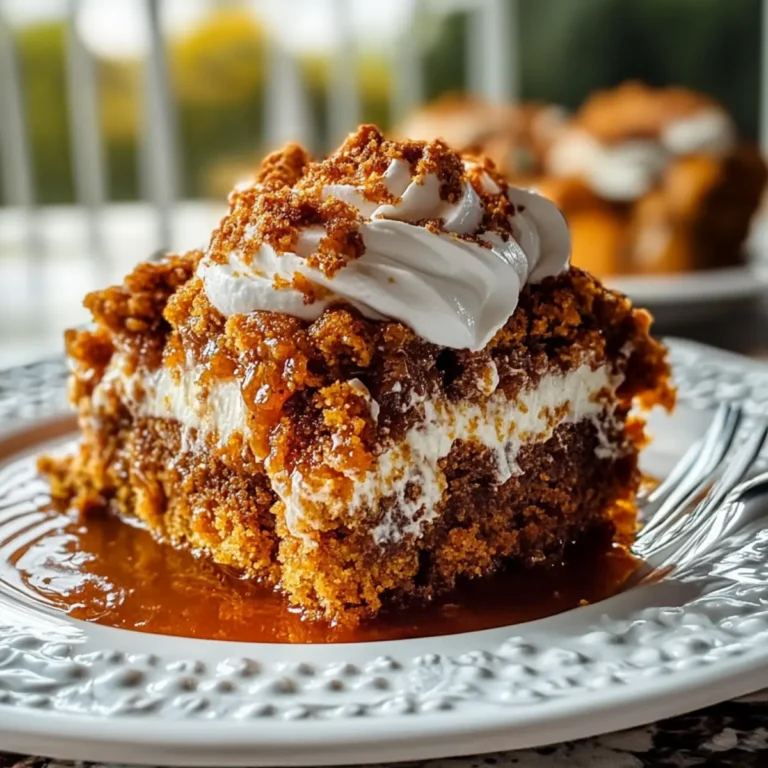
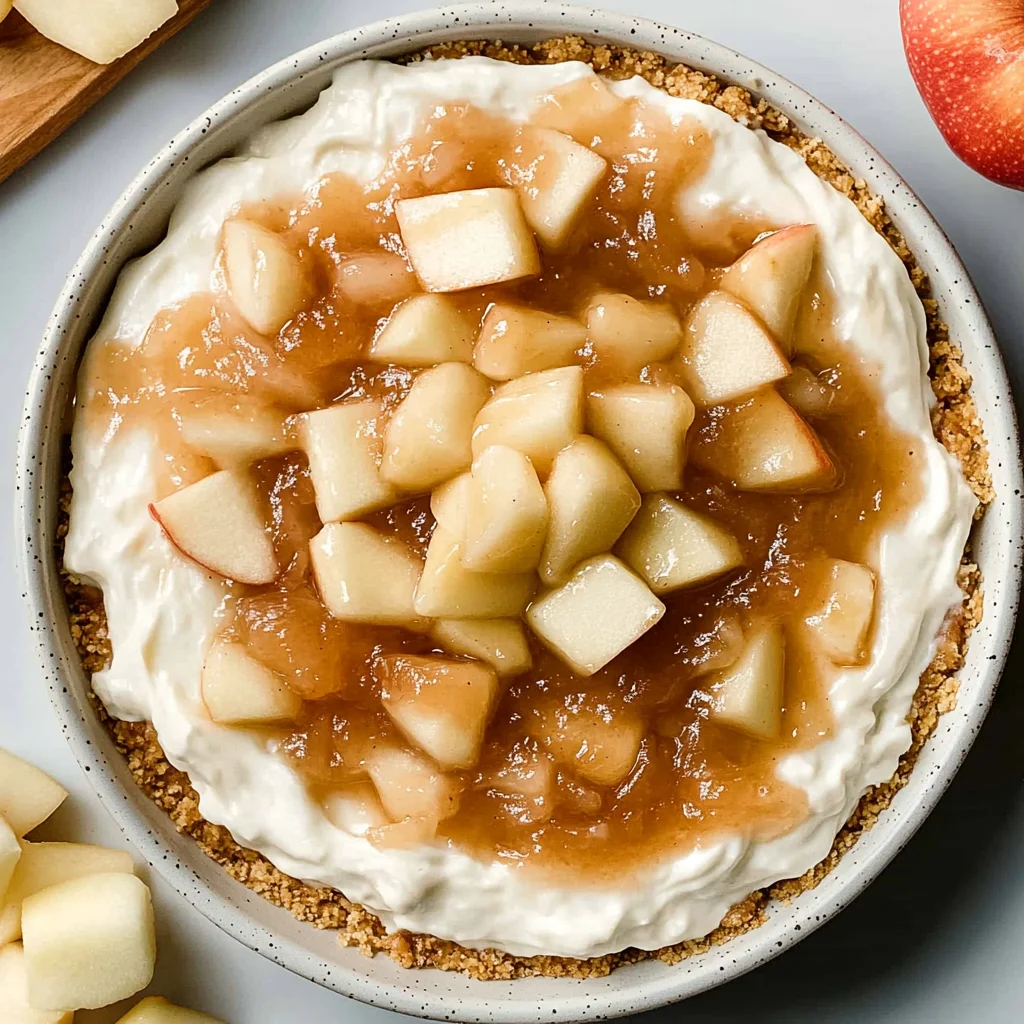
But oh man, was it worth it! The final result is a luscious Apple Pie Dip that’s creamy yet perfectly chunky — think warm gooey apple filling swirled with cream cheese goodness and sprinkled with crunchy bits of graham cracker for that authentic pie crust experience. It’s got all the cozy flavors you love about traditional apple pie but is so much more fun to share at parties or enjoy solo on the couch during movie night. I can’t wait for you to dive into this treat; it’s simply irresistible!
These Apple Pie Dip are…
….the ultimate indulgence for anyone who loves the classic flavors of apple pie without the fuss!
1. They deliver a delectable depth of flavor that captures the essence of traditional apple pie. The combination of brown sugar and cinnamon in the dip base creates a warm, inviting sweetness that complements the diced apples perfectly, making every bite reminiscent of a cozy autumn day.
2. Irresistibly creamy texture – rich and smooth with just the right amount of crunch from the topping. The softened cream cheese gives the dip its luxurious base, while the rolled oats add a delightful contrast, ensuring you enjoy both creaminess and a satisfying bite in each scoop.
3. Simple yet effective technique – incorporating lemon juice into the apple filling prevents browning and enhances brightness. This step not only preserves the fresh taste of the apples but also balances out the sweetness, creating a well-rounded flavor profile that elevates this Apple Pie Dip above standard dessert dips.
4. Budget-friendly delight – made with easily accessible ingredients that won’t break the bank. With just a few pantry staples like cream cheese and oats, you can whip up this crowd-pleaser at home, making it a fantastic option for entertaining without splurging on pricey desserts.
PS This Apple Pie Dip is perfect for sharing! Serve it in a medium-sized dish to ensure everyone gets plenty to enjoy alongside their favorite dippers!
Ingredients for the Apple Pie Dip
Each ingredient in this dish plays an essential role in flavor and texture. Here’s what you’ll need:
- 8 oz cream cheese (softened): Provides a creamy base that binds all the flavors together.
- 1/2 cup brown sugar (packed): Adds rich sweetness and a hint of molasses flavor.
- 1/4 cup granulated sugar: Balances the sweetness and enhances overall flavor.
- 1 tsp vanilla extract: Infuses a warm, aromatic note that elevates the dip.
- 1 tsp cinnamon: Delivers a warm spice that evokes classic apple pie flavors.
- 2 cups apples (peeled and diced): Offers fresh, fruity texture and natural sweetness.
- 1 tbsp lemon juice: Brightens the apple flavor while preventing browning.
- 1 tbsp cornstarch: Helps thicken the apple filling for a perfect consistency.
- 1/2 tsp nutmeg: Adds a subtle warmth that complements the cinnamon beautifully.
- 1/4 cup oats (rolled): Provides a hearty crunch to the topping for added texture.
- 1/4 cup flour: Binds the topping ingredients together for a crumbly finish.
- 2 tbsp butter (melted): Enriches the topping with richness and helps achieve golden-brown color.
- 1 tbsp brown sugar (packed): Sweetens the topping while enhancing its caramelized flavor.
- 1/2 tsp cinnamon: Reinforces the warming spice profile in the topping.
You must mix until smooth and creamy. No shortcuts!
I confess, I tried to skip the step of mixing the cream cheese, sugars, and spices until it was perfectly smooth. I thought, “It’s just a dip; who will notice?” But after a few less-than-stellar attempts, I learned the hard way that a lumpy base really ruins the experience. Trust me, take the time to get it right!
Mixing the cream cheese with the sugars until it’s smooth isn’t just about aesthetics; it’s crucial for achieving that creamy texture everyone expects from a dip. Think of it like making frosting for a cake — if you don’t blend it well, you’ll end up with clumps instead of that luscious spread you crave. The same goes for our Apple Pie Dip base: a creamy consistency ensures every bite is deliciously cohesive and captures all those sweet apple pie flavors.
What does mixing until smooth do?
- Texture: A smooth mixture creates a creamy base that’s easy to scoop and spread, rather than having awkward lumps.
- Flavour Distribution: Thorough mixing ensures that the brown sugar and spices are evenly distributed, enhancing overall flavor in every bite.
- Mouthfeel: Achieving a velvety texture means your dip feels luxurious when paired with crunchy dippers.
- Stability: A well-mixed base holds up better under the weight of the apple filling and topping, preventing separation during baking.
- Baking Performance: A homogeneous mixture bakes more evenly, leading to a better finished product with no undercooked pockets.
Different mixing times
- 10 seconds (acceptable) — you’ll get a somewhat chunky dip that tastes decent but lacks that creamy richness.
- 30 seconds (good) — this will create a smoother dip but may still have minor lumps; not ideal but better than bare minimum.
- 1 minute (great) — achieves a lovely creamy consistency where all flavors meld beautifully.
- 2 minutes or more (fantastic!) — perfect! The dip becomes silky smooth with an irresistible texture that elevates your entire dish.
Remember, if you skimp on this crucial mixing step, you’re setting yourself up for disappointment. A lumpy dip just won’t cut it when serving guests or enjoying a cozy night in! Don’t skip this step if you want your Apple Pie Dip to shine!
How to make Apple Pie Dip
Are you ready to see how straightforward it is to make the Apple Pie Dip of your dreams??
1. PREPARE THE DIP BASE
Let’s kick things off with a creamy and sweet base that will set the stage for all the deliciousness to come!
1. COMBINE – In a mixing bowl, combine softened cream cheese, brown sugar, granulated sugar, vanilla extract, and cinnamon. Mix until smooth and creamy. This will create a luscious dip base that captures the essence of apple pie without any fuss!
2. SPREAD – Spread the cream cheese mixture evenly in the bottom of a baking dish. Make sure to get it into all the corners for an even flavor distribution!
HANDY TIPS
- 💡 TIP: For a smoother consistency, ensure your cream cheese is at room temperature before mixing — this helps avoid lumps!
- ❓ Why does this matter? A well-mixed base ensures a creamy texture that complements the apple filling perfectly.
2. MAKE THE APPLE FILLING
Now it’s time to add that classic apple pie flavor with our fruity filling!
3. MIX – In a separate bowl, mix diced apples with lemon juice, cornstarch, and nutmeg until well combined. The lemon juice adds brightness and prevents browning while the cornstarch helps thicken the filling as it bakes.
4. LAYER – Layer the apple mixture over the cream cheese base in the baking dish. Spread it out evenly so each scoop has that delightful apple goodness!
HANDY TIPS
- 💡 TIP: Choose tart apples like Granny Smith for balance; they hold up well during baking and enhance that pie-like flavor.
- ⚠️ Remember: Adding cornstarch is crucial — it thickens the apples as they cook, preventing a soggy dip.
3. PREPARE THE TOPPING
Next up is our crispy topping that brings everything together with a satisfying crunch!
5. MIX – In a small bowl, mix oats, flour, melted butter, brown sugar, and cinnamon until crumbly. This will create a lovely streusel topping that contrasts beautifully with the creamy dip below.
6. SPRINKLE – Sprinkle the topping evenly over the apple layer. Make sure to cover every bit of fruit for an even bake!
HANDY TIPS
- 💡 TIP: Use rolled oats for added texture; they create a heartier topping compared to quick oats.
- ❓ Why does this matter? A crunchy topping keeps your dip interesting and adds that signature “pie crust” element!
4. BAKE
Finally, let’s bring all these layers together with some heat!
7. PREHEAT – Preheat the oven to 350°F (175°C). This temperature ensures even cooking while allowing flavors to meld beautifully together.
8. BAKE – Bake the dip for 20 minutes or until the topping is golden brown and the apples are bubbly. You’ll know it’s ready when your kitchen smells like autumn!
HANDY TIPS
- 💡 TIP: If you prefer an extra crispy top, broil for an additional minute after baking — just keep an eye on it so it doesn’t burn!
- ⚠️ Cooling — Letting it cool slightly makes serving easier; otherwise, you might end up with molten apple goodness everywhere!
What an incredible treat you’ve just made! With warm apples nestled under a sweet and creamy layer topped with crunchy oat goodness, this Apple Pie Dip is perfect for sharing or savoring by yourself — I won’t judge! Make this once, and I wager it will invade your dreams every night too! – Nagi x
FAQ – Apple Pie Dip
🍏 Can I make this dip ahead of time?
Yes, you can prepare the Apple Pie Dip ahead of time! I recommend preparing the dip base and apple filling separately, then assembling them just before baking. You can store the assembled dip in the refrigerator for up to 24 hours before baking it. Just be aware that chilling may affect the texture a bit, but it will still taste delicious! If you’ve already baked it, I suggest consuming leftovers within 3 days for optimal freshness—after that, it’s about 85% as good on day 4.
❄️ Can I freeze the Apple Pie Dip?
Freezing is possible with this dip, but be cautious. To freeze, make sure to let it cool completely after baking. Then, cover it tightly with plastic wrap and foil or transfer it to an airtight container. It will keep in the freezer for about 2-3 months. When you’re ready to enjoy it, thaw overnight in the fridge and reheat in the oven at 350°F (175°C) until warmed through—about 20-25 minutes should do the trick.
🌾 Is there a way to make this dip gluten-free?
Absolutely! You can easily adapt this recipe to be gluten-free by substituting regular flour with a gluten-free all-purpose flour blend in the topping. For added security against gluten cross-contamination, ensure that your oats are certified gluten-free as some brands may process them in facilities that handle wheat products. With these changes, you can enjoy a deliciously safe Apple Pie Dip!
🥄 Can I use something other than cream cheese for the base?
While cream cheese provides a creamy texture that’s hard to beat, you could substitute it with mascarpone cheese or even Greek yogurt if you’re looking for a lighter option. Just keep in mind that both alternatives will alter the flavor slightly—mascarpone will add richness while Greek yogurt will introduce tanginess. I’ve tested both options and found they work well; just don’t expect them to taste identical to cream cheese!
⏱️ Why do I need to mix cornstarch with apples?
Mixing cornstarch with your apples helps thicken the juices released during baking, preventing your dip from being too runny. This step enhances the overall texture of the dish so each scoop is perfectly balanced between creamy and fruity goodness. If you skip this step, you might end up with a soggy mess instead of a delightful dip—trust me, I’ve been there!
😅 How many times did you test this recipe?
I lost count after testing this Apple Pie Dip about 15 times! Each iteration helped me fine-tune everything from sugar levels to spice ratios. It’s seriously become one of my favorite recipes because it’s so easy and indulgent—plus, who doesn’t love a cozy dip that tastes like dessert? So rest assured; I’ve done my homework on this one!
Troubleshooting
I will continue to add more to this Troubleshooting section as I start seeing questions coming through from people who have made the recipe.
Troubleshooting tips
“My dip came out too thin and runny! 😩”
- You may not have used enough cornstarch in the apple filling. Cornstarch acts as a thickening agent, and if you skimped on it, the filling won’t set properly.
- If your apples released too much juice during baking, it could also lead to a watery dip. Make sure to drain any excess liquid before layering.
- I bet it still tasted delicious though!
“The topping burned while the apples were still pale! 😱”
- This often happens if your oven temperature is too high. Make sure to preheat your oven properly to 350°F (175°C) and keep an eye on it as ovens can vary.
- If you spread the topping too thickly over the apples, it can block heat from reaching them, causing uneven cooking. Try a more even layer next time!
- I’m sure it was still tasty despite the crispy bits!
“My dip looks kind of lumpy! 🤔”
- Lumps in your cream cheese mixture usually mean it wasn’t softened enough. Always let your cream cheese sit out until it’s really soft for a smooth base.
- If you didn’t mix the apple filling thoroughly after adding the spices and lemon juice, that could create lumps too. Make sure everything is well combined before layering.
- But hey, those lumps might just add character!
“The surface of my dip cracked while baking! 😳”
- Cracks can form if the mixture is too dry or baked for too long. Ensure that your cream cheese mixture is creamy enough and watch closely towards the end of baking time.
- If you baked at a higher temperature than specified, that could also contribute to cracking. Stick to 350°F (175°C) for best results!
- Even with cracks, I bet it was still scrumptious!
Apple Pie Dip
Ingredients
Method
- In a mixing bowl, combine softened cream cheese, brown sugar, granulated sugar, vanilla extract, and cinnamon. Mix until smooth and creamy.
- Spread the cream cheese mixture evenly in the bottom of a baking dish.
- In a separate bowl, mix diced apples with lemon juice, cornstarch, and nutmeg until well combined.
- Layer the apple mixture over the cream cheese base in the baking dish.
- In a small bowl, mix oats, flour, melted butter, brown sugar, and cinnamon until crumbly.
- Sprinkle the topping evenly over the apple layer.
- Preheat the oven to 350°F (175°C). Bake the dip for 20 minutes or until the topping is golden brown and the apples are bubbly.
- Remove from the oven and let cool slightly before serving.