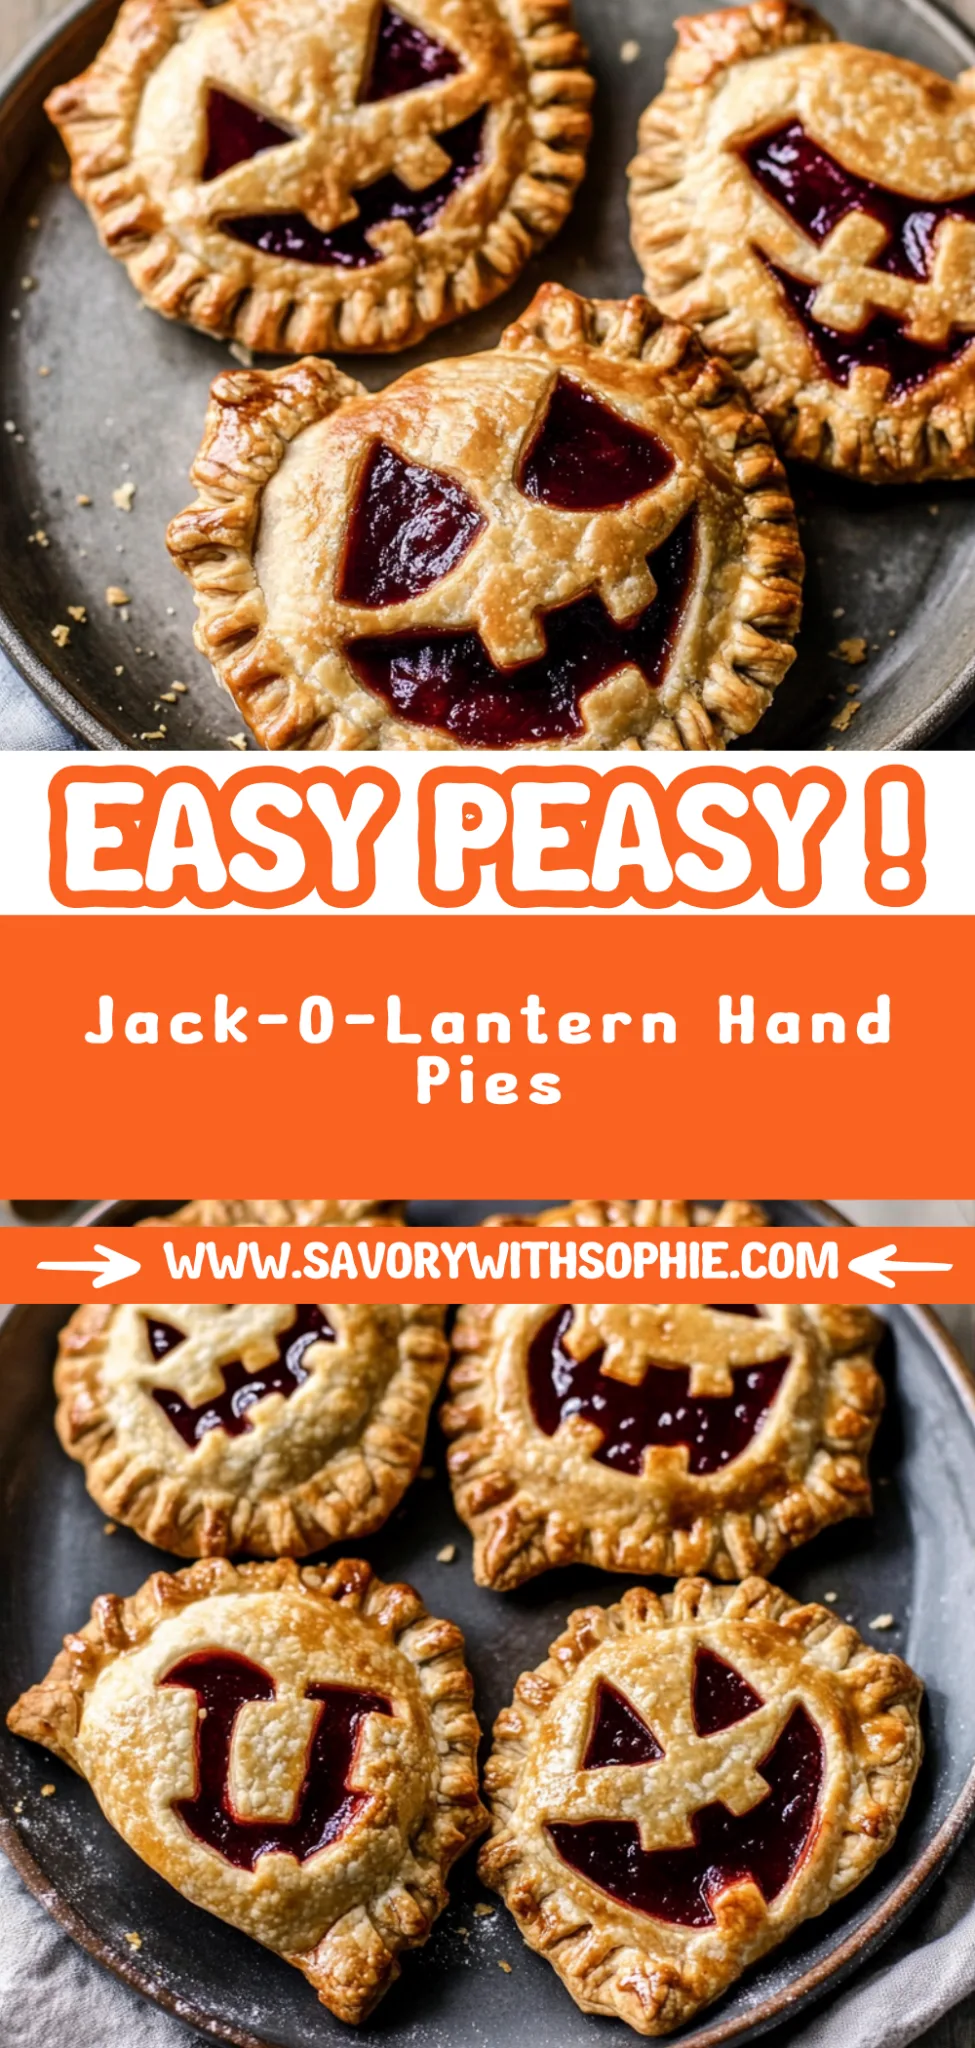
Jack-O-Lantern Hand Pies: Spooky and Delicious Treats
I still remember the first time I spotted those adorable pumpkin-filled hand pies shaped like jack-o-lanterns in a quaint little bakery last Halloween. They were so cute, all decked out with little faces carved into the crust, and I couldn’t resist grabbing one (or two). But as I took that first bite, I thought, “I could totally make these at home!” Not only would it be more cost-effective, but I could also tweak the filling to my liking—because who doesn’t want a little extra spice in their life? So, armed with my love for all things pumpkin and a desire to impress my friends, I set out on a mission to recreate these festive treats.
Let me tell you, perfecting the Jack-O-Lantern Hand Pies was no walk in the park. It took me five attempts and countless hours of trial and error—there were moments when I was convinced I’d just end up with a pumpkin mush instead of perfectly flaky hand pies! The crust needed to be just right: flaky yet sturdy enough to hold the filling without turning into a soggy mess. With each iteration, I learned something new—like how not to make the filling too watery or how to achieve that golden-brown color on the crust without burning it. Spoiler alert: patience is key!
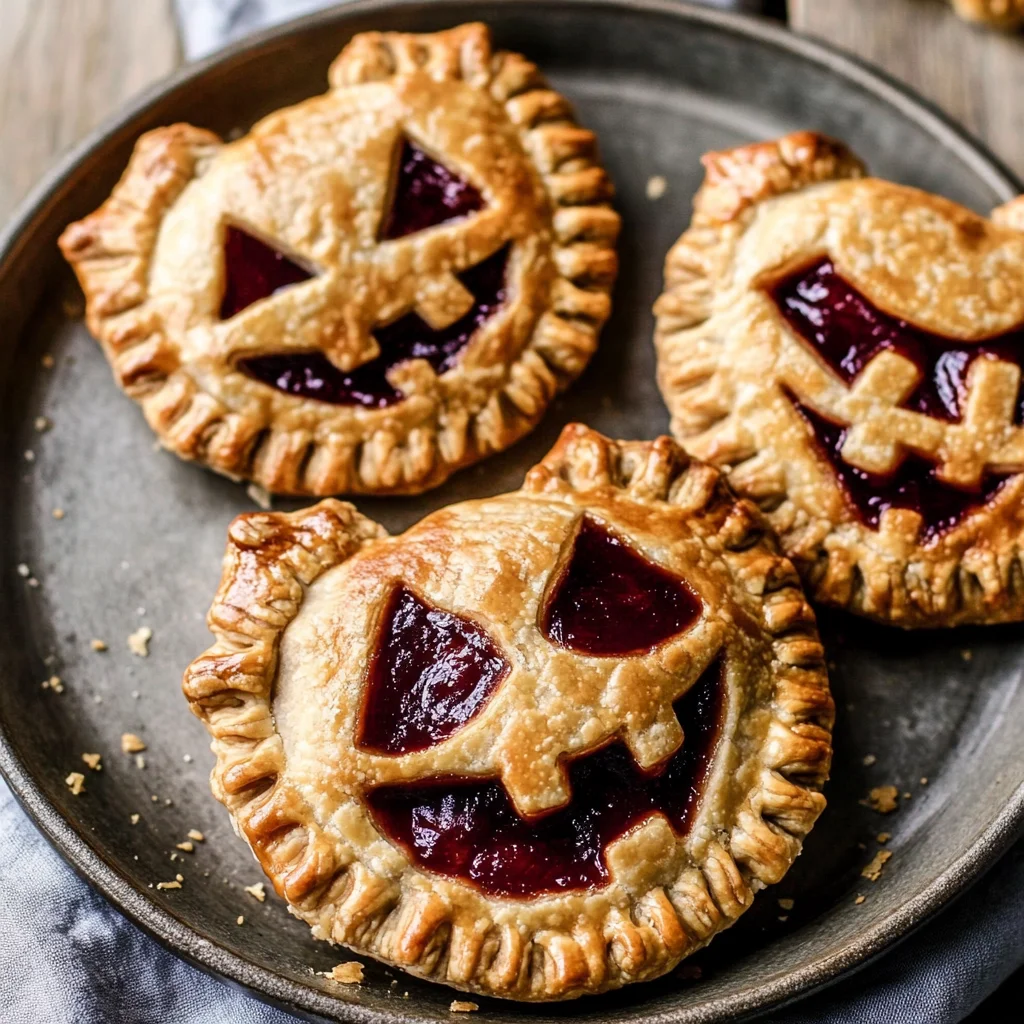
But oh boy, was it worth it! The final result is nothing short of spectacular—these Jack-O-Lantern Hand Pies are not only visually delightful but also packed with that warm, spiced pumpkin flavor that screams fall. The texture is perfectly flaky on the outside while being soft and gooey inside, making every bite a joyous experience. I can’t wait for you to try making these yourself; they’re bound to steal the show at your Halloween festivities! Trust me, once you take a bite, you’ll be grinning like a jack-o-lantern!
These Jack-O-Lantern Hand Pies are…
….the ultimate festive treat that brings a smile to your face and fills your belly with pumpkin goodness!
1. They deliver an incredible depth of flavor that’s both warm and inviting, thanks to the perfect blend of brown sugar, cinnamon, and nutmeg in the filling. This combination enhances the natural sweetness of the canned pumpkin puree, creating a flavor profile that’s reminiscent of cozy autumn days.
2. Flaky, tender crust – each bite is a delightful contrast between the crisp exterior and the soft, pillowy interior. By using cold cubed unsalted butter in the pie crust, I ensure that this hand pie maintains its perfect structure while still being light as air.
3. The chilled dough technique is key to achieving that flaky texture in my Jack-O-Lantern Hand Pies. By incorporating ice water and keeping everything cold during preparation, I create layers in the dough that result in a beautifully flaky crust when baked.
4. An affordable homemade option – these hand pies are not only easy to make but also cost-effective compared to store-bought versions. With simple ingredients like all-purpose flour and butter, you can whip up a batch without breaking the bank while enjoying fresh flavors that you can’t find in pre-packaged treats.
PS These hand pies are perfectly sized for snacking or sharing at Halloween gatherings, making them a must-have addition to your festive spread!
Ingredients for the Jack-O-Lantern Hand Pies
Each ingredient in this dish plays an essential role in flavor and texture. Here’s what you’ll need:
- 2 cups all-purpose flour: Provides the structure for a flaky, tender crust.
- 1 cup unsalted butter (cold and cubed): Ensures a rich, buttery flavor and helps create a flaky texture.
- 1/4 cup granulated sugar: Adds a hint of sweetness to balance the savory elements.
- 1/2 teaspoon salt: Enhances the overall flavor and brings out the sweetness of the filling.
- 6 tablespoons ice water: Binds the ingredients together while keeping the dough cold for optimal flakiness.
- 1 cup canned pumpkin puree: Serves as the creamy base that offers natural sweetness and a warm autumn flavor.
- 1/2 cup brown sugar: Imparts a rich molasses flavor that complements the pumpkin perfectly.
- 1 teaspoon cinnamon: Infuses warmth and spice, enhancing the seasonal vibe.
- 1/2 teaspoon nutmeg: Provides an earthy depth that rounds out the sweet and spicy notes.
- 1 egg beaten (for egg wash): Gives the hand pies a beautiful golden-brown finish when baked.
The Dough Must Chill. No Exceptions!
I know, I know—refrigerating the dough feels like a tedious extra step, and trust me, I tried to skip it. I genuinely thought I could rush the process and get away with it. Spoiler alert: I was wrong. The difference was so stark that I found myself chuckling at my own impatience.
Here’s the thing: chilling the dough is crucial because it allows the gluten in the flour to relax, which results in a tender, flaky crust. Think of it like letting a tense muscle unwind after a workout—the longer you let it chill, the more pliable and forgiving your dough becomes. For these Jack-O-Lantern Hand Pies, this simple act transforms your crust from a tough layer of regret into a golden, buttery embrace for that delicious pumpkin filling.
What does chilling the dough do?
- Texture: Chilling creates a flakier crust by preventing the butter from melting too quickly during baking, ensuring those lovely layers.
- Tenderness: A relaxed gluten structure means your crust won’t be tough, making each bite wonderfully soft and easy to enjoy.
- Shape retention: Cold dough holds its shape better when cut and baked, which is essential for those cute jack-o-lantern faces!
- Flavor development: Allowing time for chilling enhances flavor as the ingredients meld together more effectively.
- Easier rolling: Chilled dough is less sticky and easier to handle, allowing you to roll it out smoothly without frustration.
Different chilling times
- 30 minutes (good) — This will yield decent results; your hand pies will still taste great but may lack that ultimate flakiness.
- 1 hour (better) — A solid improvement! The crust will feel more pliable and flaky compared to just 30 minutes.
- 2 hours (great) — Now we’re talking! Your hand pies will have an even better texture and flavor, making them more enjoyable.
- Overnight (best) — Pure perfection! The flavors meld beautifully, creating an irresistible crust that’s light and flaky.
Be warned—many home bakers underestimate this critical step and skip chilling altogether. Don’t fall into that trap! A warm dough will result in tough hand pies that lack the delicate texture you’re aiming for. Trust me on this one; give your dough the time it deserves!
How to make Jack-O-Lantern Hand Pies
Are you ready to see how straightforward it is to make the Jack-O-Lantern Hand Pies of your dreams??
1. PREPARE THE PIE CRUST
Let’s start by creating a flaky and delicious pie crust that will hug your pumpkin filling perfectly!
1. COMBINE – In a mixing bowl, combine the flour, granulated sugar, and salt. This trio forms the base of your crust, ensuring it’s both sweet and savory.
2. ADD BUTTER – Add the cold, cubed unsalted butter into the bowl. Use your fingers or a pastry cutter to mix until the mixture resembles coarse crumbs. The cold butter is key here; it creates those lovely flaky layers as it bakes!
3. MIX IN WATER – Gradually add the ice water, mixing until the dough just comes together. You don’t want to overwork it! Divide the dough into two discs, wrap them in plastic wrap, and refrigerate for 30 minutes.
HANDY TIPS
- 💡 TIP: Make sure your butter is really cold – this will help achieve that perfect flakiness.
- ⚠️ Remember to chill the dough! This helps prevent shrinkage during baking.
2. MAKE THE PUMPKIN FILLING
Now it’s time for the star of the show—the pumpkin filling that’s both flavorful and aromatic!
1. MIX INGREDIENTS – In a bowl, combine the canned pumpkin puree, brown sugar, cinnamon, and nutmeg. Stir until well combined. This filling is not only delicious but also smells amazing while you’re preparing it!
HANDY TIPS
- 💡 TIP: If you want a creamier filling, consider adding a dollop of cream cheese or sour cream to enhance richness.
- ❓ Why use brown sugar? It adds depth and moisture to your filling compared to white sugar.
3. ASSEMBLE THE HAND PIES
Let’s transform those ingredients into adorable jack-o-lantern hand pies that are sure to impress!
1. PREHEAT OVEN – Preheat your oven to 375°F (190°C). This ensures that when you place your hand pies in, they will start baking immediately for that golden finish.
2. ROLL OUT DOUGH – Roll out one disc of dough on a floured surface until it’s about 1/8 inch thick. The thinner you roll it, the crispier it will be!
3. CUT CIRCLES – Use a pastry cutter to cut out circles from the dough; these will be the top and bottom of your hand pies.
4. FILL AND SEAL – Place about a tablespoon of pumpkin filling in the center of half of these circles. Moisten the edges with water before placing another circle on top and pressing to seal tightly—this keeps all that delicious filling inside!
5. CREATE FACES – Take a knife and carefully cut jack-o-lantern faces into each top crust—you want them cute but also functional so steam can escape while baking!
HANDY TIPS
- 💡 TIP: For uniformity, use an egg ring or cookie cutter for cutting out circles.
- ⚠️ Ensure you press down firmly on the edges when sealing—this prevents any filling from leaking out during baking.
4. BAKE THE HAND PIES
It’s almost time to enjoy those delightful hand pies—let’s get them baked!
1. PLACE ON BAKING SHEET – Transfer your assembled hand pies onto a baking sheet lined with parchment paper for easy cleanup.
2. BRUSH WITH EGG WASH – Brush each pie with beaten egg; this will give them that beautiful golden-brown color as they bake.
3. BAKE – Bake in preheated oven for 20-25 minutes or until they’re golden brown and fragrant! Keep an eye on them because ovens can vary—you’re looking for that perfect color.
HANDY TIPS
- 💡 TIP: If you’re making a mini version of these hand pies, they’ll only need about 12–15 minutes in the oven.
- ❓ Why do we brush with egg wash? It creates that shiny finish that makes them look extra appetizing!
Now you’ve created adorable Jack-O-Lantern Hand Pies filled with scrumptious pumpkin goodness! 🎃 That’s what I call Halloween magic right there! I can’t wait for you to share these with friends and family—they may just become your new holiday tradition! – Nagi x
FAQ – Jack-O-Lantern Hand Pies
🍰 How long will these hand pies keep?
These Jack-O-Lantern Hand Pies will stay fresh for about 2-3 days at room temperature. After that, I’d say they’re still about 85% as good on day 4, but you might notice the crust isn’t as flaky. To keep them at their best, store them in an airtight container. If you want to store them longer, I recommend freezing them.
❄️ Can I freeze these hand pies?
Yes, you can absolutely freeze these hand pies! To do so, let them cool completely after baking, then place them in a single layer on a baking sheet and freeze until solid. Once frozen, transfer them to a freezer-safe bag or container. They can be stored for up to 3 months. When you’re ready to enjoy them, just bake from frozen at 375°F (190°C) for about 25-30 minutes.
🥧 Do I really have to chill the pie crust?
Yes, chilling the pie crust is essential for achieving that perfect flaky texture! Chilling allows the butter to firm up again after mixing and keeps the gluten from developing too much. If you skip this step, your crust may turn out tough instead of tender—trust me, I’ve tested it both ways and chilling wins every time!
🌾 Can I make this recipe gluten-free?
Absolutely! You can substitute the all-purpose flour with a 1: 1 gluten-free flour blend designed for baking. Just ensure that it contains xanthan gum or add about 1/2 teaspoon per cup of flour if it doesn’t. Keep in mind that the texture may vary slightly, but they should still turn out delicious!
🍬 Can I reduce the sugar in the pumpkin filling?
Nope! I tried reducing the sugar multiple times during my testing phase, and each time resulted in a filling that just didn’t taste right. The balance of sweetness from both brown sugar and pumpkin is what makes these hand pies delightful. If you’re looking for alternatives, consider using coconut sugar or maple syrup instead—but don’t cut back on the amount!
🔪 Why do I need to moisten the edges when sealing?
Moistening the edges is crucial because it helps create a strong seal between the two pie crusts. Without this step, your filling might leak out during baking. Use a little water with your fingers or a brush; it’s a simple step that makes all the difference! Trust me; no one wants pumpkin filling oozing all over their baking sheet!
🎃 Can I customize the filling with other flavors?
Definitely! While pumpkin is classic for fall, feel free to experiment with other flavors. Try adding some chopped apples or pecans for texture, or swap out spices like cinnamon and nutmeg for ginger or cloves. Just remember to adjust sweetness accordingly—you don’t want it too sweet!
Troubleshooting
I will continue to add more to this Troubleshooting section as I start seeing questions coming through from people who have made the recipe.
Troubleshooting tips
“My hand pies are way too flat! 😩”
- Your dough might be too warm; if the butter has started to melt, it can’t create those lovely flaky layers. Make sure your butter is cold and cubed before mixing it with the flour.
- You may have rolled out your dough too thin. Aim for about 1/8 inch thick; rolling it thinner can cause them to lose their shape during baking.
- If you didn’t refrigerate your dough long enough, the butter may not have solidified properly, leading to flat hand pies. Remember, chilling is key for maintaining shape!
I bet they were still YUM though!
“My crust turned out too dry and crumbly! 😱”
- You might not have added enough ice water when mixing your dough. Gradually adding water helps ensure the right consistency; if it’s too dry, just a bit more can do wonders.
- Over-mixing can cause gluten to develop, leading to a tough texture. Mix until just combined; you want that crumbly texture but not too much elasticity.
- If your butter was not cold enough, it could make the dough dry. Always use cold, cubed butter for that perfect flaky crust!
I bet they were still YUM though!
“The tops of my hand pies are unevenly browned! 🔥”
- Your oven temperature may be inconsistent; an oven thermometer can help ensure it’s at the correct 375°F (190°C). Uneven heat can lead to patchy browning.
- If you placed your baking sheet on a lower rack, it might bake faster at that temperature causing uneven coloring. Try placing them in the center of the oven for even heat distribution next time!
- Not brushing the tops with egg wash can also result in less browning. The egg wash gives that beautiful golden color and shine!
I bet they were still YUM though!
“My edges didn’t seal properly and some filling leaked out! 😱”
- You might not have moistened the edges sufficiently before sealing. A little water helps create a better bond between the pie crusts.
- If you didn’t press down firmly when sealing, air pockets could form and break during baking. Make sure you press those edges together well!
- Overfilling each pie can also cause leakage. Stick to about one tablespoon of filling; any more and it’s likely to spill out while baking!
I bet they were still YUM though!
Jack-O-Lantern Hand Pies
Ingredients
Method
- In a mixing bowl, combine flour, sugar, and salt. Add cold butter and mix until crumbly.
- Gradually add ice water, mixing until the dough comes together. Divide into two discs and refrigerate for 30 minutes.
- In a bowl, mix pumpkin puree, brown sugar, cinnamon, and nutmeg until well combined.
- Preheat the oven to 375°F (190°C). Roll out one disc of dough on a floured surface to about 1/8 inch thick.
- Cut out circles using a pastry cutter. Place a tablespoon of pumpkin filling in the center of half the circles.
- Moisten the edges with water, place another circle on top, and press to seal. Use a knife to cut jack-o-lantern faces into the top crust.
- Place the hand pies on a baking sheet lined with parchment paper. Brush with beaten egg.
- Bake for 20-25 minutes or until golden brown. Let cool before serving.