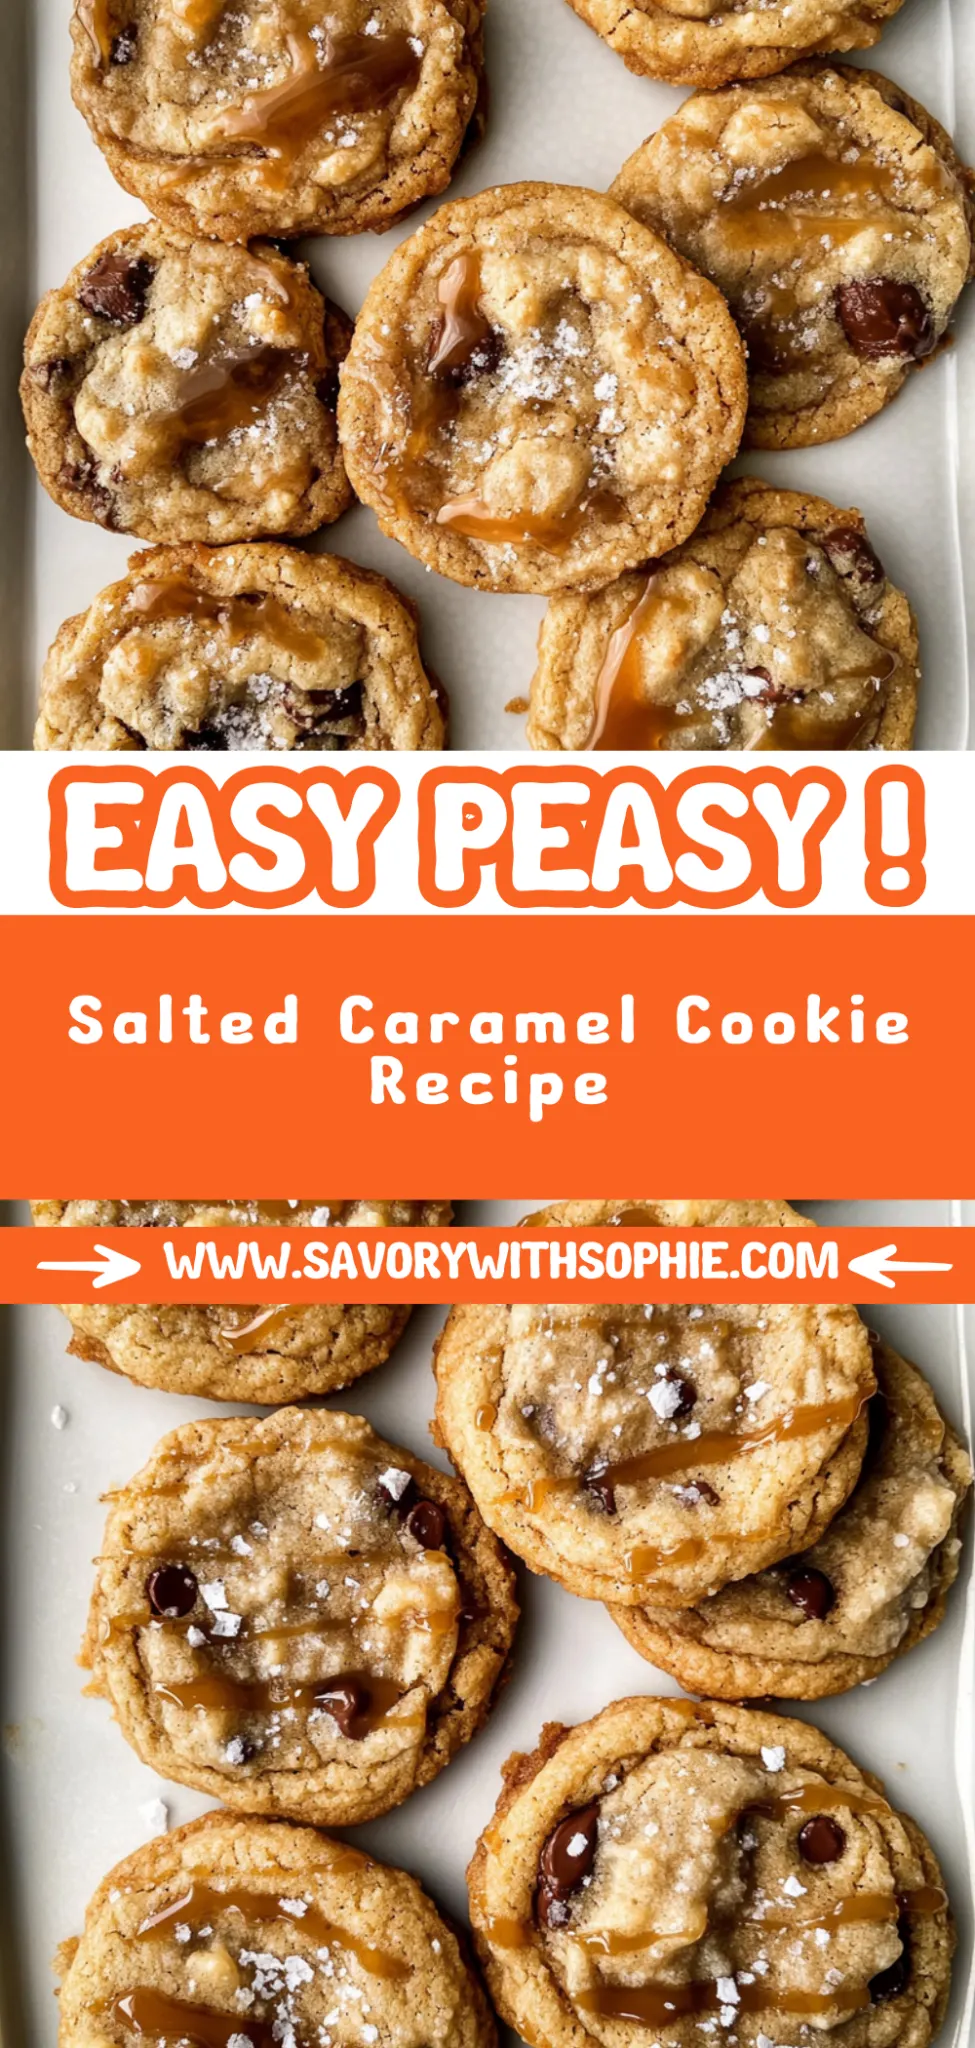
Salted Caramel Cookie Recipe: A Decadent Delight at Home
I still remember the first time I bit into a salted caramel cookie at this little café in my neighborhood. The way the gooey caramel melted in my mouth, perfectly balanced by a sprinkle of sea salt, was nothing short of magical. The problem? Those cookies came with a price tag that made my wallet weep every time I indulged. So, I decided to challenge myself — could I recreate that decadent experience at home without breaking the bank? Spoiler alert: I did!
Let me tell you, perfecting this Salted Caramel Cookie Recipe was no walk in the park. It took me a solid six attempts (yes, six!) to get it just right. Each batch had its own unique flaws, from cookies that spread too thin and turned into caramel puddles to ones that were so dense they could double as doorstops. I wanted chewy, rich cookies with that perfect balance of sweetness and saltiness, and each trial brought me one step closer to cookie nirvana… along with a few extra pounds from all those taste tests!
But oh boy, was it worth it! The final result is everything I dreamed of: deliciously chewy cookies bursting with a rich salted caramel flavor that hits the sweet spot every single time. They’ve got that delightful texture — crispy edges with a soft center — and the flavors? Pure bliss! Whether you’re enjoying them fresh out of the oven or storing them for later (if they last that long!), I can’t wait for you to try these beauties. Trust me, your taste buds are in for a treat!
These Salted Caramel Cookie Recipe are….
….the ultimate indulgence for any cookie lover craving a sweet treat!
1. They deliver a decadent salted caramel flavor that truly shines through each bite. The combination of granulated and brown sugars creates a beautifully complex sweetness, while the addition of sea salt elevates the flavor profile, making these cookies unforgettable.
2. Irresistible chewiness — each cookie boasts a perfect balance of crisp edges and a soft, gooey center. This is achieved by using softened unsalted butter and just the right amount of flour, ensuring they bake up thick and chewy, providing that satisfying texture we all crave.
3. Masterful technique – I’ve found that perfectly creaming the butter with both types of sugar is crucial. This step not only incorporates air for leavening but also creates a smooth base that enhances the overall richness and cookie structure, resulting in a bakery-quality treat.
4. Incredible value – these cookies are made with pantry staples, meaning you can whip up a batch without breaking the bank. With simple ingredients like flour, sugar, and butter, you can enjoy gourmet-level cookies at home anytime you want, saving both money and time compared to specialty shops.
PS These cookies are on the larger side! This design helps achieve that wonderful crispy exterior while keeping the insides perfectly soft-baked and chewy.
Ingredients for the Salted Caramel Cookie Recipe
Each ingredient in this dish plays an essential role in flavor and texture. Here’s what you’ll need:
- 1 cup unsalted butter (softened): Provides richness and creates a tender cookie texture.
- 3/4 cup granulated sugar: Sweetens the cookies while helping them achieve a lovely golden color.
- 3/4 cup brown sugar (packed): Adds moisture and a deeper caramel flavor to the base.
- 1 large egg: Acts as a binder, contributing to the cookie’s structure and chewiness.
- 1 teaspoon vanilla extract: Enhances the overall flavor with a warm, aromatic note.
- 2 cups all-purpose flour: Forms the backbone of the cookie, giving it body and substance.
- 1 teaspoon baking soda: Helps the cookies rise slightly, creating a soft and chewy texture.
- 1/2 teaspoon salt: Balances sweetness and enhances all the flavors throughout the cookie.
- 1 cup granulated sugar (for caramel): The primary sweetener that transforms into rich caramel when heated.
- 6 tablespoons unsalted butter (cut into pieces): Contributes creaminess and helps create a smooth caramel sauce.
- 1/2 cup heavy cream: Adds richness to the caramel, making it luscious and velvety.
- 1 teaspoon sea salt (plus more for topping): Elevates the sweetness of the caramel with a savory touch.
You MUST prepare the salted caramel. No shortcuts!
I have to confess, I tried to cut corners with the salted caramel. I thought maybe I could just use store-bought, or skip the whole caramel-making process altogether. After several failed attempts that left my cookies tasting like sad, sugary puffs, I realized there’s no way around it—homemade salted caramel is non-negotiable for this recipe!
So why is this step so crucial? Think of it like cooking pasta: if you don’t salt the water, your noodles will taste bland and lifeless. The same goes for these cookies! The rich flavor of homemade salted caramel infuses each bite with an irresistible depth that no substitute can replicate. Plus, that delightful contrast of sweet and salty elevates the overall experience from merely good to absolutely phenomenal.
What does preparing the salted caramel do?
- Flavor depth: Homemade salted caramel adds a rich, complex sweetness that store-bought cannot match, enhancing the overall taste of the cookie.
- Texture improvement: The gooeyness of freshly made caramel creates a delightful contrast with the chewy cookie base, elevating each bite.
- Color enhancement: Cooking sugar until it’s deep amber not only looks stunning but also contributes a beautiful golden hue to your cookies.
- Freshness: Using fresh ingredients ensures maximum flavor and quality; stale store-bought sauces can dull your cookie’s potential.
- Moisture balance: The combination of heavy cream and butter in your homemade caramel adds moisture to the cookies without making them soggy.
Different caramel preparation times
- Immediate (good) — If you make the caramel right before drizzling on cookies, it works, but it won’t have time to cool properly and may melt into the dough too much.
- ⭐️ 10 minutes⭐️ — Great! Allowing it to cool for this time gives it a slightly thicker consistency while still being pourable.
- ⭐️ 30 minutes⭐️ — Best! The cooler temperature allows it to thicken further, creating a lovely drizzle that holds its shape on top of each cookie.
- Beyond 1 hour — Risky! While it’ll be thick and luscious, there’s a chance of it hardening too much for easy drizzling.
Be warned—skipping or rushing this step is one of the biggest mistakes you can make! If your salted caramel isn’t perfectly made, your cookies will lack that essential flavor punch and gooey texture that makes them so special. Trust me; take the time to get it right!
How to make Salted Caramel Cookie Recipe
Are you ready to see how straightforward it is to make the Salted Caramel Cookie Recipe of your dreams??
1. PREPARE THE SALTED CARAMEL
Get ready for that rich and dreamy salted caramel that will take your cookies to the next level!
1. MELT SUGAR – In a medium saucepan over medium heat, add the granulated sugar. Stir constantly with a wooden spoon or heat-resistant spatula as the sugar melts and turns a deep amber color. This process takes about 5–7 minutes, and it’s important to watch closely to avoid burning. ❓ Why does this matter? Because burnt sugar can ruin your caramel!
2. ADD BUTTER – Once you achieve that beautiful amber color, immediately add the cut pieces of unsalted butter into the melted sugar. Stir continuously until the butter is fully melted and combined with the sugar, creating a luscious mixture.
3. INCORPORATE CREAM – Gradually pour in the heavy cream while stirring steadily. Be careful; it might bubble up! Continue stirring until everything is well mixed, then add in the sea salt. Remove from heat and let this heavenly concoction cool while you prepare your cookie dough.
HANDY TIPS
- Make sure your saucepan has a light-colored bottom; it helps you monitor the sugar color better.
- If your caramel thickens too much as it cools, just warm it slightly over low heat before drizzling on cookies.
2. MAKE THE COOKIE DOUGH
Now let’s whip up that cookie dough that will cradle our salted caramel!
4. CREAM BUTTER AND SUGARS – In a mixing bowl, use a hand mixer or stand mixer to cream together 1 cup of softened unsalted butter with 3/4 cup granulated sugar and 3/4 cup packed brown sugar until it becomes light and fluffy—about 3-5 minutes at medium speed.
5. ADD EGG AND VANILLA – Crack in 1 large egg along with 1 teaspoon of vanilla extract into the creamed mixture. Mix until everything is well combined and smooth.
6. COMBINE DRY INGREDIENTS – In another bowl, whisk together 2 cups of all-purpose flour, 1 teaspoon baking soda, and 1/2 teaspoon salt. Gradually add this dry mixture into your wet ingredients, mixing gently just until combined; be careful not to overmix!
HANDY TIPS
- For an even chewier cookie texture, chill your dough for about 30 minutes before baking.
- If you prefer larger cookies, simply use an ice cream scoop instead of tablespoons when portioning out the dough.
3. COMBINE AND BAKE
Time to bring everything together for some deliciously chewy cookies!
7. PREHEAT OVEN – Preheat your oven to 350°F (175°C) and line a baking sheet with parchment paper for easy cleanup later.
8. SCOOP DOUGH – Using a tablespoon or cookie scoop, place rounded amounts of cookie dough onto the prepared baking sheet, ensuring there’s enough space between each scoop for spreading during baking.
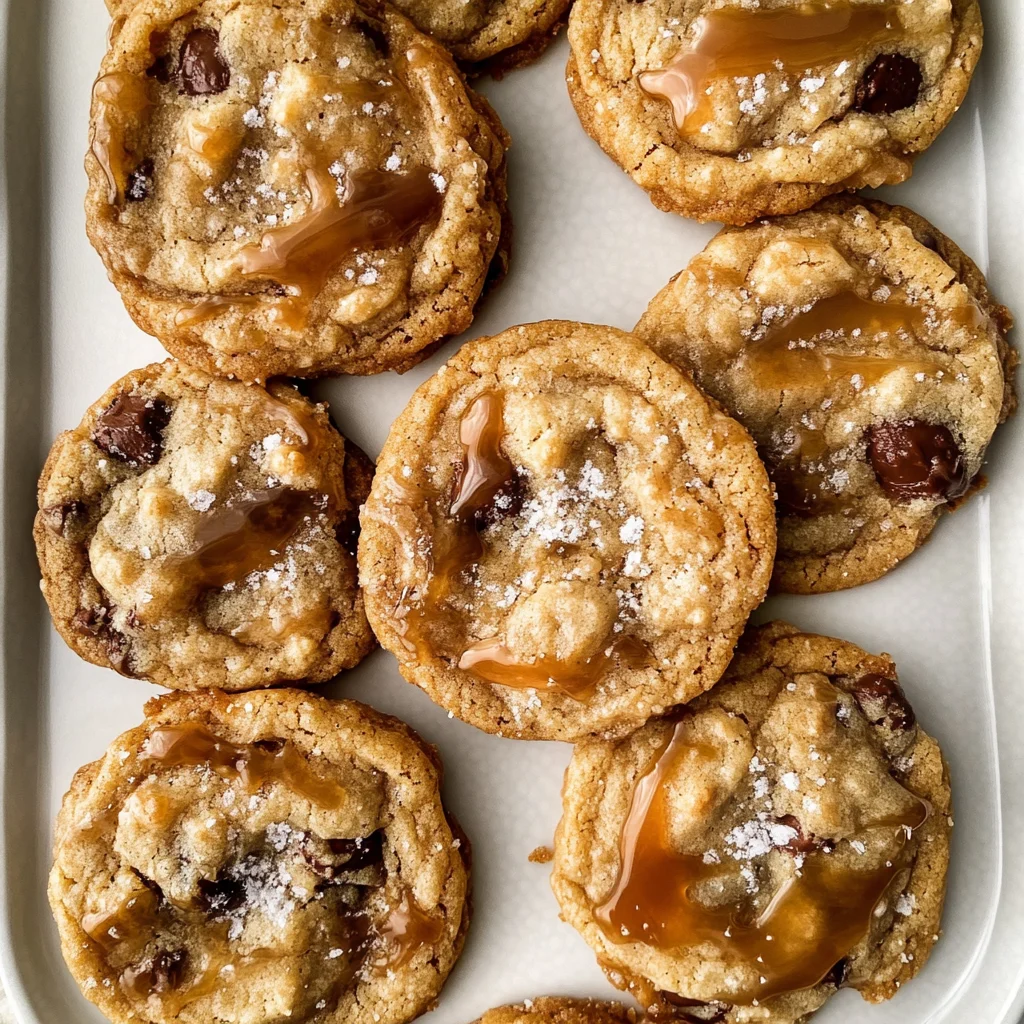
9. DRIZZLE CARAMEL – Take that cooled salted caramel and drizzle a small amount over each cookie mound—don’t be shy! Then sprinkle each with a pinch of extra sea salt for that perfect balance.
10. BAKE COOKIES – Bake in the preheated oven for about 10-12 minutes or until the edges are golden brown but the centers still look soft; they will firm up as they cool on the sheet for a few minutes before transferring them to a wire rack.
HANDY TIPS
- Want smaller cookies? Simply roll them into balls instead of mounds! Bake them for about 12–14 minutes.
- To keep them fresh longer, store in an airtight container at room temperature – if they last that long!
Make these once, and I wager they will invade your dreams every night too! – Nagi x
FAQ – Salted Caramel Cookie Recipe
How long will these cookies keep?
These salted caramel cookies can be stored in an airtight container at room temperature for about 4 to 5 days. After that, the texture may start to decline, and they’ll be around 90% as good on day 6. If you want to extend their life, consider freezing them—more on that below! Just make sure to keep an eye on them; I always find they disappear faster than I expect!
❄️ Do I really have to chill? YES YOU DO.
Chilling the cookie dough is essential for achieving that perfect chewy texture. I recommend refrigerating the dough for at least 30 minutes before baking. This allows the flavors to meld and helps prevent spreading during baking. If you’re in a hurry, you can skip it, but I promise you’ll notice a difference in the final product. Trust me—I’ve tested both ways far too many times!
❄️ Can I freeze these cookies?
Absolutely! You can freeze both the cookie dough and the baked cookies for later enjoyment. To freeze the dough, scoop tablespoon-sized balls onto a parchment-lined baking sheet and freeze until solid. Then transfer them to a zip-top bag or airtight container and store for up to 3 months. When you’re ready to bake, simply add a couple of extra minutes to the baking time while they’re still frozen. For baked cookies, just place them in an airtight container after they’ve cooled completely.
🌾 Can these be made gluten free?
Yes! You can easily make these salted caramel cookies gluten free by substituting all-purpose flour with a gluten-free blend. Look for one that contains xanthan gum for better texture. I’ve tried this substitution using different brands, and while I prefer Bob’s Red Mill Gluten Free 1-to-1 Baking Flour, any good quality blend should work well. Just remember—gluten-free flours can behave a bit differently, so you’ll need to watch your mixing and baking times closely.
Can I reduce the sugar or substitute with sweeteners?
No, you cannot reduce the sugar—trust me on this one! 😅 I’ve experimented with lowering sugar levels several times, and it just doesn’t yield the right consistency or flavor balance. If you’re looking to use sweeteners instead of granulated or brown sugar, I’d recommend using a granulated sugar substitute designed for baking (like erythritol), but be prepared for some variations in sweetness and texture.
Why do I need to stir constantly while making caramel?
Stirring constantly is crucial when melting sugar because it helps prevent burning and ensures even melting. Sugar can go from perfectly melted to burnt in seconds, so keeping it moving is key! If you see any dark spots starting to form before it’s fully melted into that beautiful amber color, just keep stirring vigorously until it’s all smooth. It’s a fine line between delicious and disaster!
Can I add mix-ins like chocolate chips or nuts?
Definitely! Feel free to customize your salted caramel cookies by adding chocolate chips or chopped nuts into the dough before baking. About 1 cup of chocolate chips or nuts works well without overwhelming the cookie base flavor. Just remember that if you’re adding something super sweet like milk chocolate chips, you might want to adjust your caramel drizzle slightly to balance out the sweetness—you know how we love our flavor harmony around here!
Troubleshooting
I will continue to add more to this Troubleshooting section as I start seeing questions coming through from people who have made the recipe.
Troubleshooting tips
“My cookies came out wonky! 😭”
- Your cookie dough may have been too warm when you scooped it onto the baking sheet. If the butter in your dough is too soft, it can cause the cookies to spread unevenly while baking.
- Alternatively, if your cookie dough was not mixed enough after adding the flour, it might not have formed a uniform structure, leading to wonky shapes.
I bet they were still YUM though!
“My cookies were not as thick as yours!”
- This could be because you didn’t measure your flour accurately. Too little flour can lead to a thinner cookie that spreads out more instead of keeping its shape.
- If you melted the butter instead of using softened butter, that could also contribute to thin and flat cookies, as melted butter doesn’t hold air like creamed butter does.
I bet they were still YUM though!
“The surface of my cookies split and had massive crevices! 😱”
- If you overmixed your dough after adding the flour, it can create a tough texture that causes cracks on the surface of your cookies during baking.
- Also, if your oven temperature is too high (over 350°F), it can cause rapid rising and cracking. A reliable oven thermometer can help ensure you’re at the right temperature!
I bet they were still YUM though!
“My caramel turned out grainy! 😩”
- This often happens if you stirred the sugar too vigorously while it was melting. Stirring too much can cause the sugar to crystallize instead of forming a smooth caramel.
- If you added the cream too quickly or didn’t stir well enough after adding it, this can also lead to graininess in your caramel sauce. Adding cream slowly helps maintain a smooth consistency.
I bet it was still YUM though!
Salted Caramel Cookie Recipe
Ingredients
Method
- In a medium saucepan over medium heat, melt the sugar, stirring constantly until it turns a deep amber color.
- Add the butter and stir until melted and combined.
- Slowly pour in the heavy cream while stirring, then add the sea salt. Remove from heat and let cool.
- In a mixing bowl, cream together the softened butter, granulated sugar, and brown sugar until light and fluffy.
- Add the egg and vanilla extract, mixing until well combined.
- In another bowl, whisk together the flour, baking soda, and salt. Gradually add the dry ingredients to the wet ingredients, mixing until just combined.
- Preheat the oven to 350°F (175°C) and line a baking sheet with parchment paper.
- Scoop tablespoon-sized amounts of cookie dough onto the prepared baking sheet, leaving space between each cookie.
- Drizzle a small amount of the cooled salted caramel on top of each cookie and sprinkle with a pinch of sea salt.
- Bake for 10-12 minutes or until the edges are golden brown. Let cool on the baking sheet for a few minutes before transferring to a wire rack.