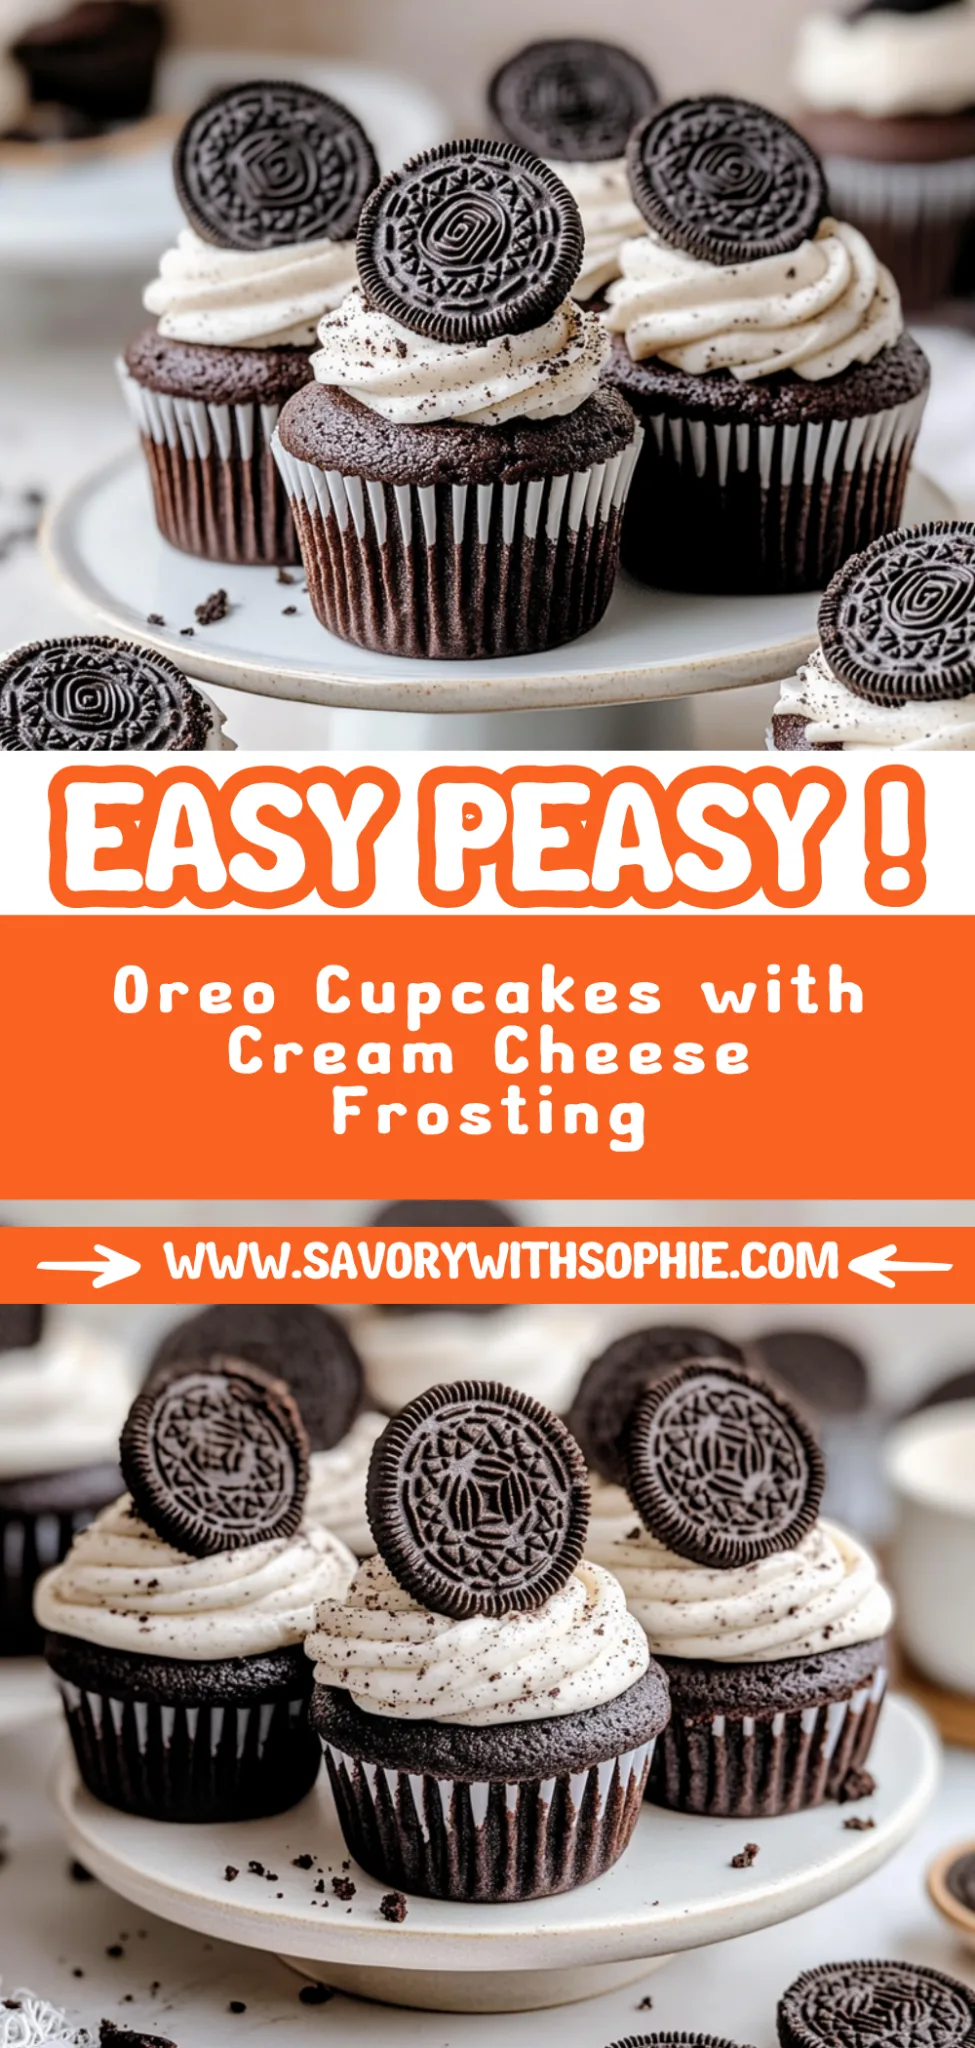
Oreo Cupcakes: A Deliciously Decadent Treat at Home
I still remember the first time I tasted an Oreo cupcake at a little bakery that popped up in my neighborhood. It was one of those moments where your taste buds do a happy dance, and I was instantly smitten. The way the rich chocolate cake mingled with the crunchy bits of Oreos was a revelation. Of course, I thought to myself, “I can totally make this at home!” But you know how it goes—sometimes the convenience of running to a shop outweighs the desire to recreate something marvelous. But with a growing craving and a need for some serious sweet therapy, I decided it was time to give it a shot myself.
Let me tell you, perfecting these Oreo Cupcakes was no walk in the park! I spent an entire weekend experimenting—four batches in total—and let’s just say my kitchen looked like an explosion of flour and crushed Oreos by the end. I tried everything from adjusting the sugar levels to adding more creaminess to the frosting, all while battling my inner pastry chef who kept whispering, “You can do better!” Each attempt brought me closer to what I envisioned: moist cupcakes that not only captured that iconic Oreo flavor but also had a frosting that could make anyone weak at the knees.
And after all that trial and error—oh boy, was it worth it! The final result is a batch of deliciously moist cupcakes infused with crushed Oreo cookies, topped with a creamy Oreo frosting that’s pure bliss. They’re decadently rich but somehow light enough that you’ll want to devour more than one (trust me, I’ve tested this!). With their irresistible texture and heavenly flavor combo, these cupcakes are sure to become your new favorite treat. So grab your mixing bowl and let’s whip up some Oreo Cupcakes—you won’t regret it!
These Oreo Cupcakes are…
….the ultimate indulgence for any cookie lover!
1. They deliver a decadent chocolate flavor that’s elevated by the signature taste of crushed Oreo cookies. The combination of unsweetened cocoa powder and the creamy goodness of Oreos creates a rich, dessert-like experience that will satisfy even the most discerning sweet tooth.
2. Expect a perfectly moist texture that melts in your mouth with each bite. This is achieved by using a mix of milk and vegetable oil, which keeps the cupcakes tender and light, ensuring they remain soft even days after baking.
3. The key technique that sets these Oreo Cupcakes apart is the incorporation of crushed Oreos directly into the batter. This not only infuses each cupcake with their iconic flavor but also adds delightful little bits of cookie texture throughout, making every bite an exciting surprise.
4. They are an affordable alternative to bakery treats without sacrificing quality or taste. With simple ingredients like flour, sugar, and cocoa powder, you can whip up a batch of these indulgent cupcakes at home for a fraction of the cost you’d pay at a café—plus, they’re just so much fun to make!
PS These cupcakes yield about 12 delightful servings, making them perfect for sharing—or keeping all to yourself!
Ingredients You’ll Need
Each ingredient in this dish plays an essential role in flavor and texture. Here’s what you’ll need:
Cupcake Batter
1 cup all-purpose flour: Provides the structure for a moist and fluffy cupcake.
1 cup granulated sugar: Sweetens the batter and contributes to the cupcake’s tenderness.
1/2 cup unsweetened cocoa powder: Infuses rich chocolate flavor, making each bite decadent.
1 teaspoon baking powder: Helps the cupcakes rise for a light and airy texture.
1/2 teaspoon baking soda: Enhances the leavening process, ensuring perfect fluffiness.
1/4 teaspoon salt: Balances sweetness and enhances overall flavor depth.
1 large egg: Acts as a binder, adding richness and moisture to the batter.
1/2 cup milk: Keeps the cupcakes moist while contributing creaminess to the texture.
1/4 cup vegetable oil: Adds moisture and helps create a tender crumb.
1 teaspoon vanilla extract: Introduces warmth and aromatic sweetness that elevates flavor.
10 pieces Oreo cookies (crushed): Provides iconic cookie flavor and delightful crunchy bits throughout.
Oreo Frosting
1/2 cup unsalted butter (softened): Creates a creamy base for a rich frosting texture.
2 cups powdered sugar: Sweetens the frosting while giving it a smooth consistency.
1/4 cup heavy cream: Ensures the frosting is velvety and easy to spread or pipe.
1 teaspoon vanilla extract: Adds depth of flavor, enhancing the overall sweetness of the frosting.
5 pieces Oreo cookies (crushed for topping): Garnishes with extra crunch and classic Oreo taste.
You Must Let the Cupcakes Cool Completely. No Exceptions!
I know, I know—waiting can feel like torture when you’re just itching to devour those delicious cupcakes! I tried to sneak a bite before they were cool, thinking maybe I could get away with it. Spoiler alert: I couldn’t. The result was a gooey, melting mess that didn’t resemble the fluffy treat I had envisioned.
Allowing your Oreo cupcakes to cool completely is crucial for achieving the perfect texture and flavor. When hot, the cupcakes continue to steam, which can lead to a dense and soggy interior—definitely not what you want! Think of it like letting a pizza rest after baking; if you dive in too soon, the cheese and toppings just slide off instead of staying perfectly in place.
What does cooling do?
- Texture — Cooling allows the structure of the cupcake to set properly, resulting in a light and tender crumb instead of a dense blob.
- Moisture Distribution — It helps the moisture from the batter evenly distribute throughout the cupcake, preventing any soggy spots.
- Flavor Development — As they cool, flavors deepen and meld together more fully than if you rushed them out of the oven.
- Stability for Frosting — A cooled cupcake provides a firm base for your frosting so it doesn’t slip and slide off—nobody wants an Oreo avalanche!
- Crust Formation — The cooling process helps form a slight crust on the outside, which enhances both flavor and texture.
Different cooling times
- 5 minutes (okay) — This is just enough time to let them rest in the tin but definitely not long enough for optimal results.
- 10–15 minutes (good) — A bit better; they’ll start to firm up but may still be too warm inside.
- 20–30 minutes (better) — The cupcakes will be noticeably firmer and easier to frost without breaking apart.
- ⭐️ 1 hour or more ⭐️ — Best! This is when they really reach their full potential—light, fluffy, and ready for that luscious frosting.
Just remember: diving in too soon is the most common mistake I see. If you don’t let those cupcakes cool completely, you’re setting yourself up for disappointment with a mess on your hands instead of those glorious Oreo treats you’ve been dreaming of!
How to make Oreo Cupcakes
Are you ready to see how straightforward it is to make the Oreo Cupcakes of your dreams??
1. PREPARE THE CUPCAKES
Let’s get those cupcakes baking! You’ll be amazed at how easy this part is.
1. Preheat – Preheat your oven to 350°F (175°C) and line a muffin tin with cupcake liners. This ensures even baking and helps prevent sticking!
2. Combine – In a mixing bowl, combine the flour, sugar, cocoa powder, baking powder, baking soda, and salt. Mixing these dry ingredients first helps ensure that the leavening agents are evenly distributed throughout the batter.
3. Mix – Add the egg, milk, vegetable oil, and vanilla extract to the dry ingredients and mix until smooth. You should aim for a velvety batter with no lumps; this will create moist cupcakes!
4. Fold – Gently fold in the crushed Oreo cookies into your batter. This adds delightful texture and flavor to each bite!
5. Pour – Pour the batter into the prepared muffin tin, filling each liner about 2/3 full. Filling them too much can lead to overflowing during baking—nobody wants that mess!
6. Bake – Bake for 18-20 minutes or until a toothpick inserted in the center comes out clean. Your kitchen will smell heavenly when they’re done!
7. Cool – Allow the cupcakes to cool in the tin for 5 minutes, then transfer to a wire rack to cool completely. This step is crucial; frosting warm cupcakes can lead to a melty disaster!
HANDY TIPS
- Ensure your butter and eggs are at room temperature for easier mixing.
- If you want extra chocolatey cupcakes, you can add more cocoa powder; just keep an eye on the flour ratio!
- For fun variations, try adding mini chocolate chips or more crushed Oreos into the batter!
2. MAKE THE FROSTING
Time for that dreamy Oreo frosting! Get ready for fluffy goodness on top of those cupcakes!
8. Beat – In a mixing bowl, beat the softened butter until creamy. This gives you a smooth base for your frosting—no one likes gritty frosting!
9. Add Sugar – Gradually add the powdered sugar and mix until well combined. Start slow so you don’t end up with a sugary cloud in your kitchen!
10. Incorporate – Add the heavy cream and vanilla extract, then beat until the frosting is light and fluffy—about 2-3 minutes should do it! It should have a spreadable consistency that holds its shape well when piped onto the cupcakes.
11. Fold – Gently fold in the crushed Oreo cookies for that signature flavor burst in every bite of frosting!
HANDY TIPS
- If your frosting is too thick, add more heavy cream one tablespoon at a time until desired consistency is reached.
- For a richer flavor, use dark cocoa powder instead of regular unsweetened cocoa powder!
3. FROST THE CUPCAKES
The final touch—let’s make these cupcakes look as good as they taste!
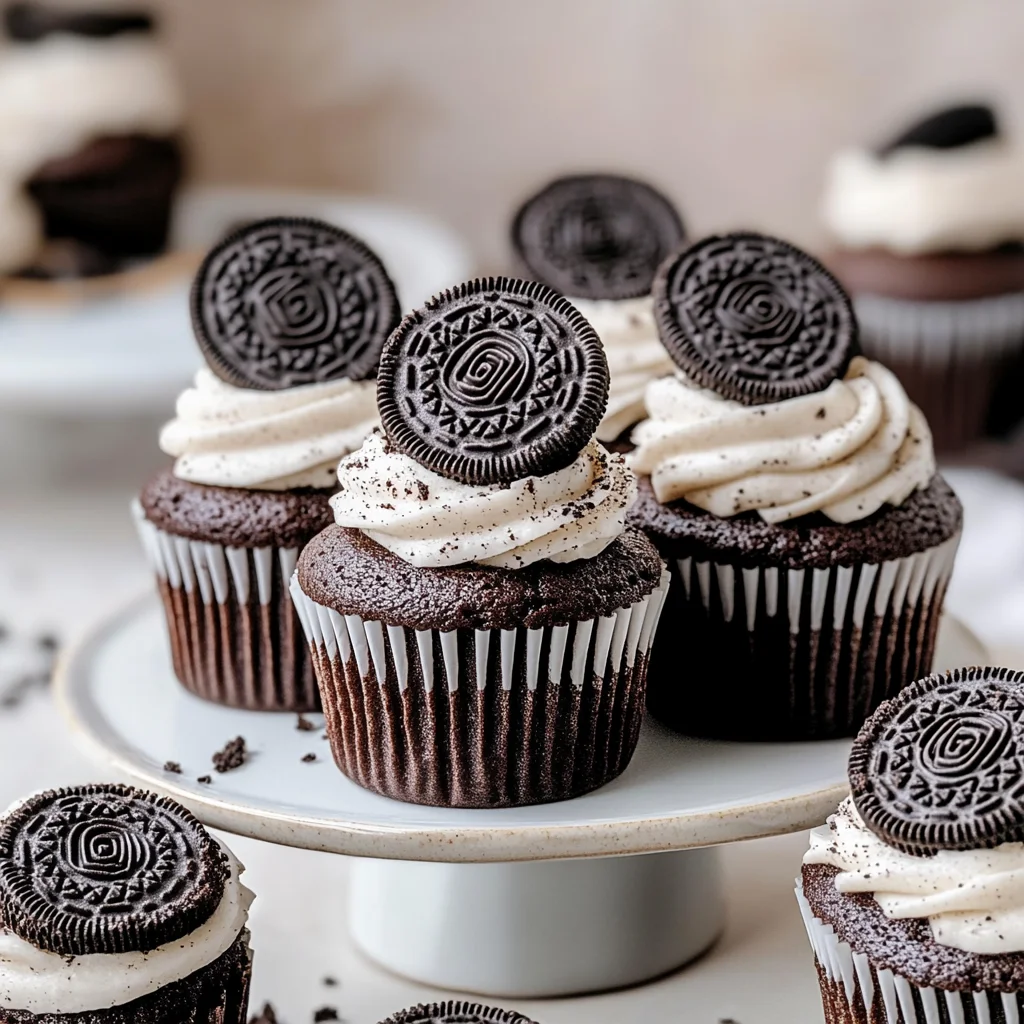
12. Frost – Once the cupcakes are completely cool, use a spatula or piping bag to frost each cupcake with the Oreo frosting generously on top. A swirl effect always looks delightful!
13. Decorate – Sprinkle the tops with additional crushed Oreo cookies for decoration—this not only looks pretty but adds an extra crunch!
HANDY TIPS
- If you’re feeling adventurous, try using different piping tips for unique designs!
- Make sure to add crushed Oreos right before serving; they’ll stay crispier that way!
That’s it—you’ve just created scrumptious Oreo Cupcakes that are perfect for any occasion (or just because!). With these delightful treats packed with cookies in every layer and topped off with creamy frosting sprinkled with more Oreos, you’ll find it hard not to devour them all at once! Make these once, and I wager they will invade your dreams every night too! – Nagi x
FAQ – Oreo Cupcakes
How long will these cupcakes keep? 🧁
These Oreo cupcakes are best enjoyed fresh, but they can last for up to 3 days when stored properly. I recommend keeping them in an airtight container at room temperature for optimal freshness. After Day 1, their quality begins to decline slightly – about 97% as good on Day 2 and around 90% by Day 3. If you find yourself with leftovers (lucky you!), just remember that the frosting may lose some of its fluffiness over time.
❄️ Can I freeze these cupcakes?
Yes, you can freeze these Oreo cupcakes! To do this, let the cupcakes cool completely after baking. Wrap each cupcake individually in plastic wrap and place them in a freezer-safe bag or container. They will keep well for up to 3 months in the freezer. When you’re ready to enjoy one, simply remove it from the freezer and let it thaw at room temperature for about 1-2 hours. If you’ve frozen them already frosted, allow the frosting to soften naturally; don’t microwave it!
🌾 Can I make these cupcakes gluten-free?
Absolutely! To make gluten-free Oreo cupcakes, substitute the all-purpose flour with a gluten-free flour blend. Look for a blend that includes xanthan gum for better texture and moisture retention. You may also want to check that your Oreo cookies are gluten-free, as not all brands are certified gluten-free. In my testing, I found that using a good quality gluten-free flour results in deliciously moist cupcakes that everyone will love.
Can I reduce the sugar or substitute with sweeteners? 🍬
No, you cannot reduce the sugar — I tried reducing it multiple times during my testing phase, and it doesn’t yield good results! The sugar not only adds sweetness but also contributes to the structure and moisture of the cupcakes. If you’re looking for alternatives, consider using a sugar substitute like erythritol or monk fruit sweetener, but be aware that this might alter the flavor and texture slightly.
Why do I need to fold in the crushed Oreos instead of mixing them in? 🤔
Folding in the crushed Oreos gently ensures even distribution throughout your batter without knocking out too much air that you’ve incorporated while mixing other ingredients. This technique helps maintain the light texture of your cupcakes while still getting those delightful cookie bites in every bite! It’s a small step that makes a big difference in achieving perfectly fluffy cupcakes.
What if I want to customize these cupcakes with add-ins?
Feel free to get creative! You can add chocolate chips (dark or white) along with the crushed Oreos for extra chocolatey goodness. Alternatively, consider incorporating some chopped nuts like walnuts or pecans for added crunch. Just keep in mind that any additional ingredients should complement rather than overwhelm the classic Oreo flavor profile.
How long should I let the cupcakes cool before frosting them? ⏳
Allowing your cupcakes to cool completely is crucial before frosting – aim for about 30 minutes after transferring them from the muffin tin to a wire rack. If you frost them too soon while they’re still warm, the frosting can melt and slide off rather than creating a beautiful finish on top of your delicious creations! Trust me; waiting is worth it for those picture-perfect cupcakes!
Troubleshooting
I will continue to add more to this Troubleshooting section as I start seeing questions coming through from people who have made the recipe.
Troubleshooting tips
“My cupcakes came out flat! 😢”
- Your baking powder might be expired or not fresh, which means it didn’t provide enough lift during baking. Always check the expiration date before use!
- You may have overmixed the batter after adding the wet ingredients, causing too much air to escape and resulting in flat cupcakes. Just mix until combined next time!
- I bet they were still YUM though!
“My cupcakes are too dry! 😩”
- If you measured your flour incorrectly, using too much can lead to dry cupcakes. Make sure to spoon the flour into your measuring cup without packing it down.
- Baking them for too long can also dry them out—18 minutes is usually perfect, but every oven is different so keep an eye on them!
- I bet they were still YUM though!
“The tops of my cupcakes cracked! 😭”
- Overmixing the batter can incorporate excess air and cause cracking while baking. Aim for just a smooth mixture when combining your ingredients.
- If your oven temperature is too high, it can bake the outside faster than the inside, leading to cracks. Consider using an oven thermometer to ensure accuracy.
- I bet they were still YUM though!
“My cupcakes turned out too dark! 🔥”
- If you used a dark-colored muffin tin instead of a shiny one, it can absorb more heat and lead to darker cupcakes. Opt for a lighter pan next time!
- An excess of cocoa powder could also make the color darker; ensure you’re using only the specified amount for balanced flavor and color.
- I bet they were still YUM though!
Oreo Cupcakes
Ingredients
Method
- Preheat your oven to 350°F (175°C) and line a muffin tin with cupcake liners.
- In a mixing bowl, combine flour, sugar, cocoa powder, baking powder, baking soda, and salt.
- Add the egg, milk, vegetable oil, and vanilla extract to the dry ingredients and mix until smooth.
- Fold in the crushed Oreo cookies.
- Pour the batter into the prepared muffin tin, filling each liner about 2/3 full.
- Bake for 18-20 minutes or until a toothpick inserted in the center comes out clean.
- Allow the cupcakes to cool in the tin for 5 minutes, then transfer to a wire rack to cool completely.
- In a mixing bowl, beat the softened butter until creamy.
- Gradually add the powdered sugar and mix until well combined.
- Add the heavy cream and vanilla extract, then beat until the frosting is light and fluffy.
- Fold in the crushed Oreo cookies.
- Once the cupcakes are completely cool, use a spatula or piping bag to frost each cupcake with the Oreo frosting.
- Sprinkle the tops with additional crushed Oreo cookies for decoration.