Wholesome Pumpkin Oat Bread
It’s that time of year again when the air turns crisp, leaves transform into a tapestry of golds and reds, and our kitchens become warm havens filled with the most comforting aromas. There’s something about the scent of baking bread that instantly evokes memories of home, family gatherings, and the simple joys of life. And if you ask me, nothing captures that essence quite like Wholesome Pumpkin Oat Bread. This recipe is more than just a delightful treat; it’s a heartfelt embrace in loaf form, blending the earthy sweetness of pumpkin with the wholesome goodness of oats. Each bite is an invitation to slow down, savor the moment, and indulge in a bit of nostalgia—whether you’re enjoying it for breakfast with a steaming cup of coffee or as a cozy afternoon snack.
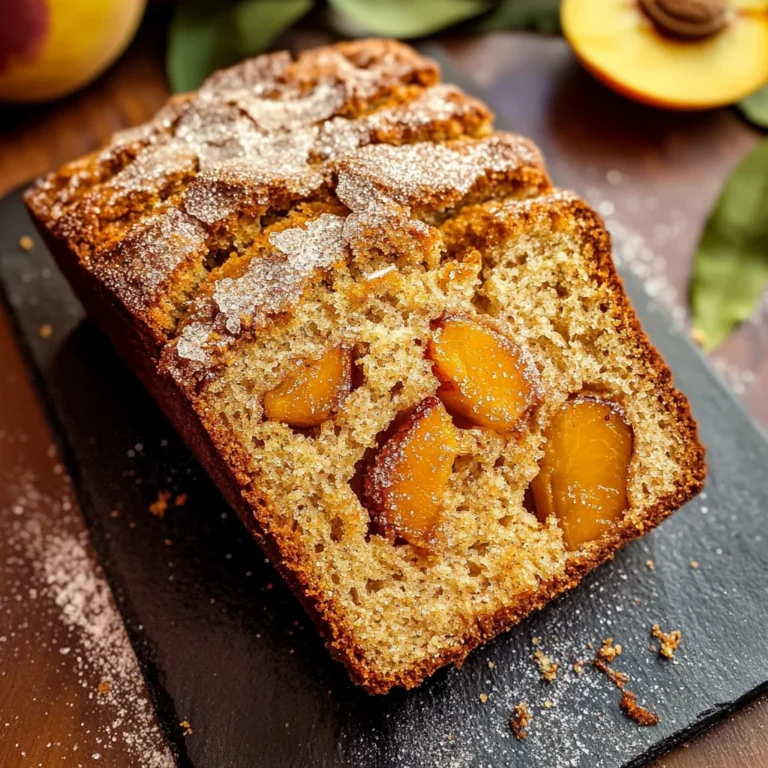
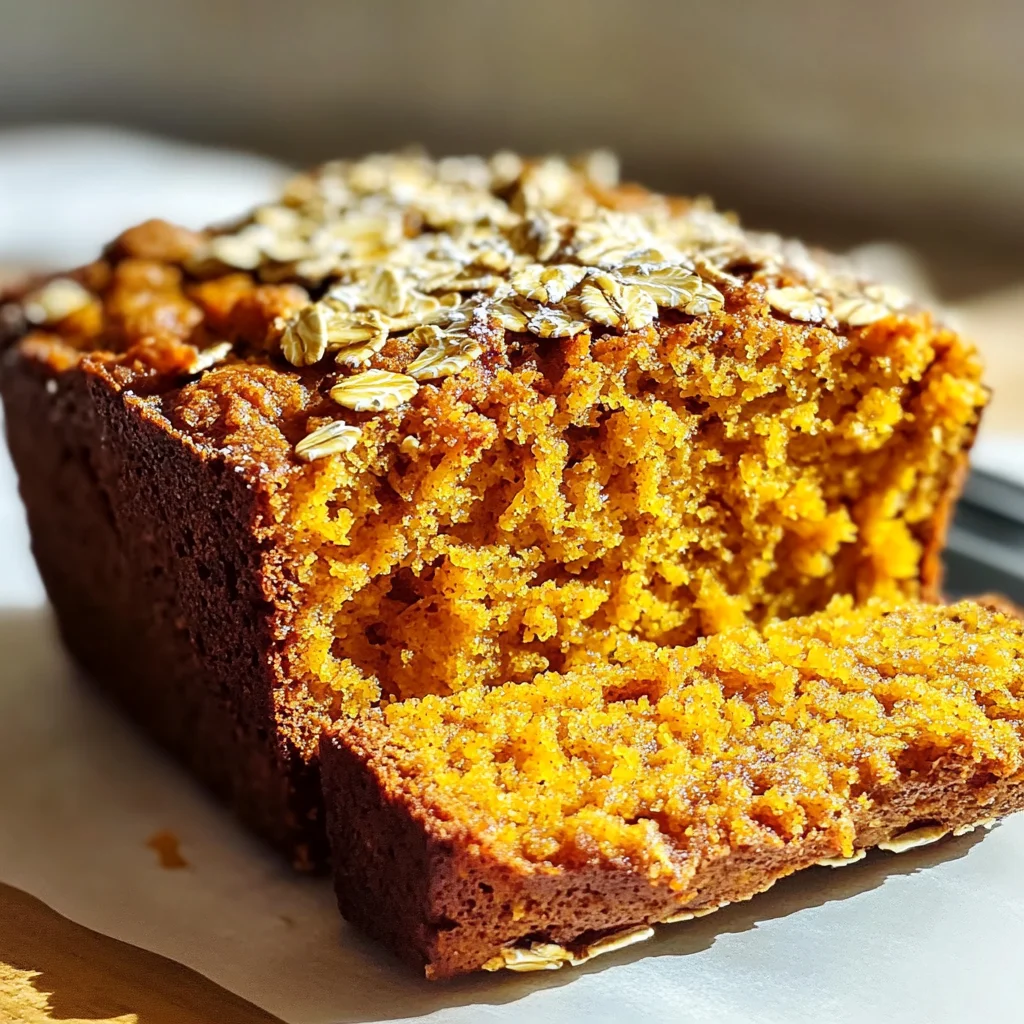
Imagine slicing into this beautiful bread, revealing its golden hue speckled with warm spices and feeling the soft texture under your fingers. As you bring it closer to your nose, the intoxicating scent wafts up—cinnamon mingling with nutmeg in a fragrant dance that feels like a hug from an old friend. That first bite? Oh, my friends! It’s an explosion of flavor—a symphony that resonates deep within your soul. I promise you, this bread has a wonderful way of making ordinary days feel extraordinary. Ideal for sharing at holiday gatherings or simply enjoying in solitude while wrapped in a soft blanket, it embodies everything we cherish about this beautiful season.
Wholesome Pumpkin Oat Bread: A Cozy Autumn Delight
Let’s dive right into making one of my favorite seasonal recipes! This Wholesome Pumpkin Oat Bread is not only simple to prepare but also packs in nutrients without skimping on taste. Trust me when I say that you’ll want this recipe tucked away in your back pocket for those chilly days ahead.
Ingredients:
As we embark on this culinary journey together, let’s take a moment to appreciate each ingredient that will come together to create our comforting loaf. Each component plays its part like musicians in an orchestra, contributing to the harmonious final product.
- 2 cups gluten-free rolled oats. These oats are not just gluten-free; they are the heart and soul of our bread! They lend a delightful chewiness while providing essential fiber and nutrients. When purchasing oats, look for certified gluten-free brands to ensure purity. Rolled oats absorb moisture beautifully during baking, creating a tender texture that’s simply irresistible.
- 15 oz canned pumpkin purée. Here lies the magic! Canned pumpkin purée adds not only moisture but also natural sweetness and that gorgeous orange color we adore during fall. It’s important to choose pure pumpkin purée rather than pumpkin pie filling, as the latter contains added sugars and spices that can throw off our delicate balance. The richness of pumpkin offers profound satisfaction while being packed with vitamins—it’s truly extraordinary!
- 1 tsp ground cinnamon. Ahh, cinnamon—the quintessential spice of autumn! Its warm flavor does wonders for elevating our bread’s profile and intertwines beautifully with pumpkin’s earthiness. When selecting cinnamon, consider buying freshly ground for maximum flavor impact; trust me on this one! The aroma alone will transport you right into fall bliss.
- 1/2 tsp ground nutmeg. Nutmeg is like the secret handshake among spices; it adds a depth that is both subtle and vital to our recipe’s success. Just a pinch enhances the overall warmth without overpowering other flavors—it’s absolutely paramount! Always opt for freshly grated nutmeg if you can; it’s worth it for that extra punch!
- 4 egg whites or 2 large eggs. Eggs serve as the binding agent here while helping our loaf rise beautifully as it bakes. Using egg whites will keep things lighter if you’re aiming for lower fat content; however, whole eggs offer rich flavor and moisture too! If you’re vegan or prefer plant-based options, consider using flaxseed meal mixed with water as an alternative.
- 1/3 cup maple syrup. This liquid gold adds sweetness while enriching our bread with its unique flavor profile—far superior to refined sugars! Maple syrup complements all those warming spices perfectly; it’s like an old friend reuniting after years apart! When selecting maple syrup, choose pure varieties over imitation ones for authentic taste.
- 1 tsp baking soda. This little powerhouse is crucial for leavening our bread effectively—it helps create those lovely air pockets that make each slice light and fluffy! If you’re worried about freshness (and you should be!), feel free to test your baking soda by adding it to vinegar; if it bubbles vigorously, you’re good to go!
- 1/2 tsp vanilla extract. Vanilla extract might seem optional but trust me—it’s non-negotiable here! It rounds out all those flavors beautifully and adds warmth akin to wrapping yourself in your favorite sweater on a chilly day.
Equipment You’ll Need:
Before we get started mixing ingredients together, let’s talk about having the right tools at hand—these trusty companions make every step smoother and more enjoyable as we create something wonderful together.
- Mixing bowls – A set of mixing bowls allows you to easily combine your dry ingredients separately from wet ones before bringing them together harmoniously—a fundamental technique in baking that ensures even distribution throughout your batter!
- Measuring cups & spoons – Precision matters when baking; accurate measurements can mean all the difference between success and failure in achieving desired textures or flavors!
- Rubber spatula – This handy tool is perfect for folding ingredients gently without deflating air from our batter—it helps incorporate everything smoothly so we end up with tender slices once baked!
- Loaf pan (9×5 inches) – A good-quality loaf pan ensures even cooking throughout while giving shape where needed—using glass or metal pans can yield slightly different results due their heat retention properties but either works beautifully here!
- Oven mitts – Protecting those hands from hot surfaces is essential! A sturdy pair makes transferring your beautiful loaf hassle-free while keeping you safe during this delightful process.
Now that we’ve gathered everything we’ll need let’s roll up our sleeves and start preparing this delicious Wholesome Pumpkin Oat Bread!
Step 1: Preheat Your Oven
Before anything else happens in this delicious adventure, let’s preheat that oven to 350°F (175°C). Preheating is critical because it ensures even cooking throughout your loaf from top to bottom—no one wants half-baked bread here! While waiting for those heating elements to do their magic (and trust me; you’ll want to savor that moment), grab those mixing bowls so we can start combining ingredients shortly.
Step 2: Mix Dry Ingredients
In one large mixing bowl, whisk together your gluten-free rolled oats, baking soda, ground cinnamon, and nutmeg until combined evenly—it should smell wonderful already! This process not only blends flavors but also aerates these components which helps develop structure later on as they interact with wet ingredients during mixing—that means lighter slices when done properly! Take your time here—don’t rush this step as well-blended dry elements create harmony across every slice later on!
Step 3: Combine Wet Ingredients
In another bowl (yes—we’re working hard), mix together canned pumpkin purée, maple syrup (oh how sweet!), egg whites (or whole eggs), and vanilla extract until smooth—you want everything incorporated beautifully here without any lumps sneaking their way back into play! Make sure there are no patches left unblended because uneven distribution would affect texture negatively down line—the goal is perfection after all!
Step 4: Bring It All Together
Now comes my favorite part—the union of dry meets wet ingredients! Pour those luscious wet mixtures right into the bowl filled with dry ingredients then gently fold them together using your rubber spatula until everything looks just combined—not overmixing allows us maintain tenderness through finished product instead turning tough—that’s crucial if we want airy slices bursting with flavor later on… So please resist temptation around stirring too vigorously at this point!
Stay tuned for more steps where we’ll continue crafting this delightful Wholesome Pumpkin Oat Bread together—a few more actions before indulging awaits us ahead…
Step 5: The Oat Mixture Magic
Now, let’s dive into one of the most crucial steps in creating our Wholesome Pumpkin Oat Bread: blending the oats. First, take your 2 cups of gluten-free rolled oats and place them in a food processor or high-speed blender. We’re not just tossing these oats in whole; instead, we want to pulse them until they reach a fine flour consistency. This is absolutely paramount because it allows the oats to integrate seamlessly into the batter, providing that delightful texture and moisture that makes this bread so deeply satisfying. I promise you, the transformation from whole oats to oat flour is mesmerizing!
As you blend, keep an eye on the consistency—you’re aiming for something that resembles coarse flour. Don’t be disheartened if it takes a minute longer than expected; each machine works differently. Once you’ve achieved this beautiful oat flour, transfer it to a large mixing bowl. The aroma will be nutty and warm—trust me when I say this is the moment where you start to envision how utterly intoxicating your kitchen is about to smell as this bread bakes! Remember, taking these extra moments for the right texture now will ensure your bread rises beautifully later.
Step 6: Mixing the Wet Ingredients with Love
In another bowl, let’s focus on those luscious wet ingredients that will bring our Wholesome Pumpkin Oat Bread to life! Begin by measuring out 15 oz of canned pumpkin purée into your mixing bowl. There’s something magical about pumpkin at this time of year; its rich color and creamy texture evoke warmth and comfort. To that, add 4 egg whites (or 2 large eggs, if you’re feeling fancy) along with 1/3 cup of maple syrup—this liquid gold not only sweetens but also adds depth and complexity to our bread. Then sprinkle in 1 tsp of baking soda and finish with 1/2 tsp of vanilla extract.
Now, gently whisk everything together until it’s perfectly blended; you want a harmonious mixture that has both body and smoothness. This whisking isn’t just about combining; it’s about incorporating air into your mixture which is absolutely crucial for achieving a light loaf. As you create this beautiful blend, inhale deeply—you’ll notice how all these scents meld together into an inviting symphony of flavors that promises something extraordinary once baked. Take your time here; don’t rush through this step! You want each ingredient to shine through in its own right.
Step 7: Marrying the Mixtures
With your wet ingredients ready and waiting, it’s time for the grand union—combining both mixtures! Pour your pumpkin-oat mixture into the bowl containing your oat flour. As you do this, take a moment to appreciate the contrasting colors—the vibrant orange of pumpkin against the earthy tones of oats is simply stunning. Using a spatula (or even better, your hands if you’re feeling adventurous), gently fold the mixtures together until just combined. It’s essential not to over-mix here; think of this step like cradling a sleeping baby—gentle yet purposeful!
Why is over-mixing something we want to avoid? Well, overworking the batter can lead to denser bread rather than that airy texture we crave. We want that perfect balance where everything integrates beautifully without losing its lightness. As you mix, watch for any dry patches of flour peeking through; they need love too! As soon as there are no more visible dry ingredients, stop mixing and allow the dough to rest for about 5 minutes before we move on. This little pause gives time for everything to hydrate fully—a non-negotiable step that ensures every bite bursts with flavor.
Step 8: Preparing Your Pan for Perfection
While our batter rests like an eager baker waiting for magic to happen, let’s prepare our baking pan! Preheat your oven to 350°F (175°C)—the warm embrace of heat will help our bread rise perfectly once it’s time for baking. Now grab a loaf pan (a standard 9×5 inch works wonders) and prepare it by greasing it lightly with oil or lining it with parchment paper. Trust me when I say this step is essential; nothing is more heartbreaking than watching your lovingly crafted bread refuse to budge from its pan!
Once greased or lined, pour in your pumpkin-oat batter carefully—don’t rush this part either! Use a spatula or spoon to spread it evenly across the pan; smooth out the top gently so that it bakes uniformly. This ensures that every slice will boast an enticingly tender crumb throughout—it’s all about those details! As you look at your filled loaf pan ready for action, take a moment to marvel at what’s about to unfold in your oven—the aromatic mingling of spices and pumpkin will soon fill every corner of your home with warmth.
Final Touches: Baking Your Perfect Wholesome Pumpkin Oat Bread
Step 9: The Bake-Off Begins!
Now comes one of my favorite parts: sliding that glorious loaf into the oven! With careful precision, place your prepared loaf pan onto the middle rack—this placement allows for optimal airflow around the bread as it bakes evenly golden brown on all sides. Set a timer for 30 minutes, but don’t wander too far away just yet because halfway through baking at around 15 minutes in, I highly encourage peeking inside through that oven window—not opening it just yet—to witness how beautifully it rises.
As those first tantalizing aromas begin wafting through your kitchen like an autumn breeze carrying hints of cinnamon and nutmeg, make sure you stay put! When those 30 minutes are up (or when you notice that gorgeous golden hue), use a toothpick test as confirmation: insert it into the center of your loaf; if it comes out clean or with only a few crumbs clinging onto it—the stars have aligned perfectly! If there’s still wet batter clinging onto that toothpick? No worries—just pop it back in for another few minutes while keeping watch because timing can vary based on oven variations.
Once baked perfectly (and oh-so-golden), remove your Wholesome Pumpkin Oat Bread from the oven and let it cool in its pan for about 10-15 minutes before transferring it onto a wire rack. This cooling period is vital as it allows steam to escape without making our lovely loaf soggy—it truly enhances each bite’s texture when enjoyed later!
And there you have it—your very own Wholesome Pumpkin Oat Bread ready to be sliced up and savored! Spread some nut butter or enjoy just as is—the world is yours when you’ve got such an extraordinary loaf at hand!
Storage and Enjoyment Tips for Your Wholesome Pumpkin Oat Bread
Now that you’ve just pulled your Wholesome Pumpkin Oat Bread from the oven, its warm aroma wafting through your kitchen like a cozy hug, it’s time to think about how to preserve this delightful creation. The golden-brown crust is beckoning you to slice into it, and trust me, every bite is an invitation to savor the symphony of flavors you’ve just crafted. Whether you’re enjoying it fresh or saving some for later, I’ve got you covered with tips that not only keep your bread delicious but also enhance its flavor over time.
Storing Leftover Wholesome Pumpkin Oat Bread
To keep your Wholesome Pumpkin Oat Bread at its best, I recommend storing it in an airtight container at room temperature. This simple step is crucial because it protects the bread from drying out and helps maintain that moist, tender texture we all adore. If you’re using a loaf container or even a resealable plastic bag, make sure it’s sealed tightly to lock in the freshness. This delightful bread can be stored for up to five days without losing its charm; however, I promise you that it’s so good that it might disappear long before then! To preserve the quality even further, consider placing a slice of apple or a piece of bread along with it in the container—this little trick keeps things moist and adds a subtle sweetness. When you’re ready for another taste sensation, simply toast a slice lightly or enjoy it as-is; the flavors deepen wonderfully as they meld together over time.
Freezing Wholesome Pumpkin Oat Bread for Later
If you find yourself with more bread than you can eat in a few days (though I wouldn’t blame you if you devoured it all!), freezing is an excellent option that maintains both flavor and texture beautifully. To freeze your Wholesome Pumpkin Oat Bread, wrap individual slices tightly in plastic wrap and then place them inside a freezer-safe bag or container. This method prevents freezer burn while making it easy to grab just the amount you want later on. Your bread will keep wonderfully in the freezer for about three months! When cravings strike, simply remove a slice from the freezer and let it thaw at room temperature for about 30 minutes; alternatively, pop it straight into the toaster for a quick reheat—trust me, there’s nothing quite like biting into warm pumpkin oat goodness on a chilly morning! The convenience of having this wholesome treat ready at your fingertips makes every busy day feel just a bit more special.
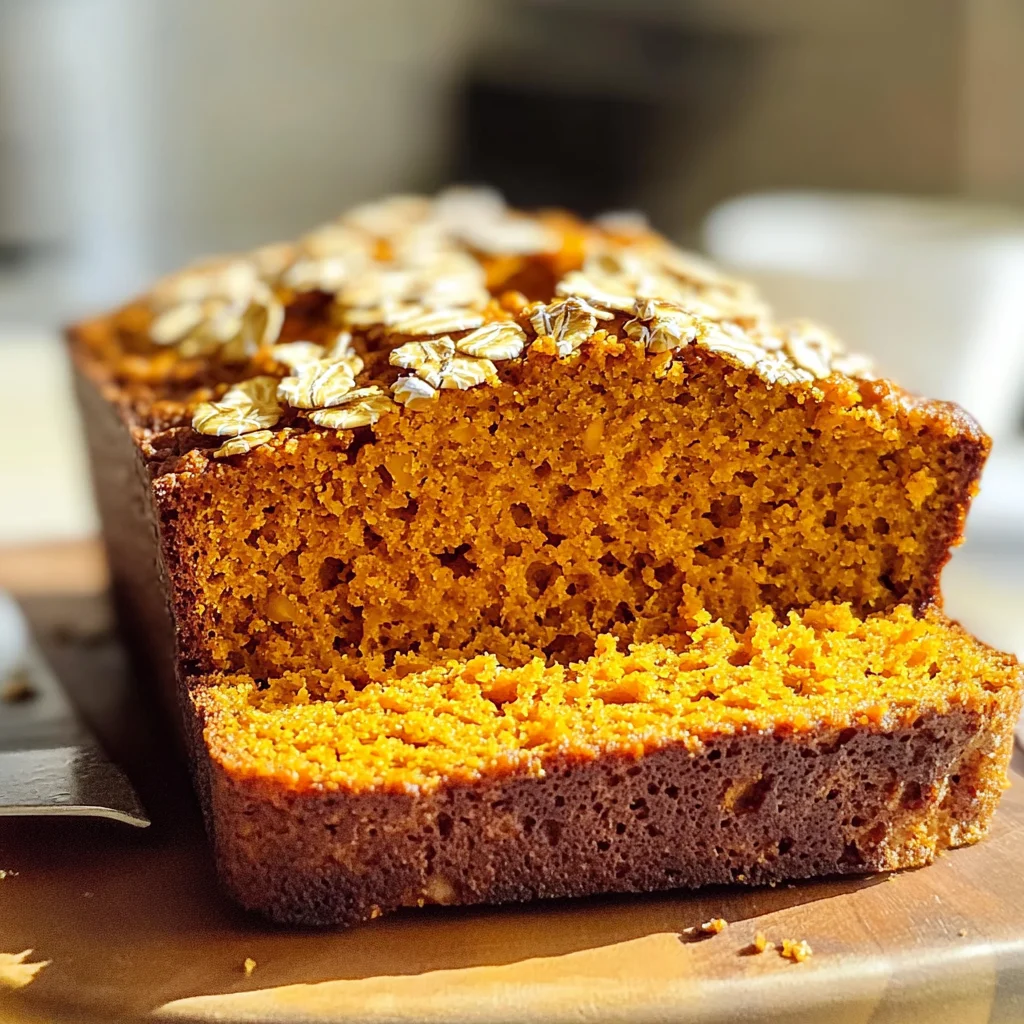
Wholesome Pumpkin Oat Bread
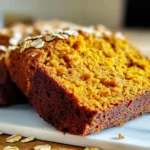
Wholesome Pumpkin Oat Bread is the epitome of autumn comfort food, combining the earthy sweetness of pumpkin with hearty gluten-free rolled oats. This delightful loaf fills your kitchen with warm aromas of cinnamon and nutmeg, making it perfect for cozy breakfasts or afternoon snacks. Whether enjoyed plain or topped with almond butter, this bread invites you to slow down and savor each moment. With nutritious ingredients and simple steps, baking this wholesome treat is a joyful experience that brings the essence of fall right to your table.
- Prep Time: 15 minutes
- Cook Time: 30 minutes
- Total Time: 45 minutes
- Yield: Approximately 12 servings 1x
- Category: Breakfast
- Method: Baking
- Cuisine: American
Ingredients
- 2 cups gluten-free rolled oats
- 15 oz canned pumpkin purée
- 1 tsp ground cinnamon
- 1/2 tsp ground nutmeg
- 4 egg whites or 2 large eggs
- 1/3 cup maple syrup
- 1 tsp baking soda
- 1/2 tsp vanilla extract
Instructions
- Preheat your oven to 350°F (175°C) and prepare a 9×5 inch loaf pan by greasing it or lining it with parchment paper.
- In one bowl, whisk together the gluten-free rolled oats, baking soda, cinnamon, and nutmeg until evenly combined.
- In another bowl, mix the pumpkin purée, maple syrup, egg whites (or whole eggs), and vanilla extract until smooth.
- Gradually combine the wet ingredients into the dry mixture using a rubber spatula until just incorporated—avoid over-mixing.
- Pour the batter into the prepared loaf pan, smoothing out the top evenly.
- Bake for about 30 minutes or until a toothpick inserted in the center comes out clean. Allow to cool in the pan for 10-15 minutes before transferring to a wire rack.
Nutrition
- Serving Size: 1 slice (60g)
- Calories: 140
- Sugar: 6g
- Sodium: 150mg
- Fat: 2g
- Saturated Fat: 0g
- Unsaturated Fat: 1g
- Trans Fat: 0g
- Carbohydrates: 28g
- Fiber: 4g
- Protein: 4g
- Cholesterol: 0mg